What is Cross Border Trade:: It is also call Cross-Border Price Consistency, when other merchants who want to maintain consistent prices for customers whose tax rates are different from the predefined store tax rate.
How To Enable Cross-Border Price Consistency:: Follow below steps::
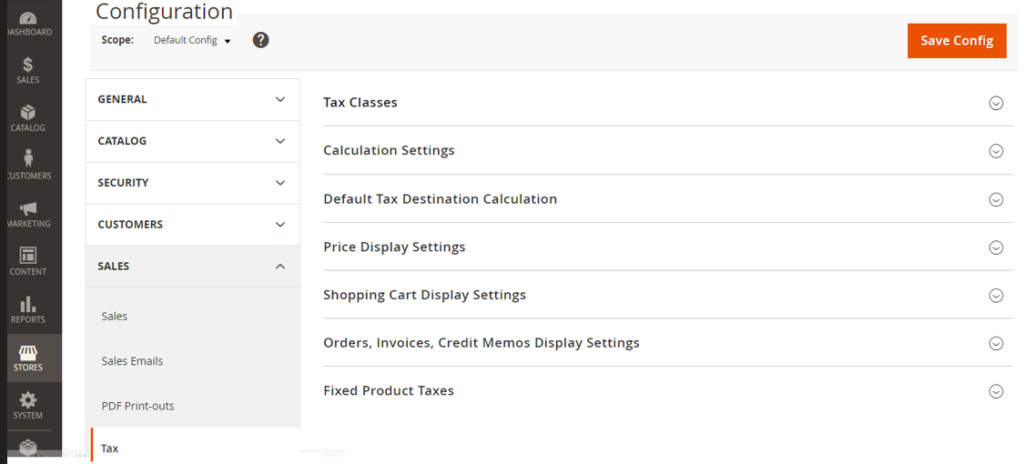
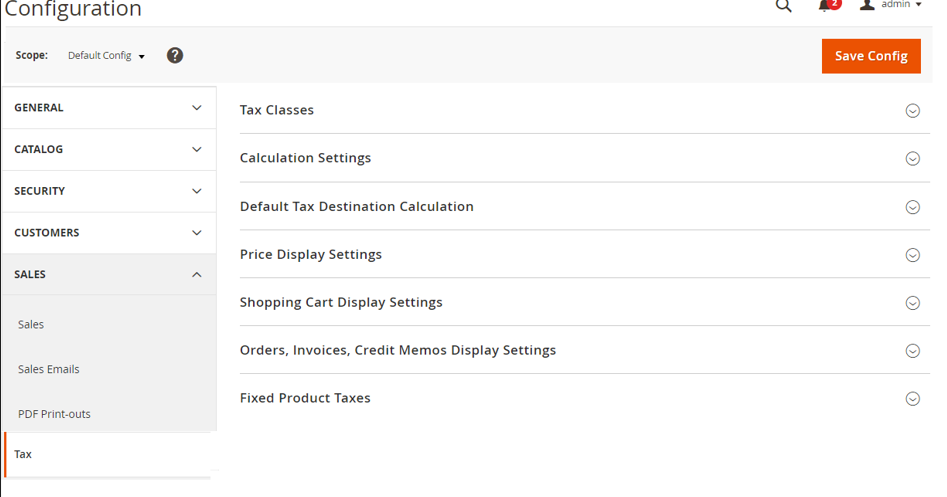
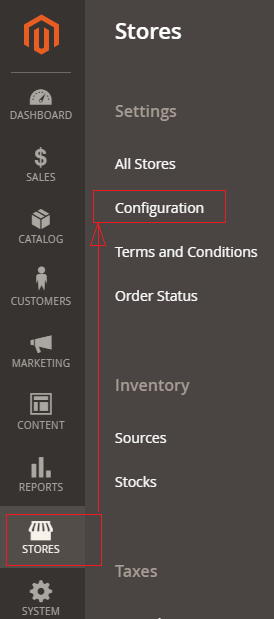
Step [1] – Go to Stores > Settings > Configuration
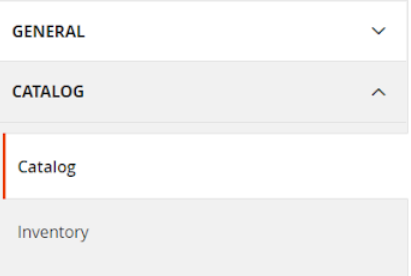
Step [2] – In the left panel, expand Sales and choose Tax.
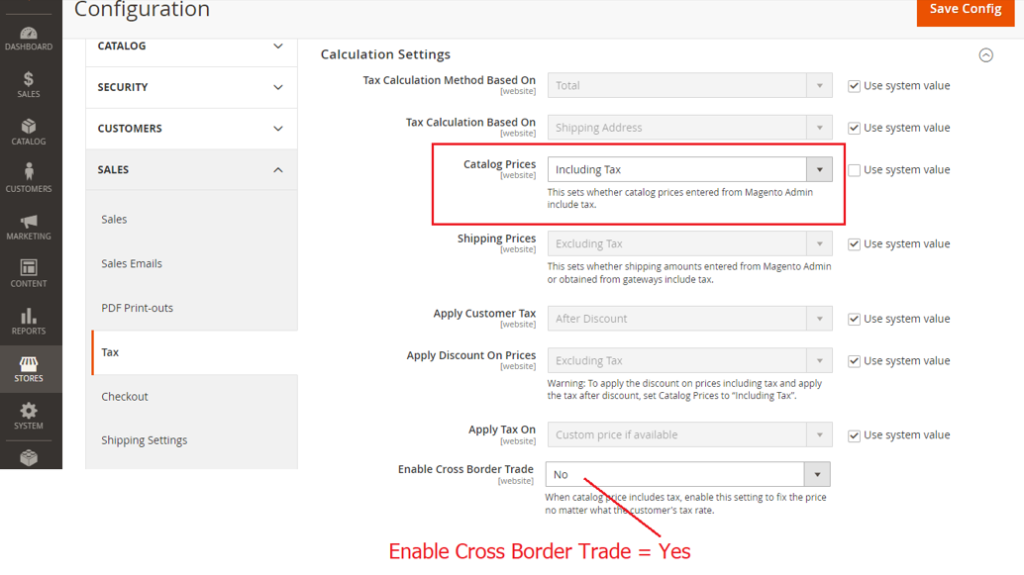
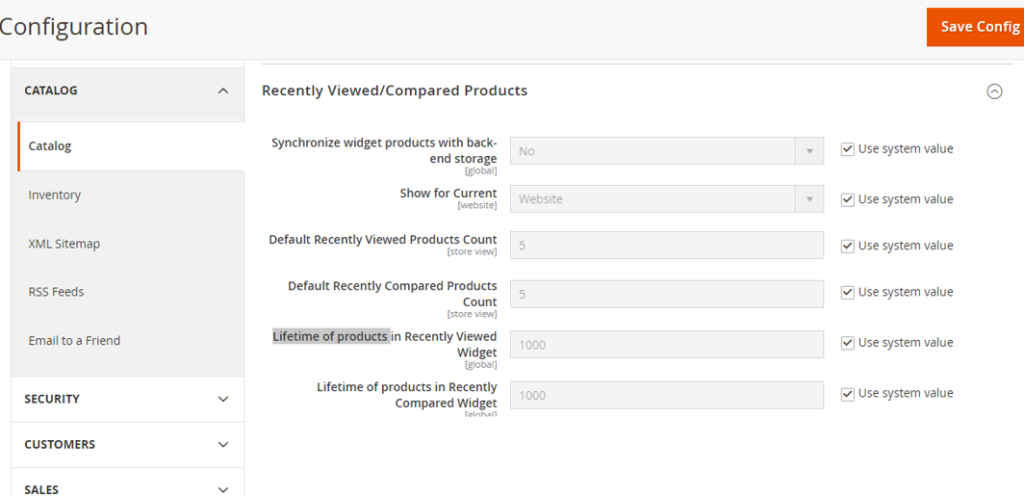
Step [3] – Expand the Right Panel Calculation Settings section.
Step [4] – Set Catalog Prices to Including Tax.
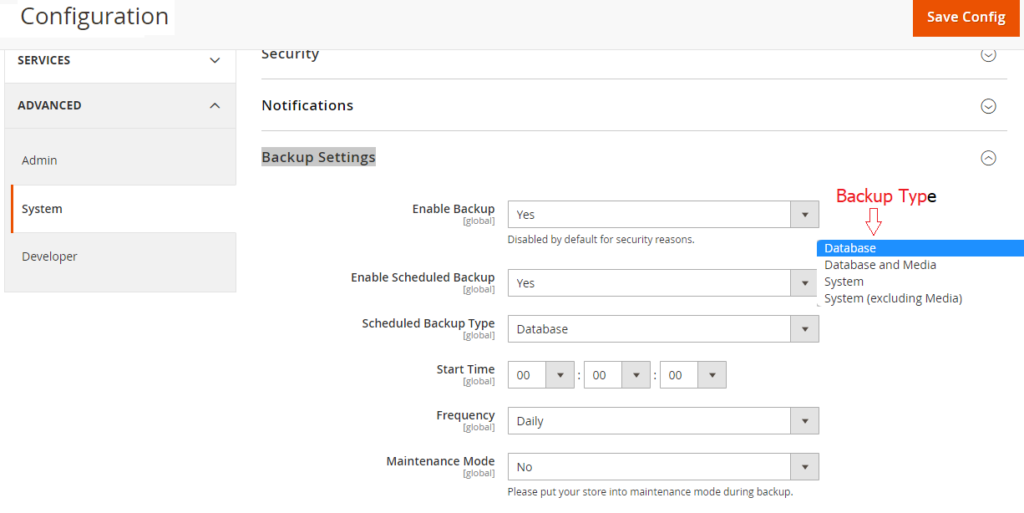
Step [5] – To enable cross-border price consistency, set Enable Cross Border Trade to Yes.
Step [6] – Finally click on Save Button & Cross Border Trade has been enabled.
Company, Quick Order & Requisition List are major part of B2B Adobe Commerce.
The following steps need to follow.
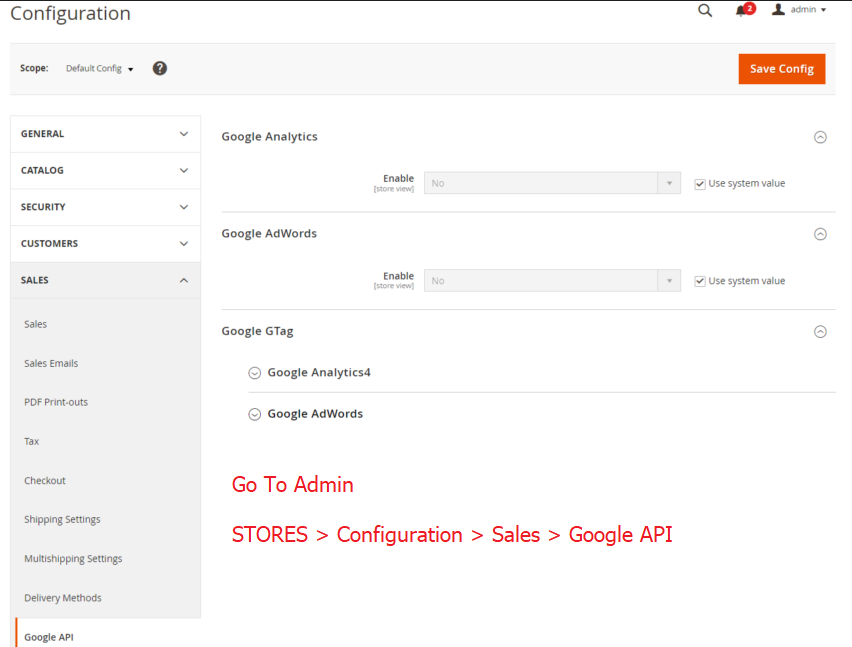
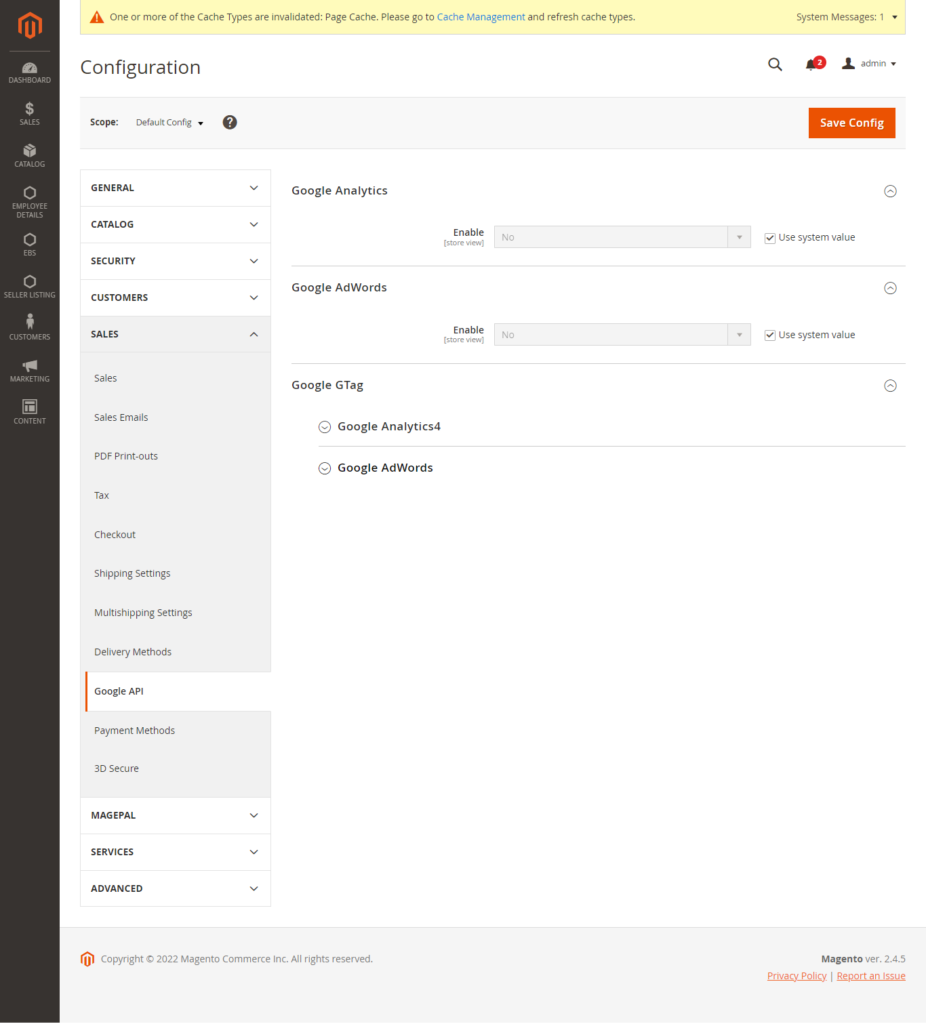
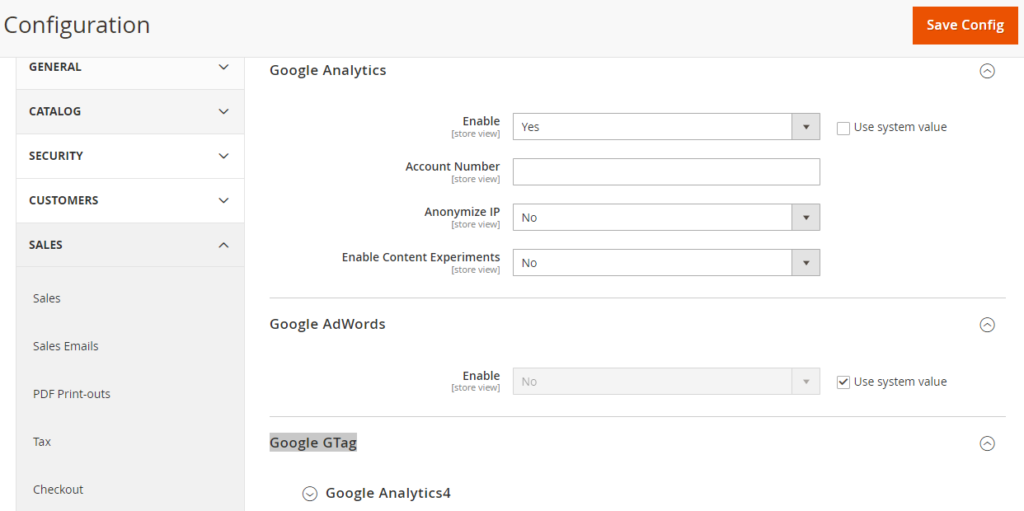
Step [1] – Go STORES > Configuration, redirects Configuration section.
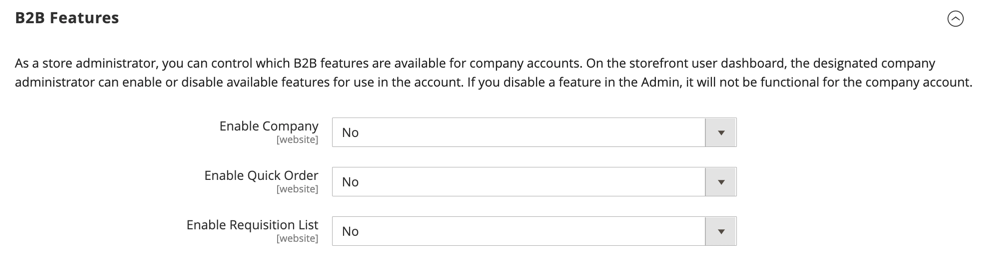
Step [2] – In the left panel under General > B2B Features and enable the basic features
Enable Company:: Select Yes to enable company to allow customers to manage their own company. accounts
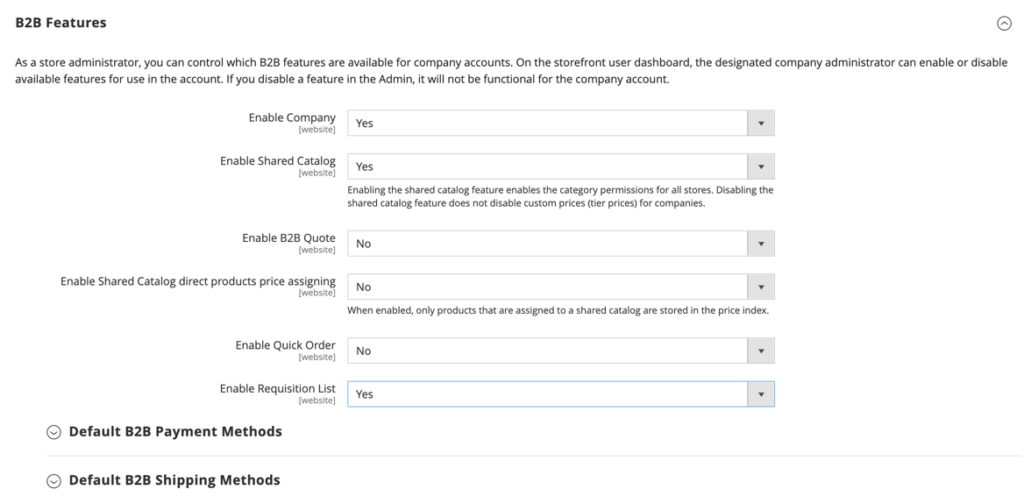
Once Enable Company selected Yes, The following three below things opened
Enable Shared Catalog:: Once this field is enabled, It is allowed curated catalogs with custom pricing that are available either globally, or limited to specific companies
Enable B2B Quote:: Once this field is enabled, Catalog field is set to Yes, this option is available. When enabled, only products that are assigned to a shared catalog are stored in the price index. Products that are not assigned to the shared catalog are not displayed on the storefront
Enable Shared Catalog:: Once this field is enabled, It is allowed company buyers to submit a request for a quote from the shopping cart.
Enable Quick Order:: To allow customers and guests to quickly place orders based on SKU or product name, set Enable Quick Order to Yes.
Enable Requisition List:: To allow customers to create and manage requisition lists from their account dashboard, set Enable Requisition List to Yes.
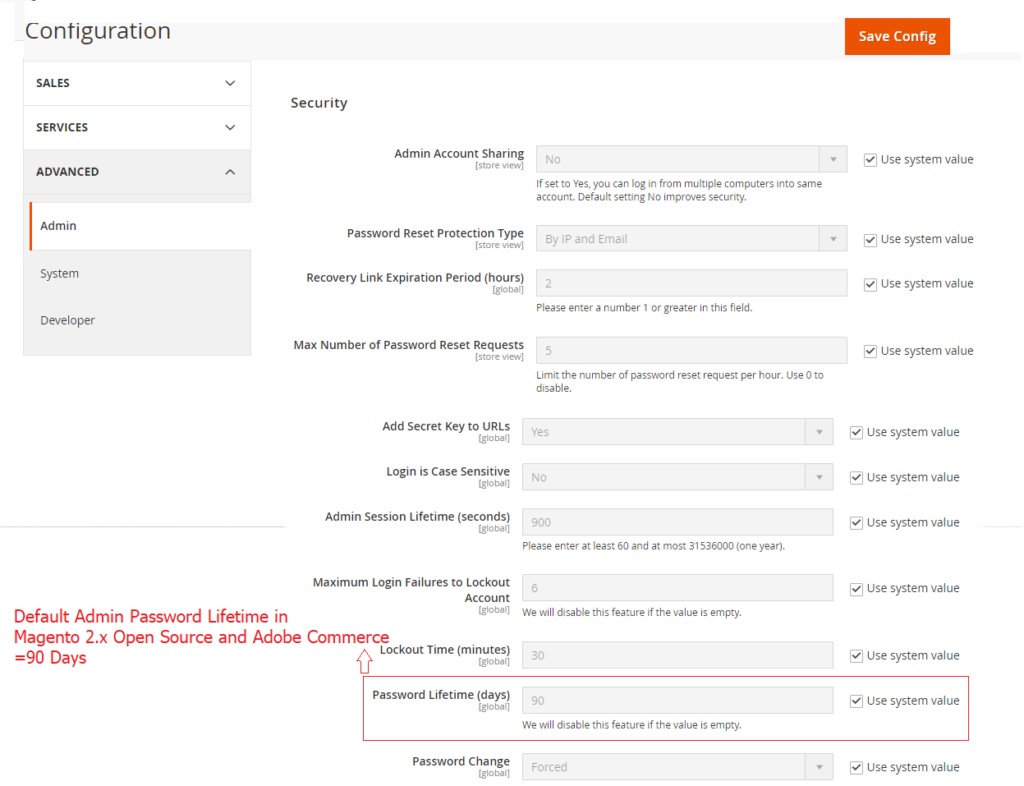
The Security. txt file format is used to provide security researchers the information they can use to report their findings. Merchants can enter their contact information regarding security issue reporting from the Magento 2.x / Adobe Commerce Admin
Security. txt is set of Security standard to define the process for security researchers to disclose security vulnerabilities securely. security. txt files have been implemented by Google, Bling, Yahoo, Facebook, GitHub, the UK government, and many other organizations.
Step [1] – Go STORES > Configuration, redirects Configuration section.
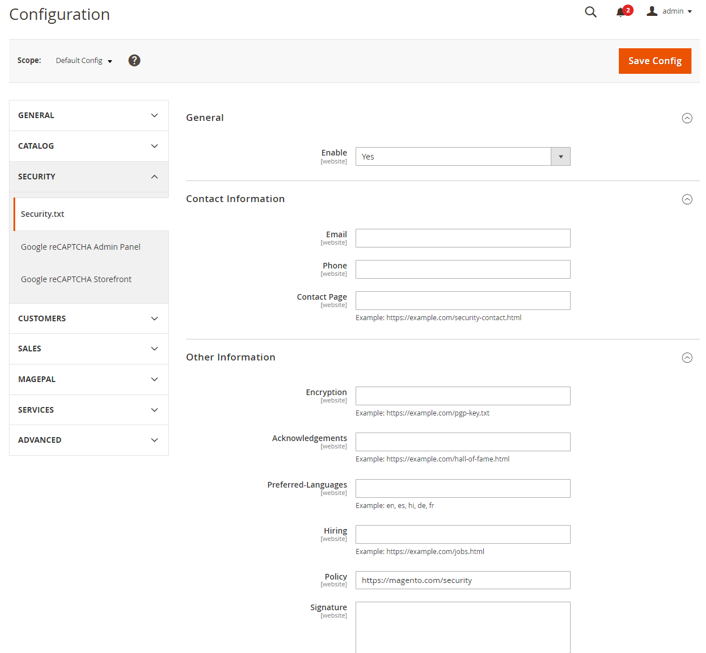
Step [2] – Left Side Panel Click on SECURITY > security.txt
By Default Security.txt disabled
Step [3] – Once Click Enable (Select from drop down) below Tab display
“once enable, Creates the security.txt file based on information entered in the Contact information and Other information sections”
Contact Information:: Need to enter below information
Email
Phone
Contact Page
Other Information:: Need to enter below information
Encryption
Acknowledgements
Preferred-Languages
Hiring
Policy
Signature
If you want to create the signature file, then you have to use the command line: