Magento version 2.4.3 has been released on 10th August 2021 (for Commerce and Open Source), which will provide a better on-site shopping experience for customers & improved more security & improved performance with latest features
There are following Magento 2.4.3 latest features
[1]- A new Composer plugin has been introduced that prevents dependency confusion and identifies malicious packages with the same names as internal packages on the public package repository
[2]- Rate limiting is in built to Magento APIs that prevents denial-of-service (DoS) attacks. Web APIs now impose restrictions on the size or number of resources
[3]- ReCAPTCHA has been extended that protects against spam, hacking , attacking etc. ReCAPTCHA will be disabled as default for the Place Order storefront page and payment-related web APIs. This can be enabled from the Admin panel.
[4]- PayPal Pay Later, new paypal modified has been introduced, now customers need to pay for an order byinstallments instead of paying the full amount at time of purchase.
[5]- Admin ACL concept has been modified as those admin users are assigned access to one website only)can no longer edit categories set to Global scope.
[6]- Turns off validation on the Price field as expected when the Dynamic price setting is enabled during bundle product creation
[7]- Page Builder replaces the TinyMCE editor in the following Admin areas:
Whatever content created by TinyMCE has been migrated into Page Builder as HTML
[8]- The bin/magento setup:db:status command now returns a message indicating that everything is up-to-date after a successful upgrade
[9]- No longer throws an exception when you run bin/magento setup:upgrade to upgrade from a Magento Open Source deployment with Redis to Adobe Commerce
[10]- Once Product added it to an order, removes a product from a wish list.
[11]- Customer now able to add related products to their shopping cart from a wish list. Previously, only added the configurable product, not the configurable product and its related products when a shopper clicked the Select all link of the Related Products section
[12]- Videos are now available in the product gallery.
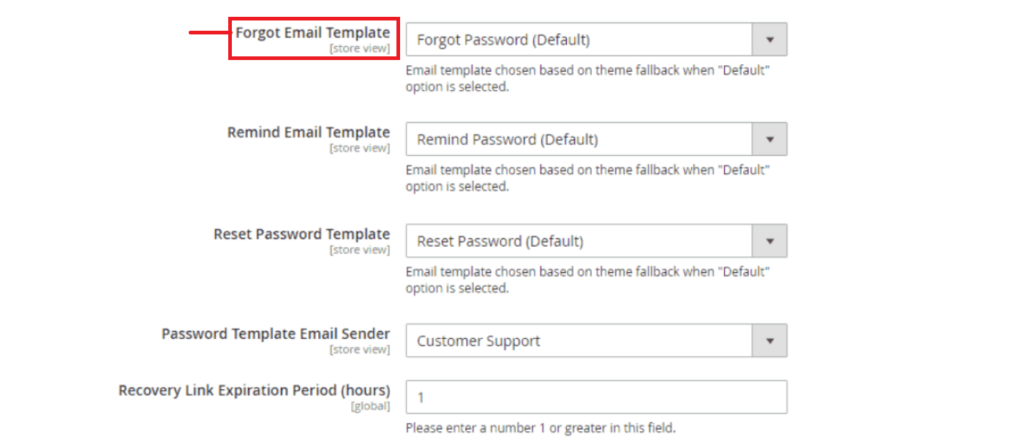
[13]- It uses the correct email template when sending email to new users, Previously, It uses the default template even when a custom template was selected.
[14]- ACL user role (Admin System > Permissions > User Roles) with the entire Catalog tree selected excluding Edit Product Design ( Catalog > Inventory > Products > Edit Product Design).
[15]- GraphQL is applicable for shared routes as route query and RoutableInterface support routing requests on product, category, and CMS pages. The urlResolver query has been deprecated, and its functionality has been superseded by the route query.
[16]- New composer plugin has been introduced that performs integrity checks during installation to reduce the vulnerability known as dependency confusion.
[17]- Provides Live Search, provides an enhanced search experience by using Artificial Intelligence and Machine Learning concept
[18]- Now Page builder is now available with the Magento 2.4.3 Community Edition [Open Source]
[19]- It fixes over 370 new fixes to core code and 33 security fixes and platform security improvements, protects against remote code execution (RCE) and cross-site scripting (XSS) vulnerabilities.
[20]- Enhancement, the following below functional areas and the quality framework
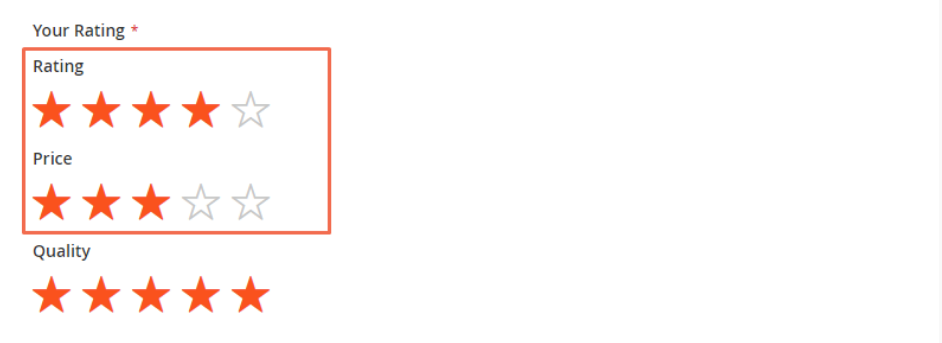
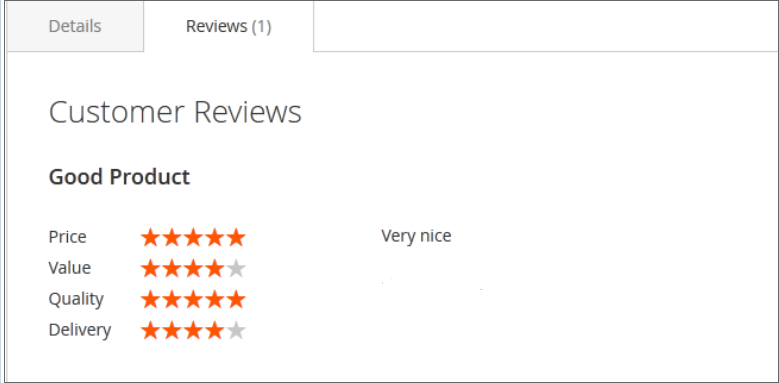
As previous post Products Review , similarly, users are also able to leave a product rating. Magento 2 allowed to manage the ratings and create custom ratings.
Frontend Ratings format as below
If Admin user wants to add custom, also able to add custom Ratings
There are following below things , how to manage & apply Ratings
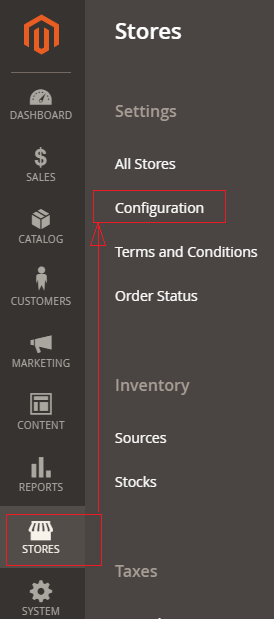
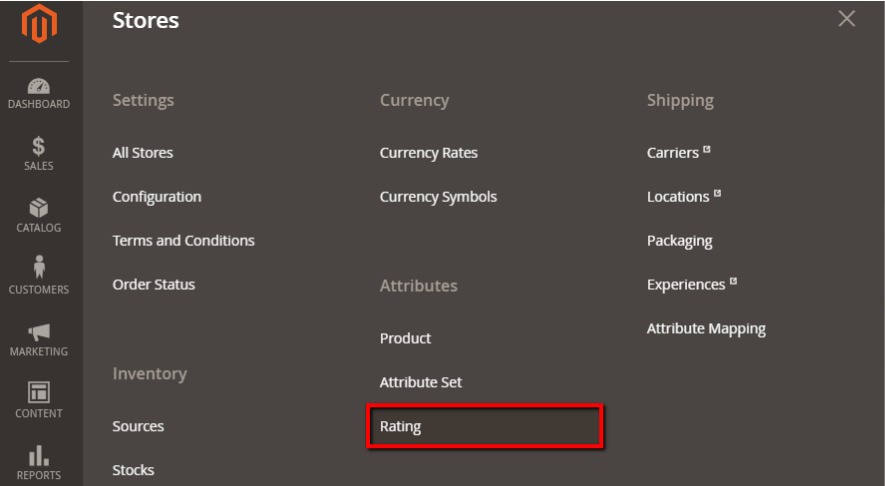
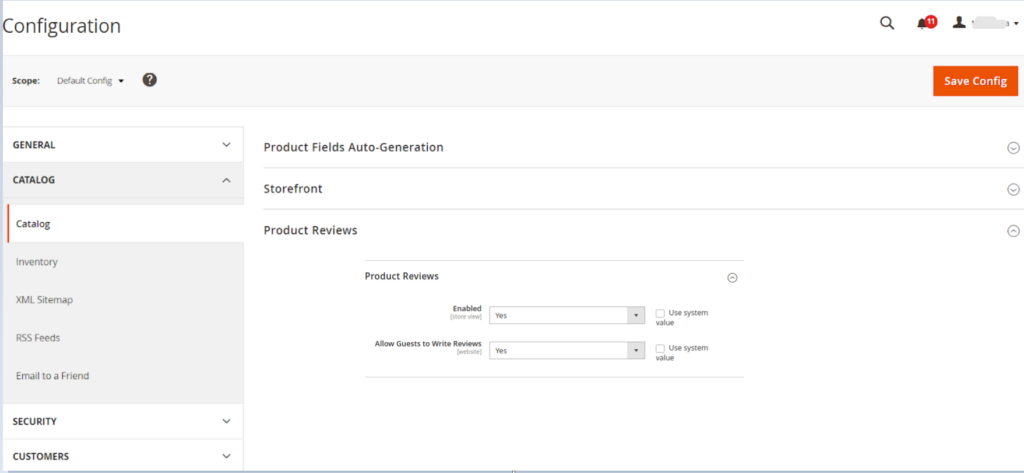
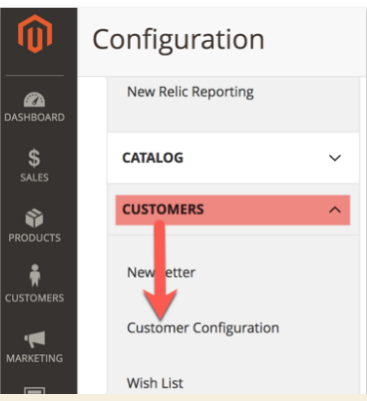
[1] Go STORES > Configuration, redirects Configuration section.
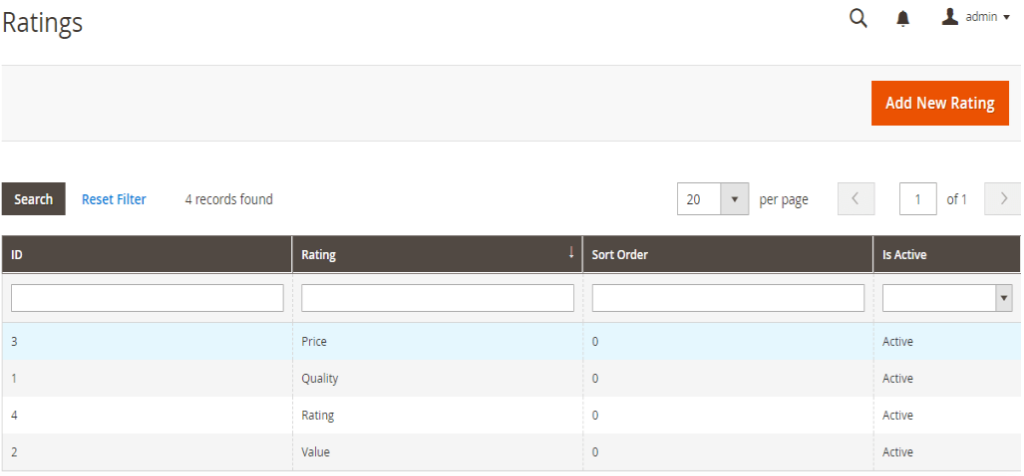
[2] Once clicked on Rating, It redirects on Rating Listing page as below
There are following four type Ratings & activate by default
Rating
Quality
Price
Value
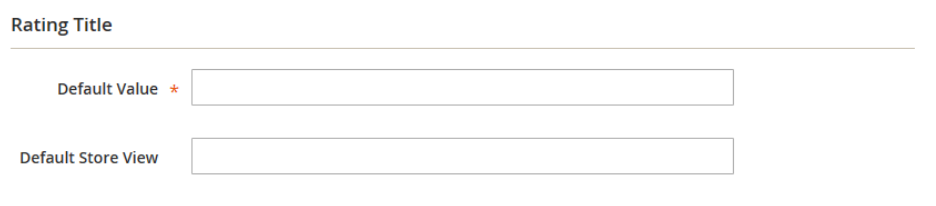
[3] Create new Rating clicked on Add New Rating,
In Default Value, enter the default value for the new rating. If you are using multiple store view, fill store view value.
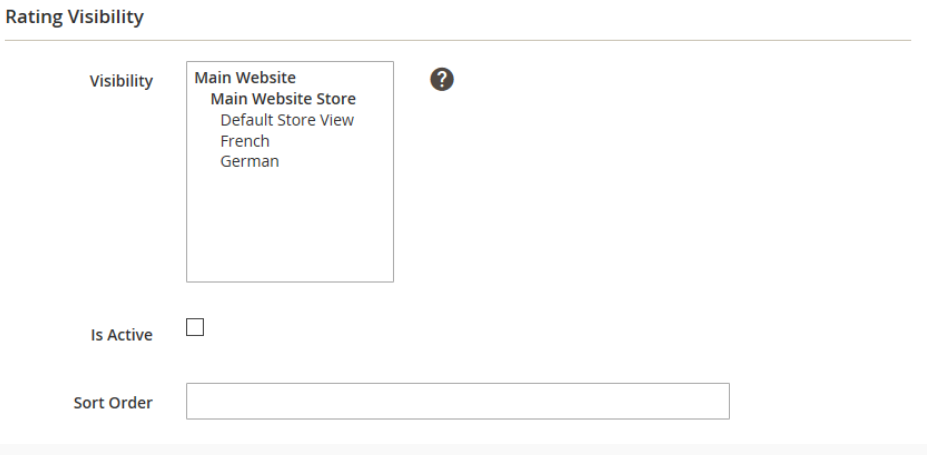
Visibility: set the visibility for the store views you want to show the rating. .
Is Active: click on the checkbox to active the value.
Sort Order:, enter the order of the rating value in the frontend.
[4] Finally clicked on Save Button , custom Rating will be applicable on frontend.
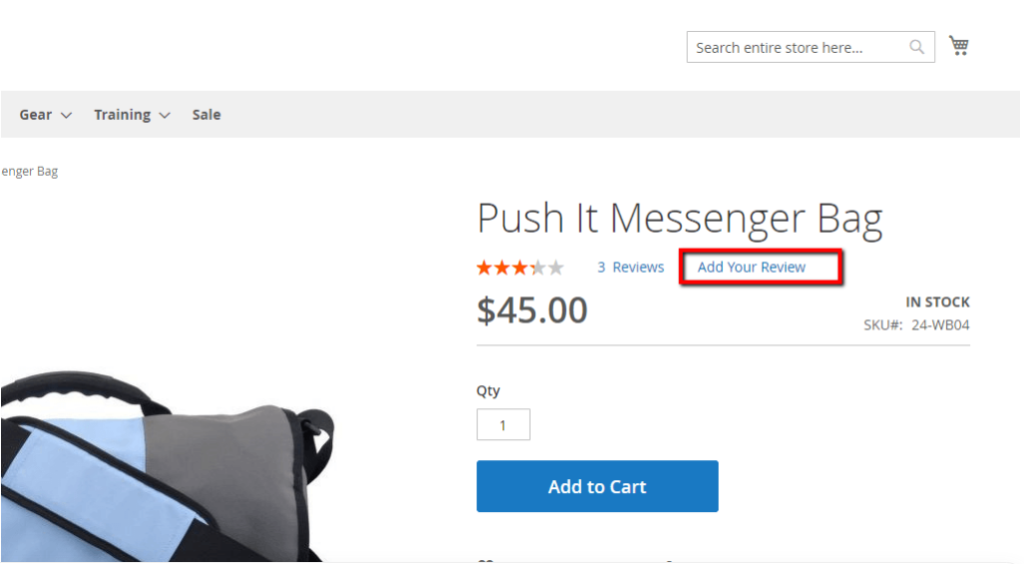
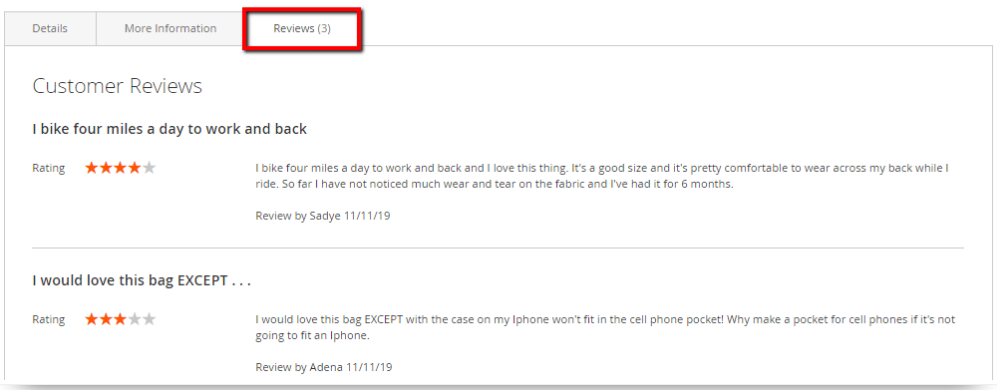
Once clicked on Add Your Review Button, users are able to add their reviews, & once Admin user approved , enable to display on frontend as below
There are following below things to follow to manage Product Reviews
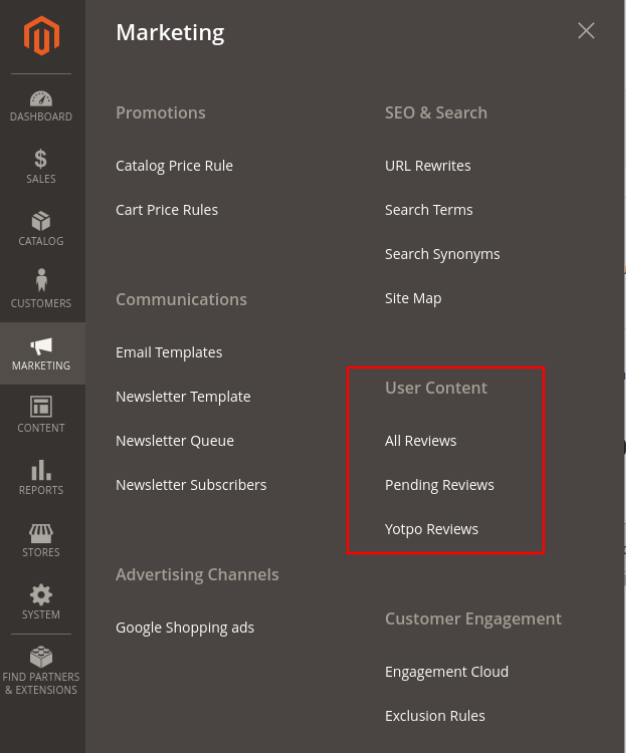
[1] Go to Marketing > User Content > All Reviews.
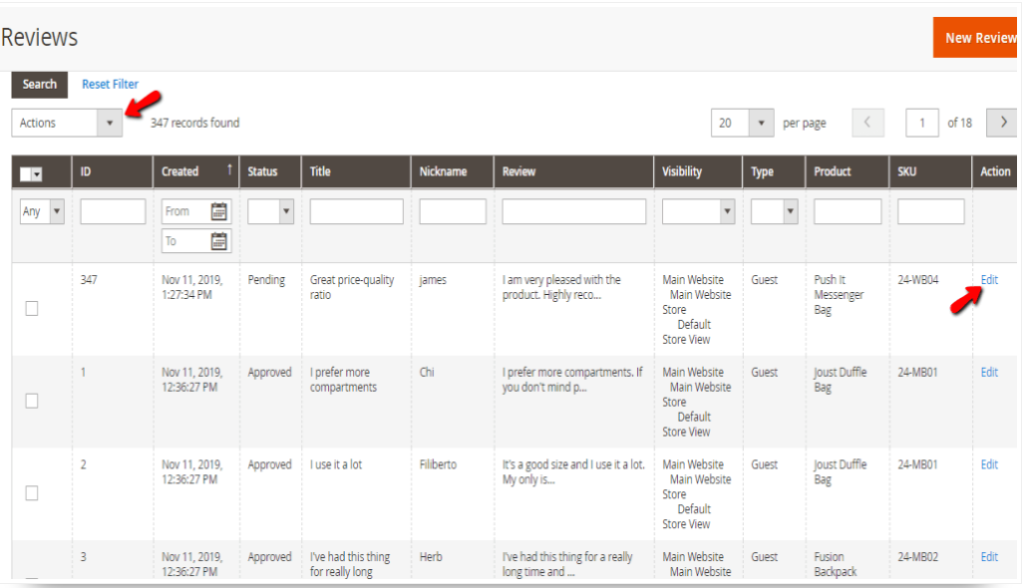
[2] Once clicked on All Reviews, following review list displaying with combination of Approved & Pending Reviews Data
If Admin user wants to delete any set of displaying Reviews Data, need to checked , Review Checkbox & select Delete Button from Top Left side Actions drop down
In case of bulk Approved or Pending Reviews , checked multiple Reviews & select Approved or Pending option form Top Left side Actions drop down
[3] In case edit Review, clicked on right side Edit Button will be displayed as
There are following below things about Product Reviews
Product: Display product name.
Author: Display user name who posted the review. In case of “Guest” user means the user who left the review was not logged in his account.
Summary Rating: Display the star rating.
Detailed Rating: Display the star rating and allows Admin user to edit it , in case required.
Status: Display drop down having values as Pending & Approved by using this dropdown menu Admin user will be able to change the status of the review. In order to display the review on the store frontend, need to select Approved
Nickname: Display the reviewer and allows Admin user to edit name.
Summary of Review: Display the review summary and allow Admin user to edit any typos and spelling error.
Review: Display detailed content of the review & also allows Admin user to edit.
Once things has been updated , Finally clicked on Save Review
It is process comparing similar products before deciding which one to buy, There are many available products, buyers / customers can compare products on the bases of price, size, colour, discount etc comparison, before having purchase decision.
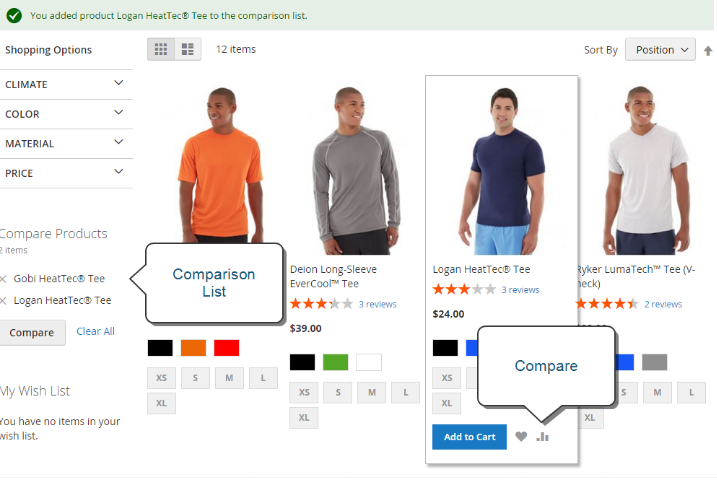
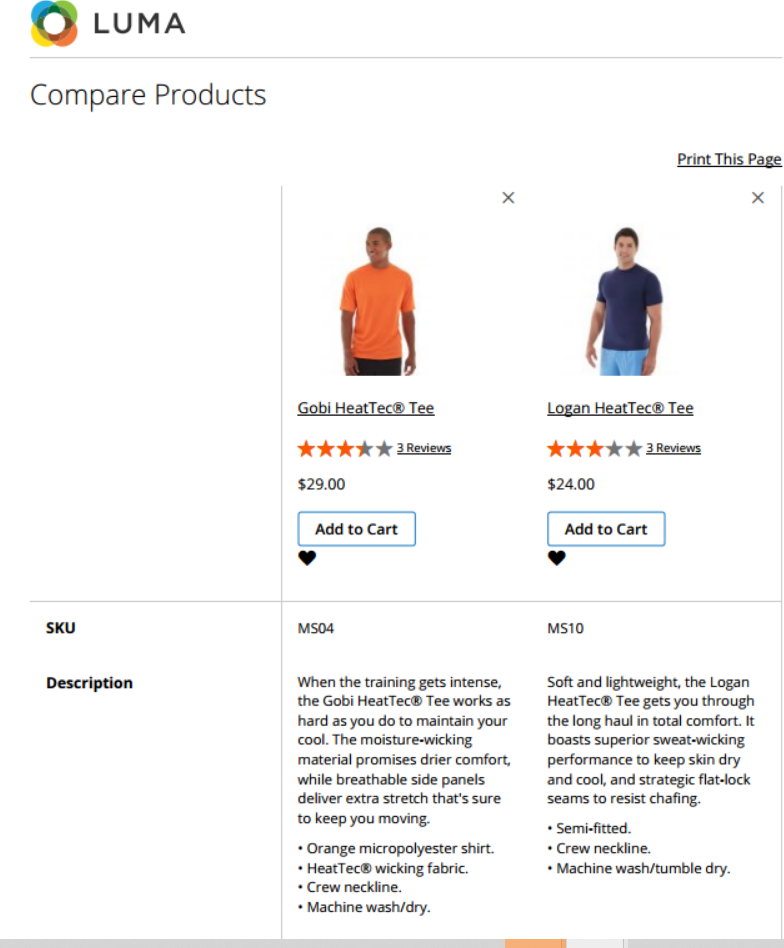
Magento 2 Compare Products generates a detailed comparison or side-by-side comparison of two or more products on the bases of price, size, colour, discount etc comparison, before having purchase decision.
By Default The Compare Products block usually appears in either the left or right sidebar of a catalog page.
After comparing Product Logan Heatec Tee & Global Heatec Tee
Similarly, customers can add more products to compare.
There are following below things need to follow to Enable & Disable Compare Products
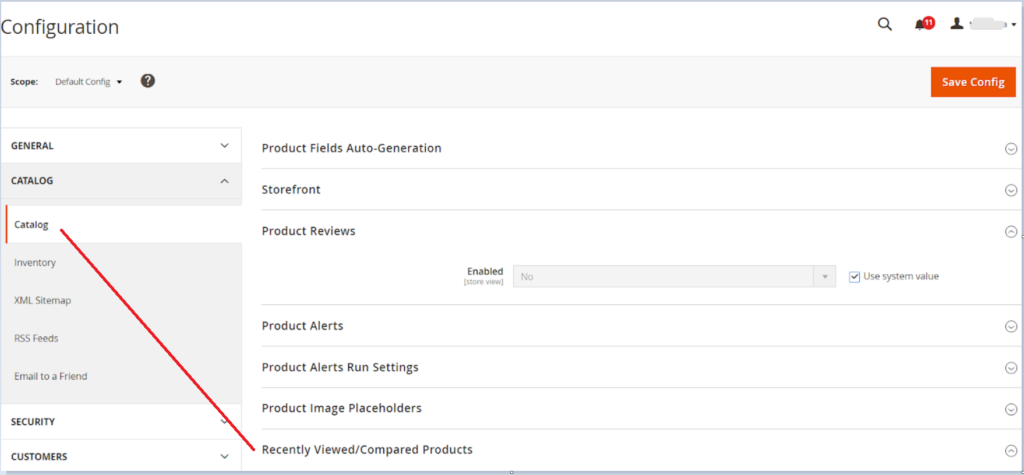
[1] Go STORES > Configuration, redirects Configuration section.
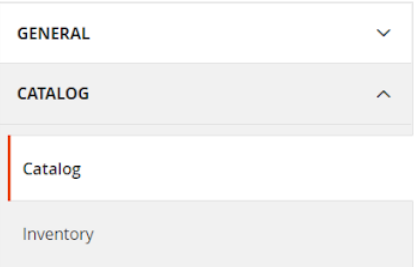
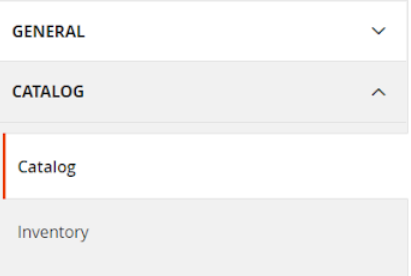
[2] Left panel under Catalog, choose Catalog
[3] Go to Catalog & Expand the Recently Viewed/Compared Products section & follow below things
Once Recently Viewed/Compared Products section expanded, It is view as below
Set Show for Current to the website, store, or store view where the configuration applies.
In the Default Recently Viewed Products Count field, enter the number of recently viewed products to appear on the list. In the Default Recently Compared Products Count, enter the number of recently compared products to appear in the list.
There are following below things need to follow to enable Magento 2 One Page Checkout.
Step-[1] Go STORES > Configuration, redirects Configuration section.
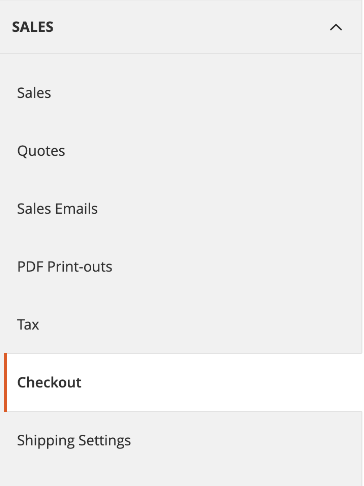
Step- [2] Go To Sales > Checkout
Once clicked on Sales, display multiple values , need to click on Checkout.
Step- [3] Once Clicked on Checkout, displayed checkout options as below image, There are following below Checkout Things are given
Enable One Page Checkout: By Default enable , if Admin User wants to disable, need to select No from Drop Down, Finally One Page Checkout will be disabled.
Allow Guest Checkout: By Default enable , if Admin User wants to disable, need to select No from Drop Down. Finally Guest Checkout will be disabled.
Display Billing Address On: By Default Payment Method selected, There are two Values given , Once Clicked on Drop Down
Payment Method: If selected Billing Address will be displayed on Payment Method
Payment Page: If selected Billing Address will be displayed on Payment Page
Enabled Terms & Conditions: By Default Payment No selected, If Yes selected Enabled Terms & Conditions checkbox will be displayed.
Maximum Number of Items to display in Order Summary: By Default 10 Products are being displayed, if filled more than 10, Total no of products will be more than 10 in Checkout Order Summary
Enable Address Search: By Default No
Step- [4] Click on Save Config button & run CLI command Flush
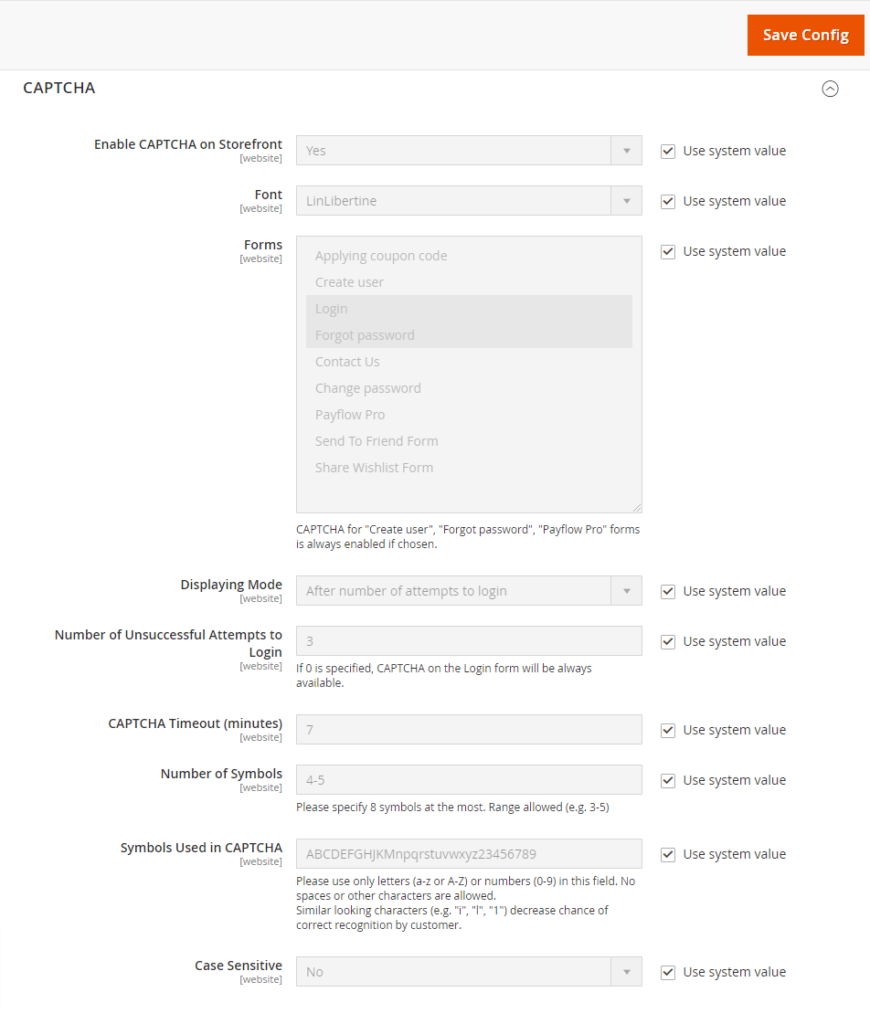
[3]- Go To Forms section. There are following below each CAPTCHAForm field details described.
Note : Each form field use system value checked, if you want to modify need to uncheck.
[3.1] – Enable CAPTCHA on Storefront : Select Yes from drop down, by default Yes selected.
[3.2] – Font : Select font, by default font LinLibertine selected
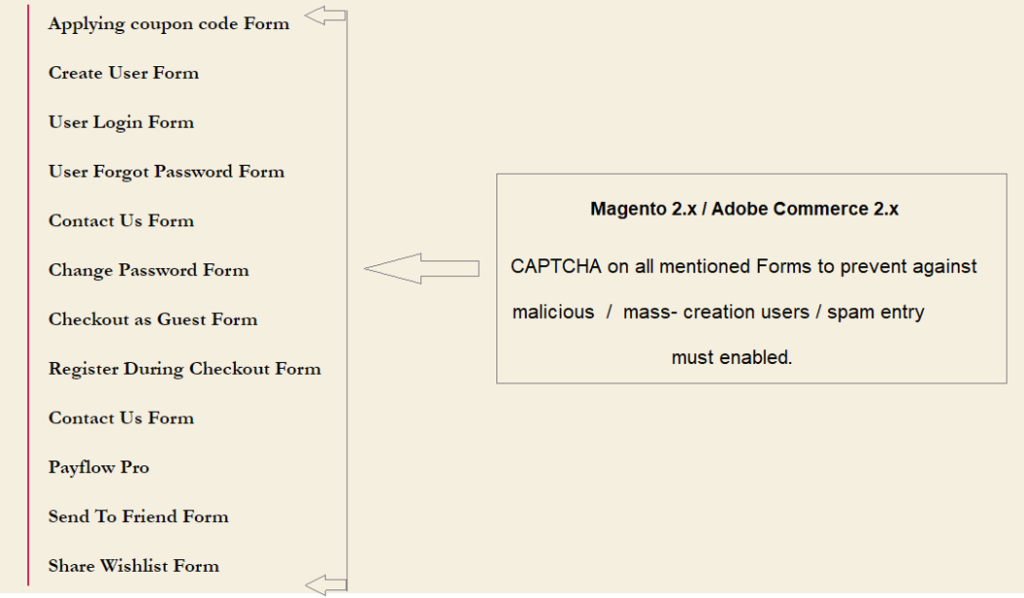
[3.3] – Forms : select any form or set of form as
Applying coupon codeForm
Create UserForm
User Login Form
User Forgot Password Form
Contact Us Form
Change Password Form
Checkout as Guest Form
Register During Checkout Form
Contact Us Form
Payflow Pro
Send To Friend Form
Share Wishlist Form
once selected any form or set of form, Captcha will be enabled.
By Default User Login Form & User Forget Password Form Captcha enabled
[3.4] – Displaying Mode : Two option are here as After number of attempts to login or Always
By default After number of attempts to login selected, It means number of login attempts , CAPTCHA will be displayed, number of login attempts defined next step.
[3.5] – Number of Unsuccessful Attempts To Login : By default 3 attempts, if 0 selected CAPTCHA will be always displayed on forms.
[3.6] – CAPTCHA Timeout (minutes) : By default 7 minute specified, as per store requirement, need to modify.
[3.7] – Number of Symbols : By default 4-5 , as per store requirement, need to modify.
[3.8] – Symbols Used in CAPTCHA : By default combination of Capital Alphabet, Small Alphabet & Number (0-9).
It only allows combination of Capital Alphabet, Small Alphabet & Number (0-9), Never allowed Spaces, Character, Special Character
[3.9] – Case Sensitive : By Default, No selected, as per store requirement, need to modify.
[4]- Finally click on save button & now Magento 2 website / store User Login Form & User Forgot Password form now ready with CAPTCHA
Website / Store protects against prevent against malicious/mass-creation users / spam entry after enabled CAPTCHA