Magento Magento 2.x & Adobe Commerce 2.x , Full Page Cache is the Free In Built service for smart caching solution that allows to reduce the server load time, speed performance and improves the response time due to the fast loading of API, Block, CMS, Product, & Catalog pages.
The following below steps need to follow to create Custom 404 Page.
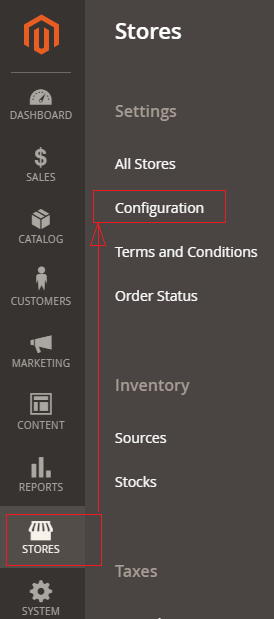
Step [1] – Go To STORES > Configuration, redirects on configuration.
Step [2] – Left Panel Clicked on Advanced > System redirects on [Right Panel]
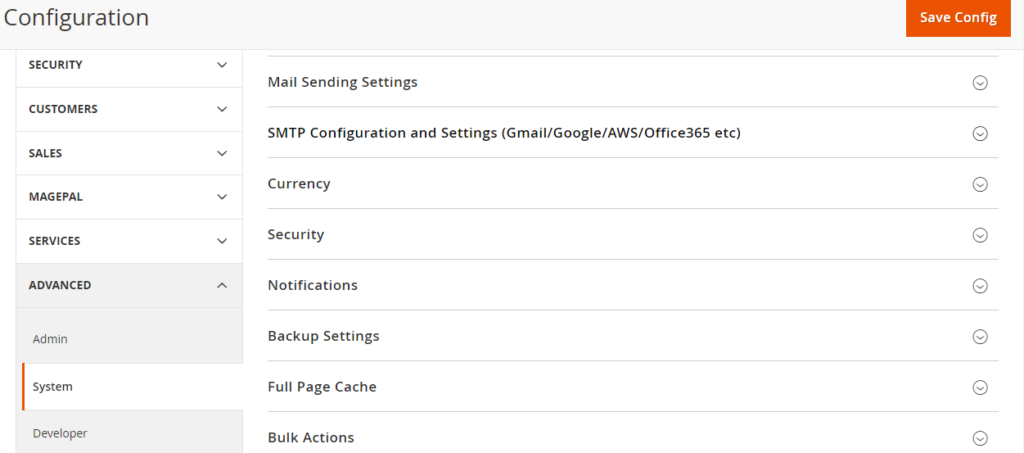
Step [3] – Click on Full Page Cache of Right Panel
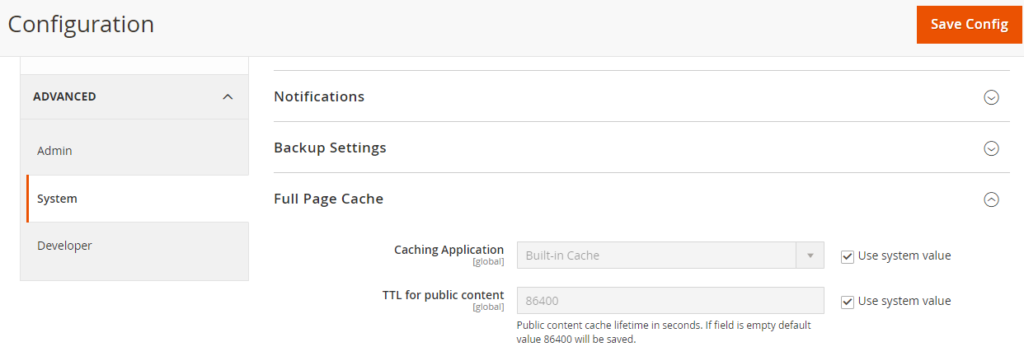
By Default Full Page Cache Enabled (Built-in Cache)
The following below Two Set Caching Application
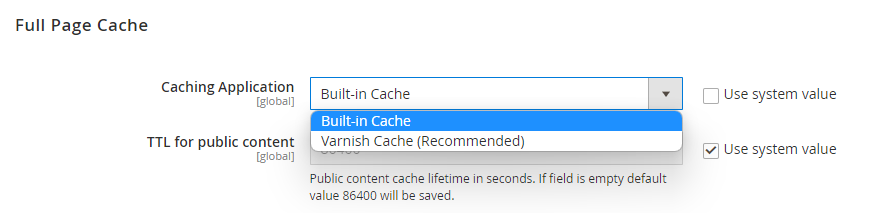
[a] – Built-in Cache
[b] -Varnish Cache (Recommended)
To set the timeout for the page cache, enter the TTL for public content. (The default value is 86400)
Step [4] – Once Varnish Cache Enabled, The following below things need to do.
Varnish Cache Always Enabled in Production
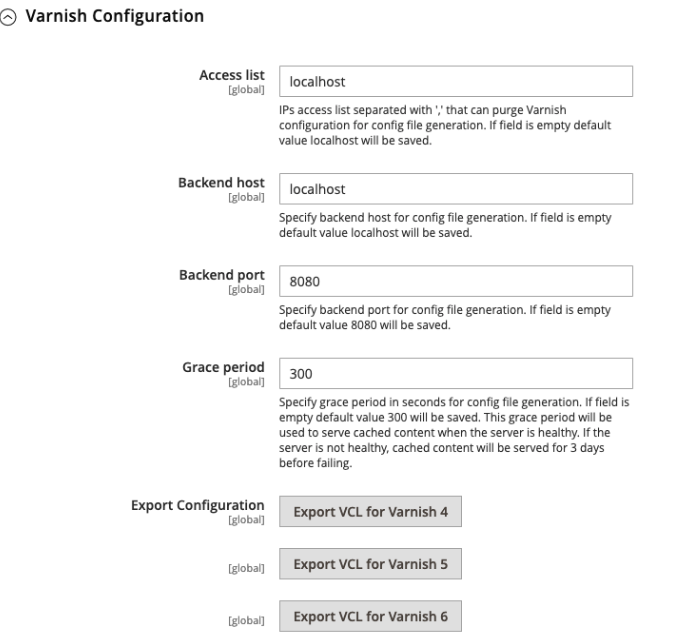
Access list – Need to enter IP addresses that can purge the Varnish configuration to generate a config file. Developer can also fill multiple entries with a comma value. By default localhost.
Backend host – Need to enter the IP address of the backend host that is is used to generates config files. By default localhost.
Backend Port – Need to specify backend port, By default 8080
Grace Period – Need to specify Grace Period to generate config files.
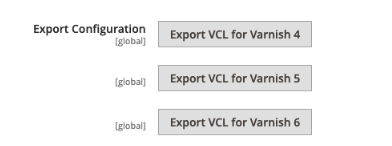
To export the configuration as a varnish.vcl file, click the button for the version of Varnish that you use.