
The following below steps explain Shopify Admin Panel Overview Step By Step
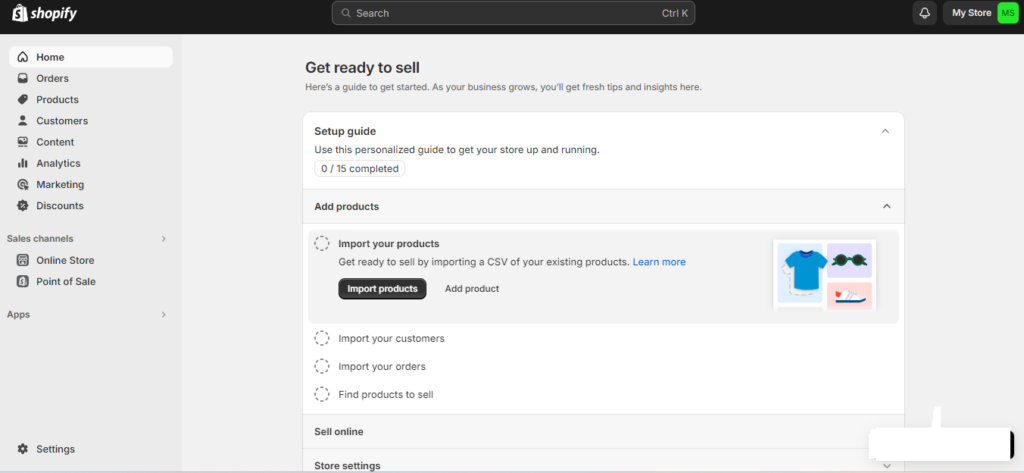
Step [1] – Once Login Shopify Admin Dashboard displaying as below.
Left Panel display all Menu Items
- Home
- Orders
- Products
- Customers
- Content
- Analytics
- Marketing
- Discounts
- Sales Channel –> Online Store
- Sales Channel –> Point of Sale
- Apps
- Settings
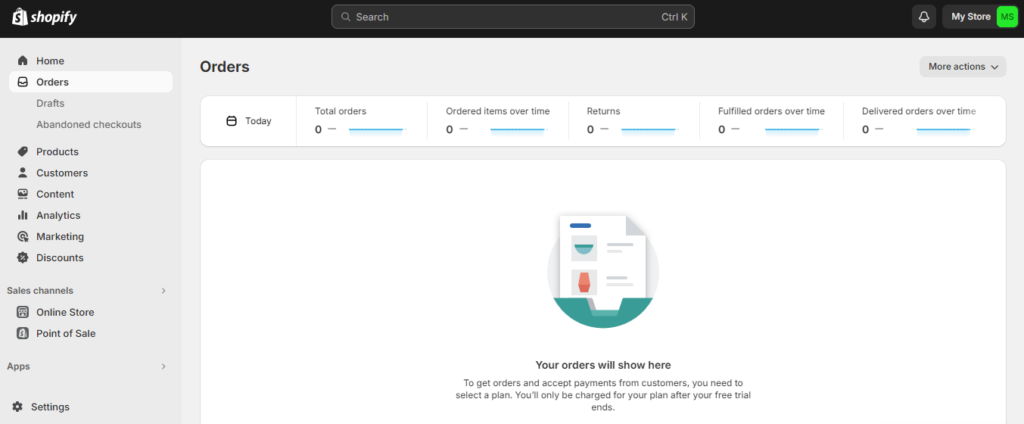
Step [2] – Click on Left Panel Orders
- Orders:: Display listing of all Orders Listing
- Drafts:: Display listing of all Draft Orders Listing
- Abandoned Checkouts:: Display Those customers whom added products in Cart & trying to checkout but they did not succeed payment process for their added shopping cart products
Step [3] – Click on Left Panel Products
- Collection:: Display list of all Products (Physical Products, Digital Products(MP3, Video etc.), Service Products(Movie Tickets, Online Coaching, Events Registration)
- Inventory:: When you enable inventory tracking on your products, you can view and adjust their inventory counts here.
- Purchase Orders::Track and receive inventory ordered from suppliers.
- Transfers:: To create a transfer you’ll need more than one location, Move and track inventory between your business locations
- Gift Cards:: Supports all Gift Cards type products (Physical, Virtual, [Virtual + Physical] )
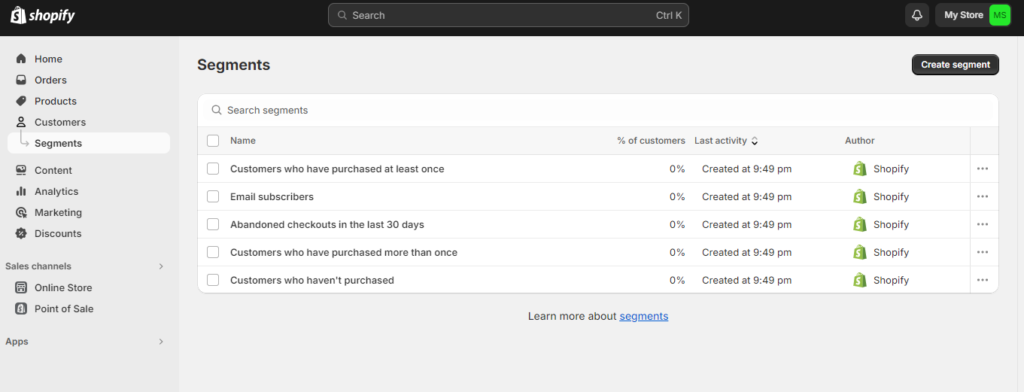
Step [4] – Click on Left Panel Customers
Manage customer details, see customer order history, and group customers into segments.
Segmentation applied on the bases of
- Customer’s address
- Customer’s Order History
- Customer’s Shopping Cart Content
- Customer’s Age
- Customer’s Gender
Step [5] – Click on Left Panel Content
- Metaobjects:: Metaobjects allow you to group fields and connect them to different parts of your store. Use them to create custom content or data structures.
- Files:: Upload and manage your files & can be images, videos, documents, and more.
Step [6] – Click on Left Panel Customers
Display Sales Details as Total Sales, Sales by Channel, Average Orders etc.
- Reports:: Display Sales, Customers, Cart, Gross Profits etc.
- Live View:: Display live store view as graphics view.
Step [7] –Marketing:: Display Marketing related things
- Campaigns:: Display Campaigns listing
- Automations:: Marketing automations are set up once and run for as long as you want.
Step [8] –Discounts::
Create discount codes and automatic discounts that apply at checkout. You can also use discounts with compare at prices.
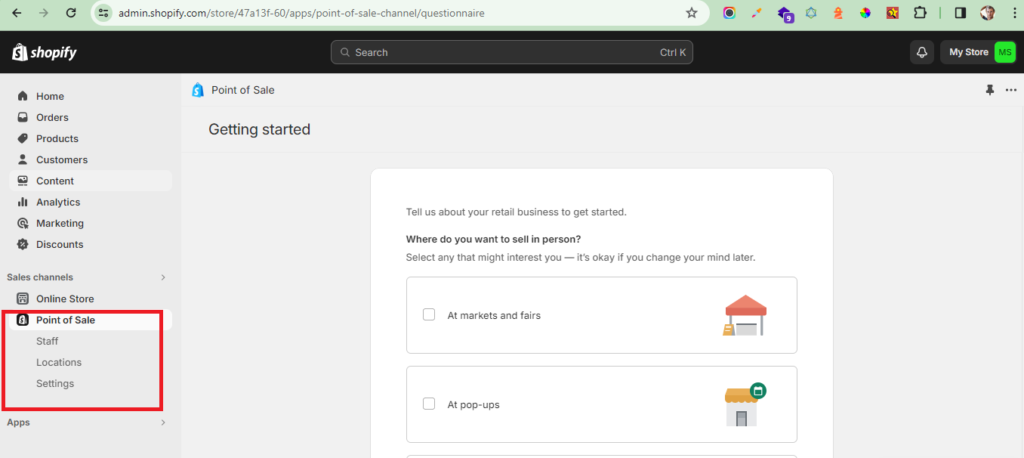
Step [9] – Sales channels :: having Two Parts
[a] Online Store
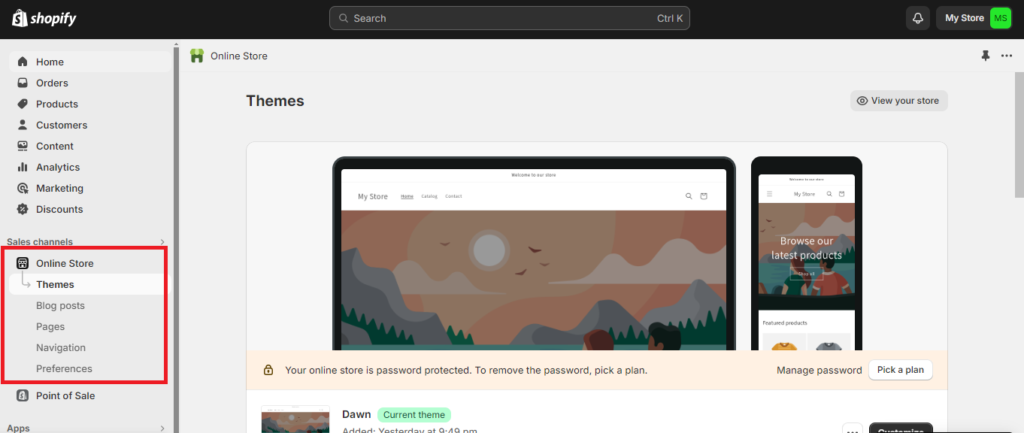
[b] Point of Sale
Step [10] – Apps::
Once you need to Install third party plugins click on Apps & search your desired plugins as per your Business Need.

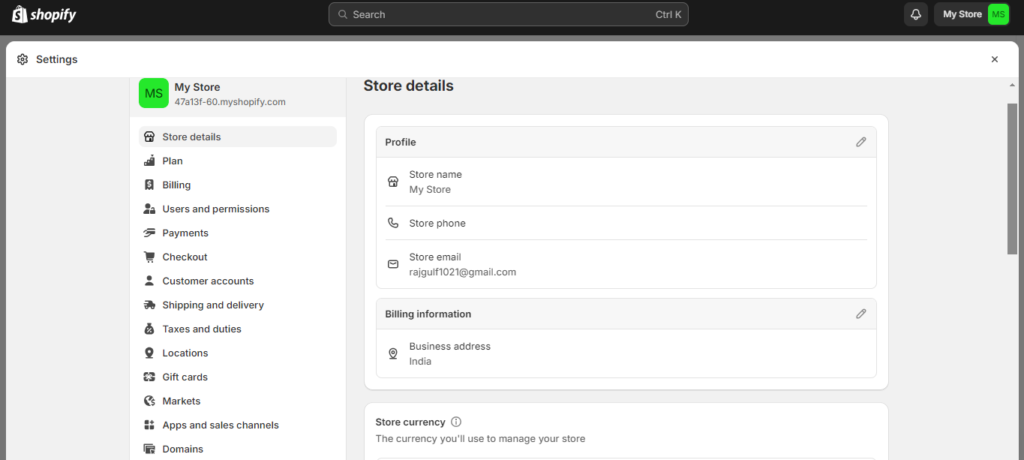
Step [11] – Settings::
By Settings page, you can manage your Shopify subscription plan, store type, and store status.
On this page
Update your plan
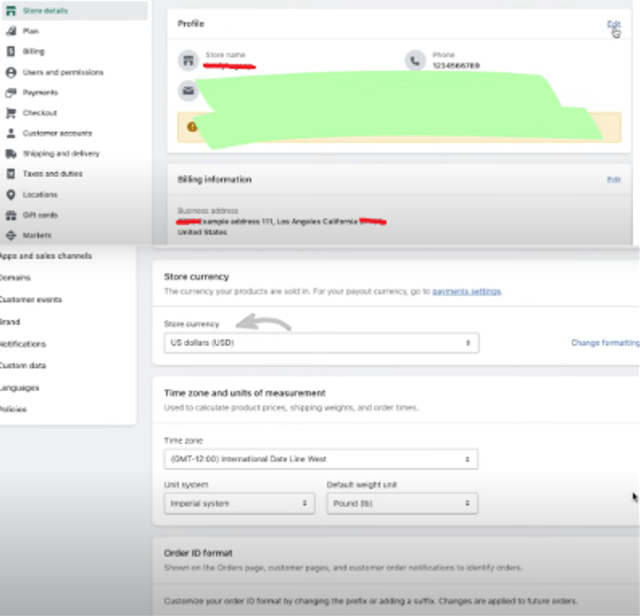
Change your store address
Change your store type
Change your store owner account email
Change your store’s customer-facing email address
Change the store owner’s profile
Step [12] –
Step [13] –
Step [14] –
Step [15] –
Step [16] –
Step [17] –
Step [18] –
Step [19] –
Step [20] –
Step [21] –
Step [22] –
Step [23] –
Step [24] –
Step [25] –
Step [26] –
Step [27] –
Step [28] –
Step [29] –
Step [30] –
Step [31] –
Step [32] –
Step [33] –
Step [34] –
Step [35] –
Step [36] –
Step [37] –
Step [38] –
Step [39] –
Step [40] –
Step [41] –
Step [42] –
Step [43] –
Step [44] –
Step [45] –
Step [46] –
Step [47] –
Step [48] –
Step [49] –
Step [50] –