


The Following below admin setting required to add Store Information in Magento 2 Store.
Step [1] – Go STORES > Configuration, redirects Configuration section.
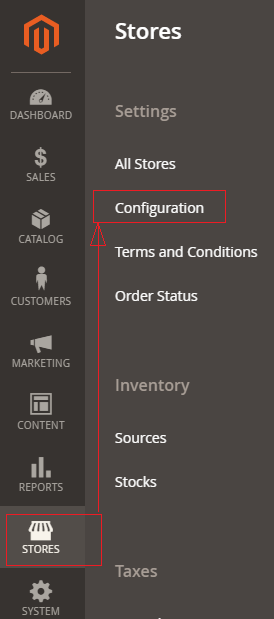
Step [2] – Left panel, choose GENERAL > General , redirects right Panel section
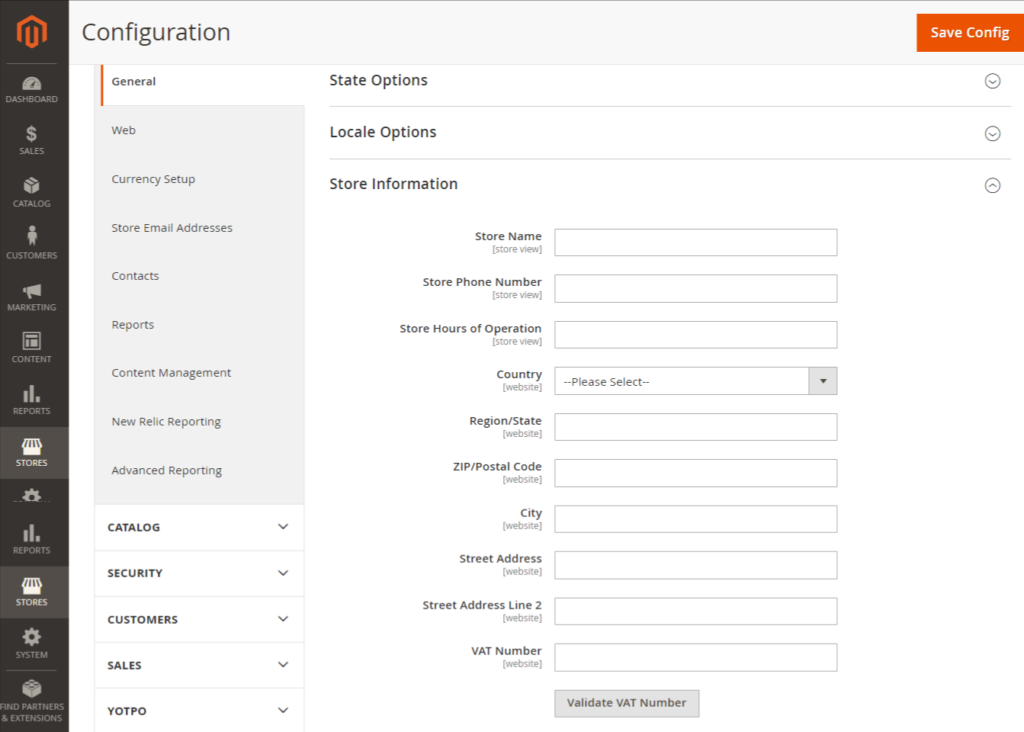
Once click on Store Information of Right Panel section, each field explained as below
- Store Name: Enter the name of your Business store
- Store Phone Number: Enter the phone number of your Business store
- Store Hours of Operation: Enter the working Hours of your Business store. For example, as Mon-Sat, 9 AM – 5 PM EST.
- Country: Select the country of your Business store location
- State: Select the state or region of your Business store location
- ZIP/Postal Code: Enter the zip or postal code of the city of your Business store location
- City: Enter the city of your Business store location
- Street Address: Enter the street address of your Business store location
- Street Address Line 2: Use this field if the address is too long
- VAT Number: Enter the VAT number of your Business store
Step [3] – Click on Save Config button & run CLI command Flush