
The following steps need to follow to generate SSH key in Windows – 10
Step [1] – Type cmd in windows 10 / 11 Search bar

Step [2] – Click Run as Administrator.
Step [3] – If prompted, click Yes in the Do you want to allow this app to make changes to your device? pop-up.
Step [4] – In the command prompt, type the following:
ssh-keygen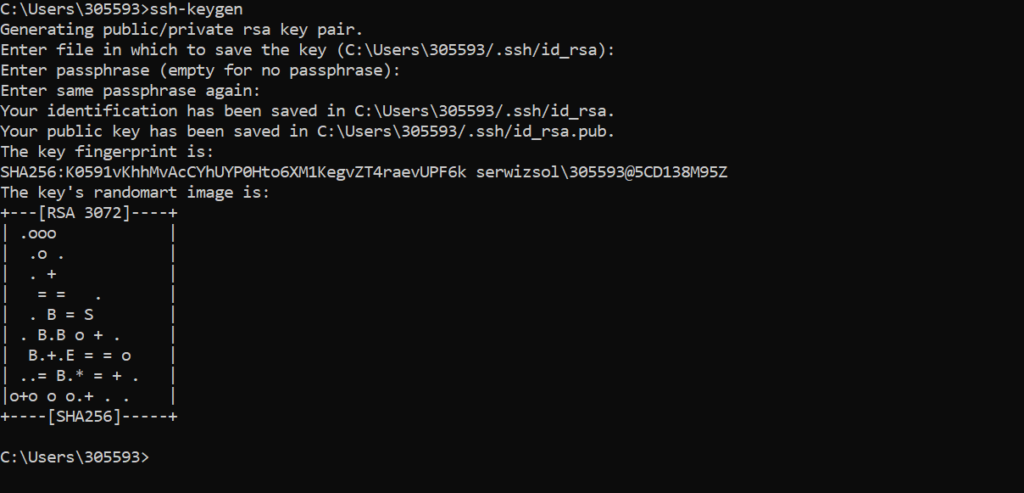
Step [5] – By default, the system will save the keys to C:\Users\your_username/.ssh/id_rsa. You can use the default name, or you can choose more descriptive names. This can help distinguish between keys, if you are using multiple key pairs. To stick to the default option, press Enter.
Step [6] – You will be asked to enter a passphrase. Hit Enter to skip this step.
Step [7] – The system will generate the key pair, and display the key fingerprint and a randomart image.
Step [8] – Open your file browser.
Step [9] – Navigate to C:\Users\your_username/.ssh
Step [10] – You must see two files. The identification is saved in the id_rsa file and the public key is labeled id_rsa.pub.
This is your SSH key pair.
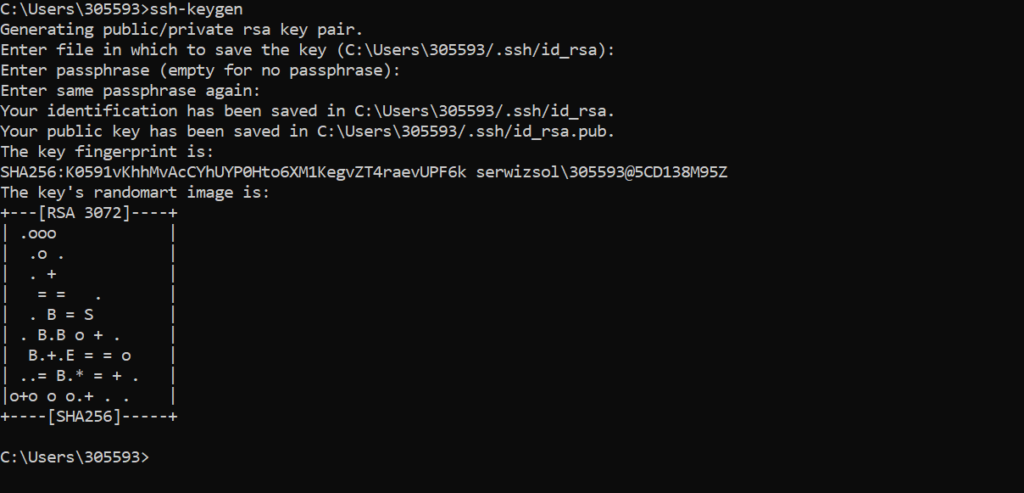
“The public key has been identified with the .pub extension”
“You can use Notepad / any other IDE to see the contents of both the private and public key.”
Step [11] – Public Key Path & Copy
Path : C:\Users\305593\.ssh
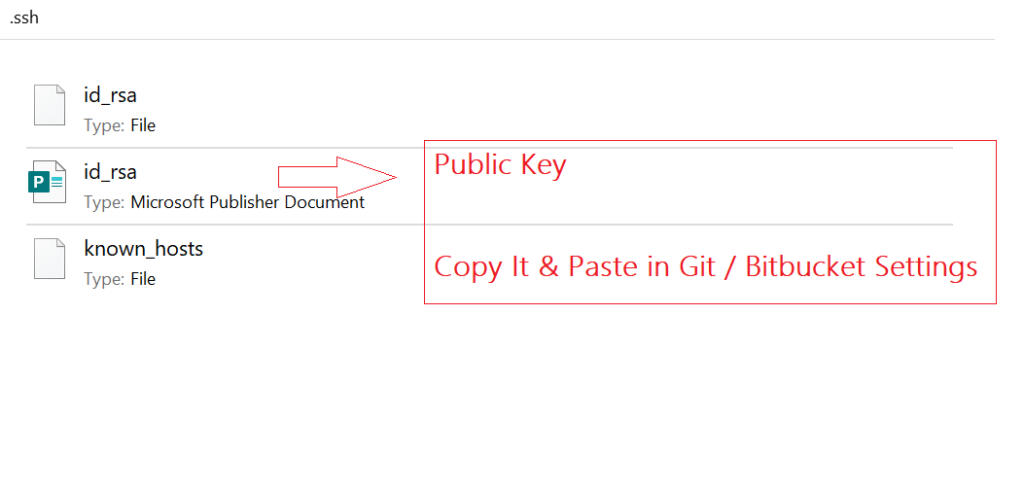
Copy Public Key:
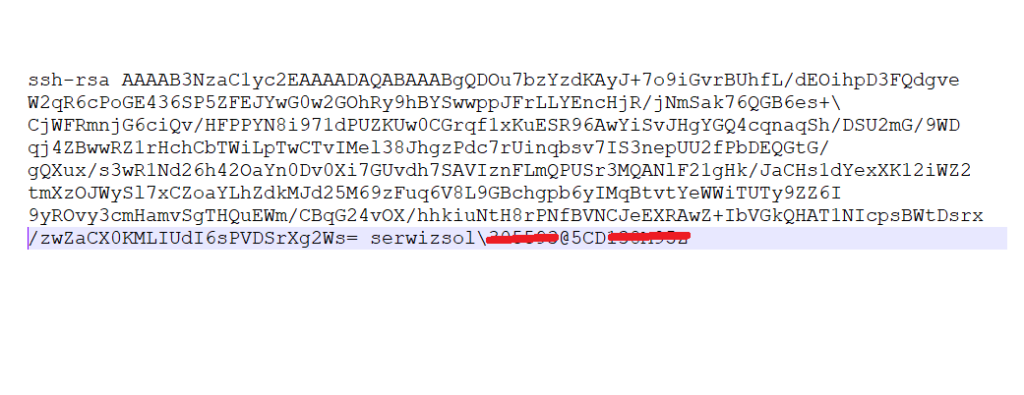
Step [11] – Go To Settings > Personal Settings [Git / Bitbucket] > SSH Keys > Add Key > Display POP Box Paste Copy SSH Key from previous step
Click on Save Button
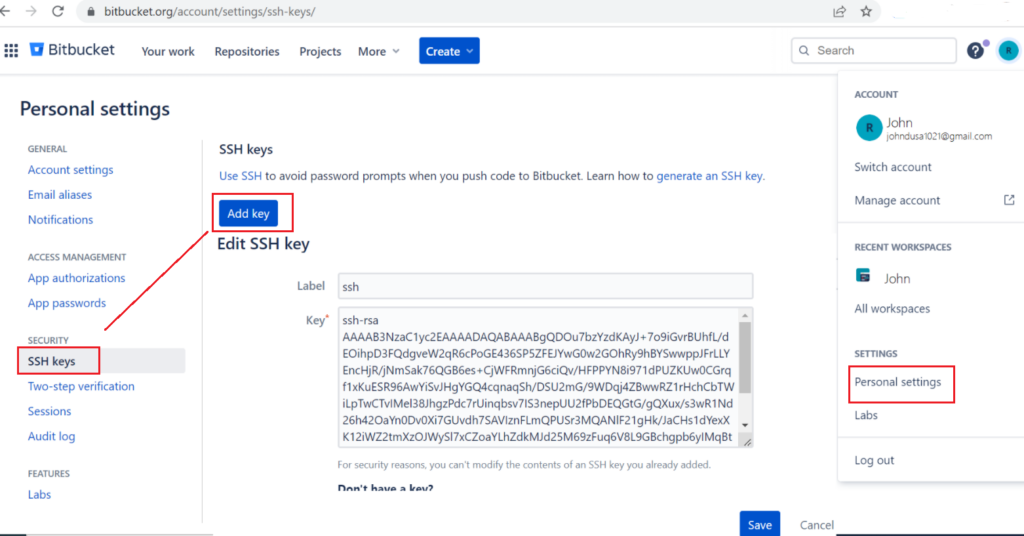
Step [12] – Finally your Machine ready to connect [Git / Bitbucket] Repository
How To Add SSH Key in Adobe Commerce Cloud Instance
Step [1] – After Logging in Adobe Commerce Cloud Instance
Step [2] – URL= https://accounts.magento.cloud/user
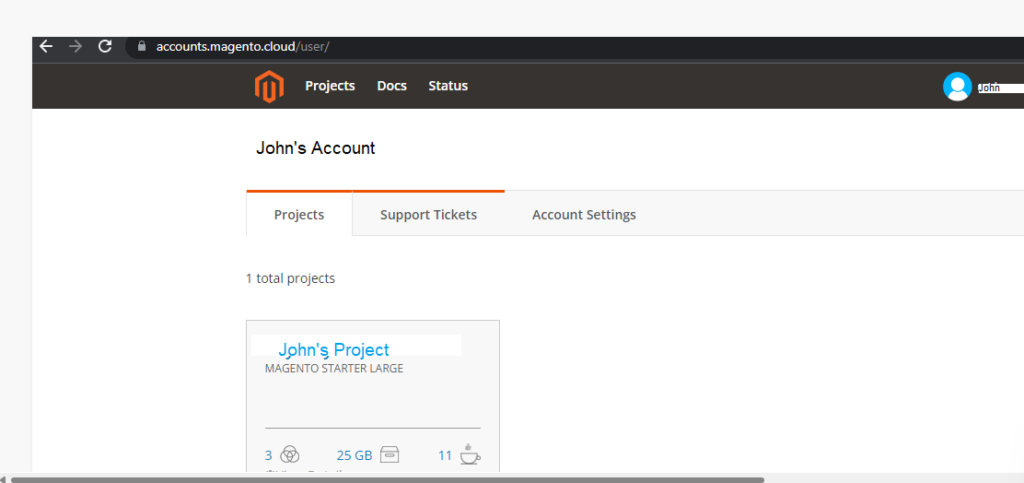
Step [3] – Click on Account Settings– display bottom form


Step [4] – Need To Click SSH Keys Tab & Once expand displaying as below.
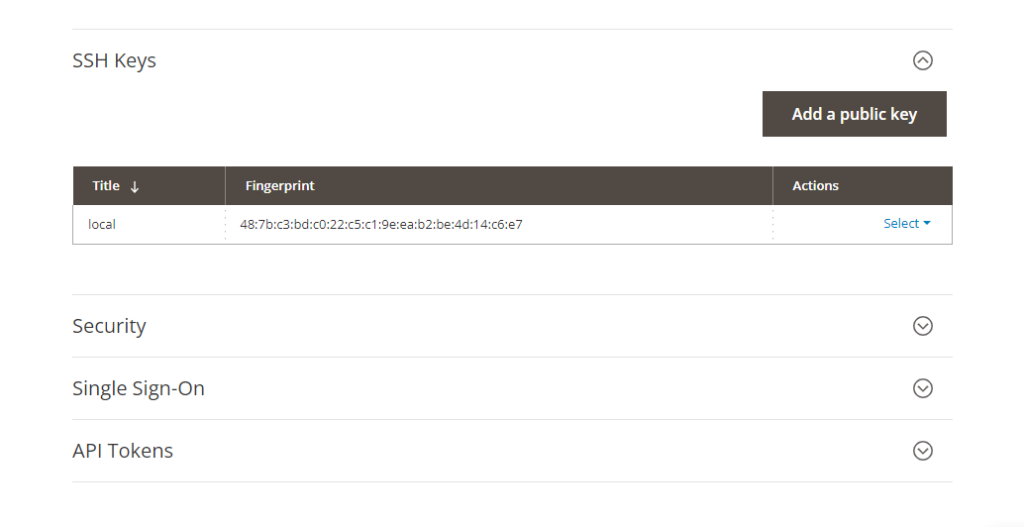
Step [5] – Click on button Add a Public Key > Opened a public key addition form & Paste your system public key here
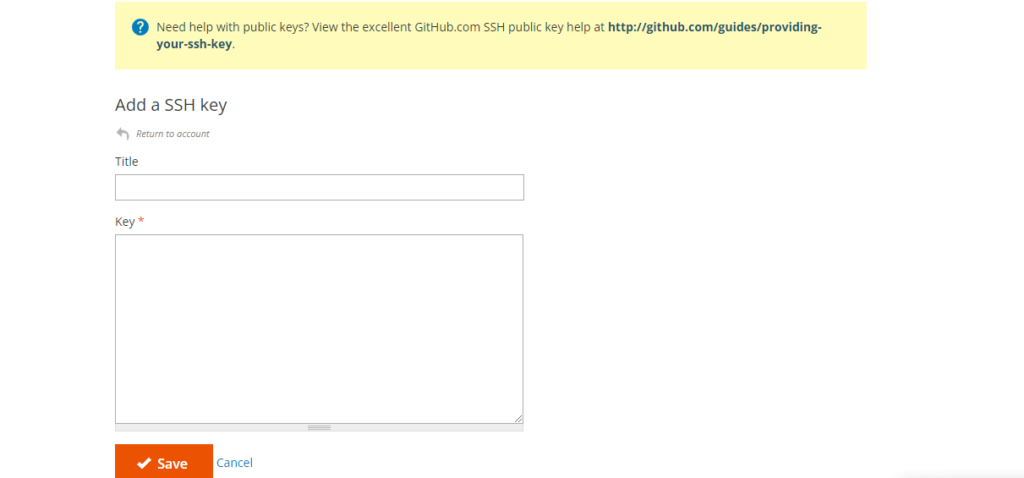
Step [6] – Finally click on Save Button
