Step [1] – Installation NGINX
sudo apt install
sudo apt install nginx
sudo service nginx start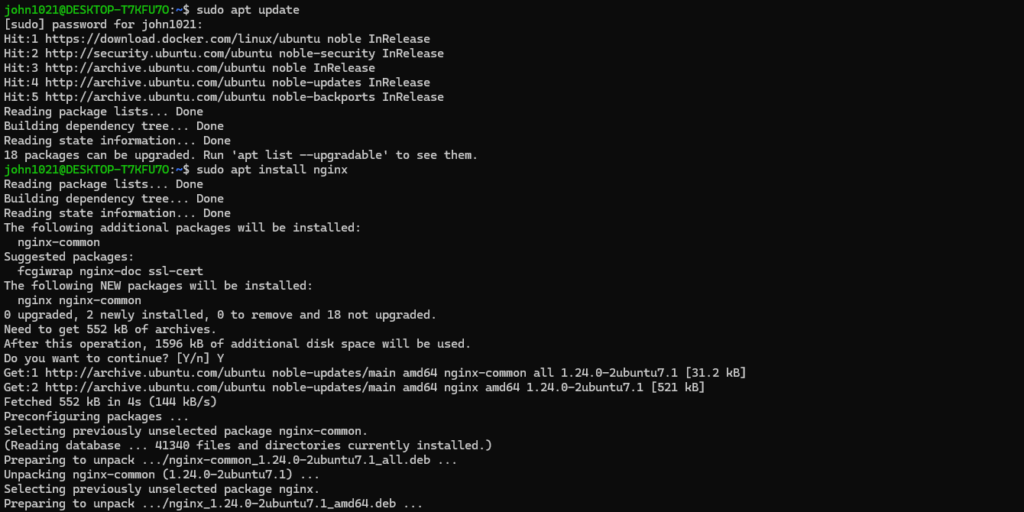


Step [2] – Install php 8.1
sudo apt install php8.1 libapache2-mod-php8.1 php8.1-common php8.1-gmp php8.1-curl php8.1-soap php8.1-bcmath php8.1-intl php8.1-mbstring php8.1-xmlrpc php8.1-mysql php8.1-gd php8.1-xml php8.1-cli php8.1-zip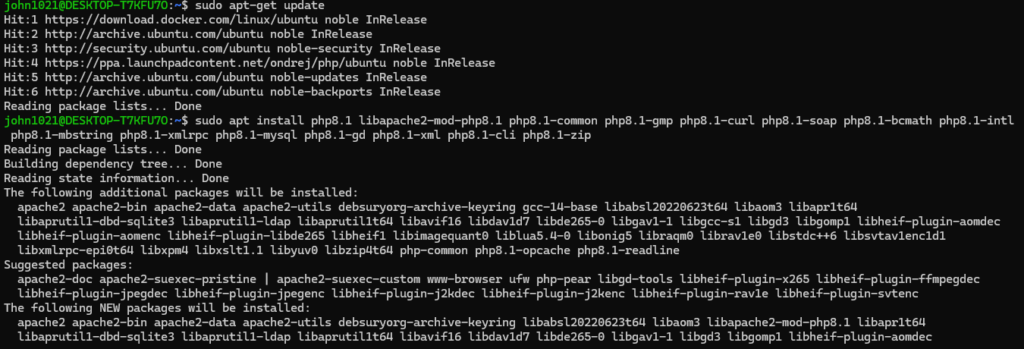
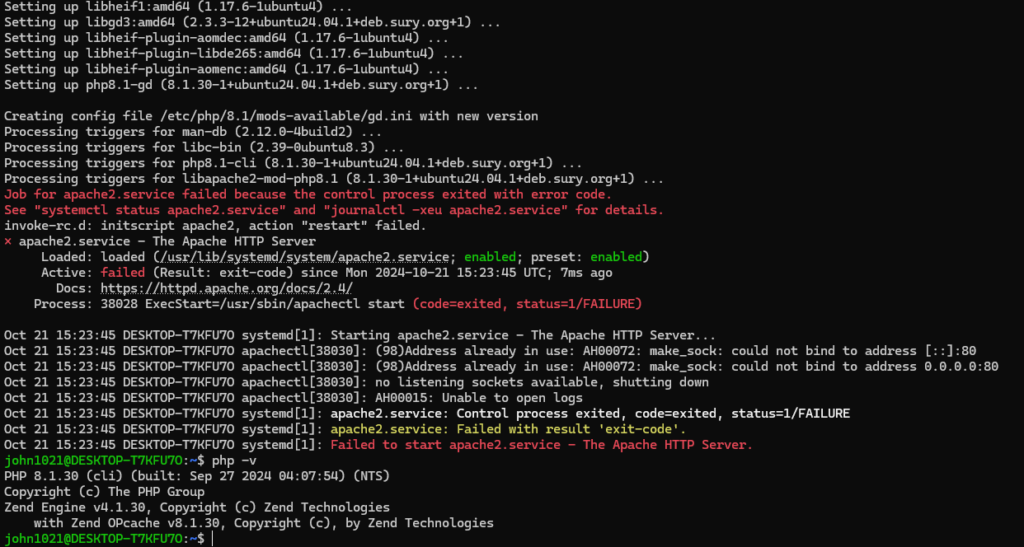
If php 8.1 not started

run below command
      sudo add-apt-repository ppa:ondrej/php
      sudo apt update
      sudo apt install php8.1-fpm

Finally it will restart as below
sudo systemctl start php8.1-fpm

Step [3] – Run command to check php.ini path
php --ini | grep "Loaded Configuration File"
Step [4] – Below Settings need to modify in php.ini
max_execution_time = 5000

max_input_time = 5000

memory_limit = -1

post_max_size = 900M

upload_max_filesize = 900
Below extension need to enable
extension=intl
extension=curl
extension=soap
extension=sockets
extension=sodium
extension=xsl
extension=zip
extension=gd
restart nginx & php8.1-fpm
sudo systemctl restart nginx
sudo systemctl restart php8.1-fpm
Step [5] – Install MySQL 8 and Create a Database
[5.1] Install Mysql Server
sudo apt install mysql-server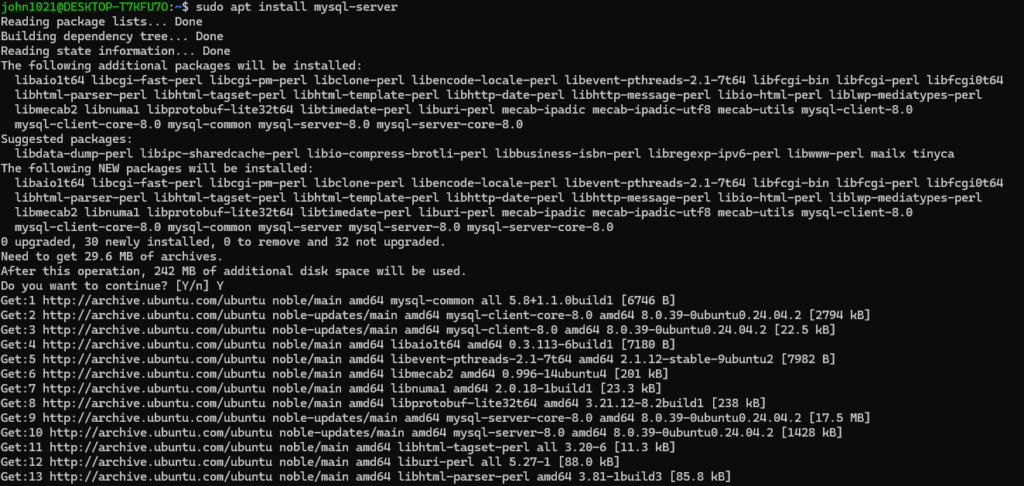
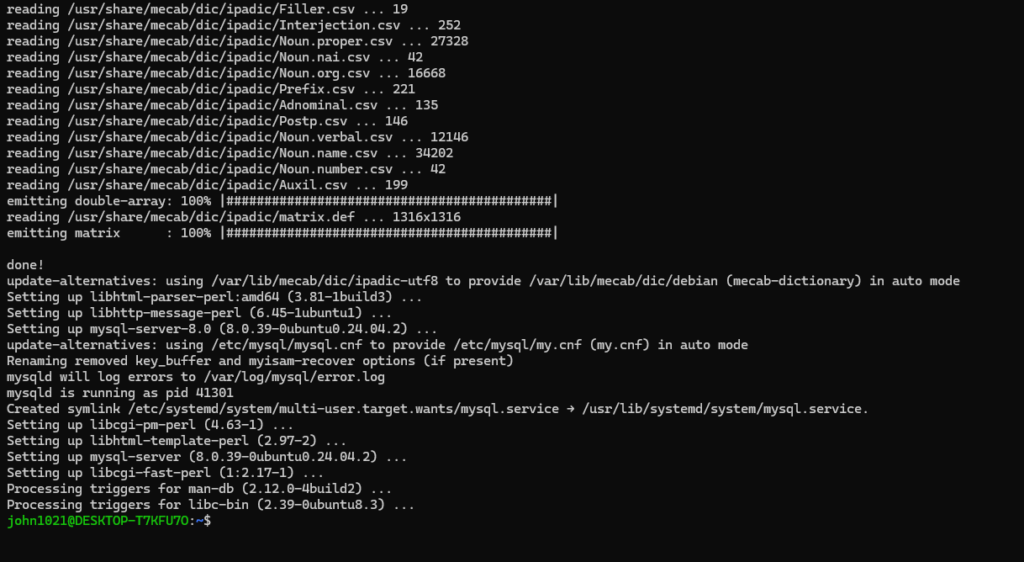
[5.2] Start mysql service
sudo systemctl start mysql

[5.3] Enable mysql service
sudo systemctl enable mysql
[5.4] Go inside mysql
sudo mysql -u root -pwhere username = root & password = root123


[5.4] – Mysql Secure Installation
here change password & new password as below
mysql username = root
mysql password = Noida123!@#
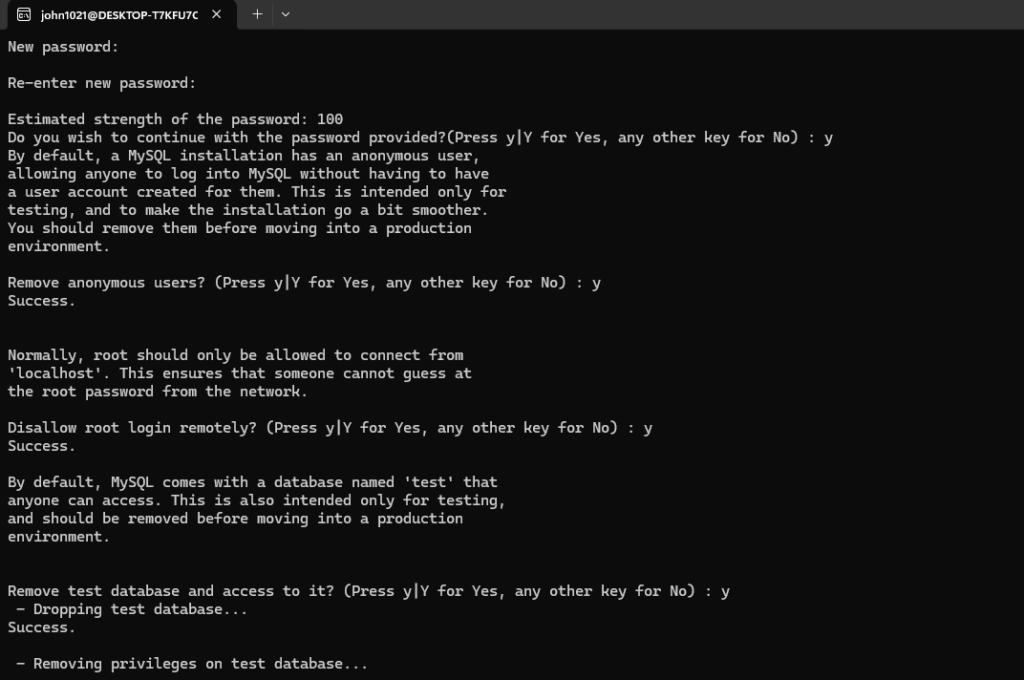
[5.5] – Create custom database with username / password for newly created database magento246p1
Username = magento246p1
Password= TYfd1@#23asD
Database name = magento246p1
create USER 'magento246p1'@'localhost' IDENTIFIED  by 'TYfd1@#23asD';

GRANT ALL ON magento246p1.* TO 'magento246p1'@'localhost';

flush privileges;

Finally your database magento246p1 is ready for use
Step [6] – Composer Installation
sudo curl -sS https://getcomposer.org/installer -o composer-setup.php
sudo php composer-setup.php –install-dir=/usr/local/bin –filename=composer
To Check either composer working fine

Step [7] – Remove composer-setup.php
Once installed composer, It is file composer-setup.php created, we do not need this file, need to remove

Step [8] – Elastic Search Installation

sudo wget https://artifacts.elastic.co/downloads/elasticsearch/elasticsearch-8.3.2-amd64.debNote:: this command will take smore time, please be patience !
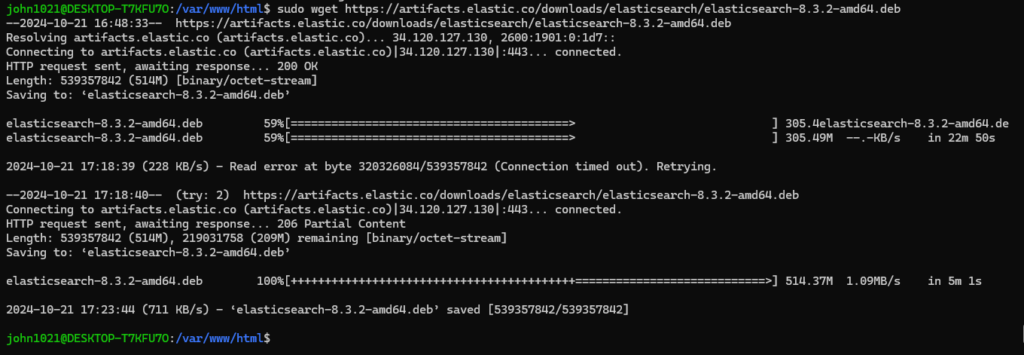
sudo wget https://artifacts.elastic.co/downloads/elasticsearch/elasticsearch-8.3.2-amd64.deb.sha512
shasum -a 512 -c elasticsearch-8.3.2-amd64.deb.sha512sudo dpkg -i elasticsearch-8.3.2-amd64.deb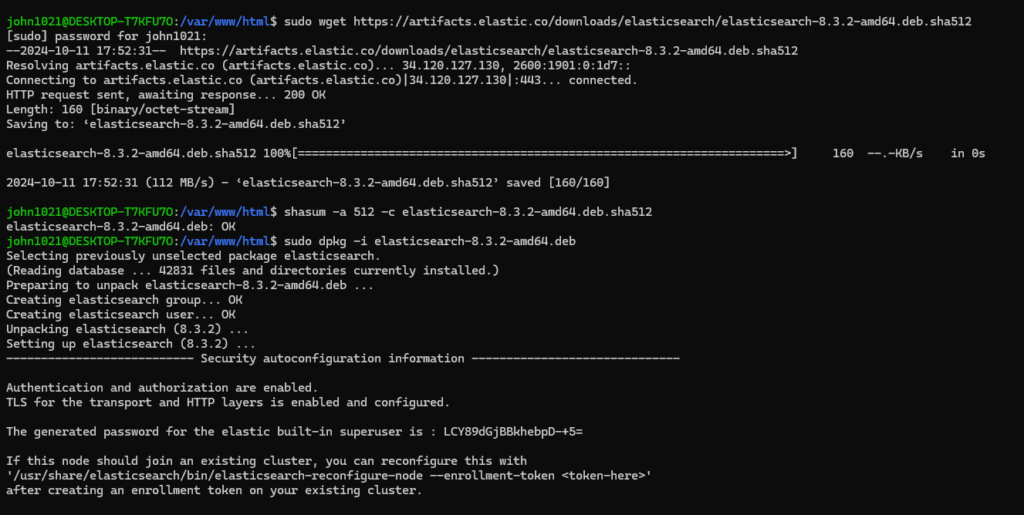

Once Below command run & display as ok — Elastic Search packaged installed.
shasum -a 512 -c elasticsearch-8.3.2-amd64.deb.sha512

Step [9] – Elasticsearch Start command
 sudo systemctl daemon-reload
 sudo systemctl enable elasticsearch.service
 sudo systemctl start elasticsearch.service
 sudo systemctl restart elasticsearch
To check status of Installed Elasticsearch
sudo systemctl status elasticsearchIf the service is active (running), it should look like this:

Step [9] – Install below PHP essential pkg for Magento 2.4.x
sudo apt update
sudo apt install php8.1-curl


sudo apt update
sudo apt install php8.1-intl


sudo apt update
sudo apt install php8.1-soap

sudo apt update
sudo apt install php8.1-sodium


sudo apt update
sudo apt install php8.1-xml


sudo apt update
sudo apt install php8.1-zip

sudo apt update
sudo apt install php8.1-gd
Once Installed run
sudo systemctl restart nginx
sudo systemctl restart php8.1-fpm
PHP command check all installed module
php -m


Step [10] – Now run Magento2.4.6 composer repository
composer create-project --repository-url=https://repo.magento.com/ magento/project-community-edition 2.4.6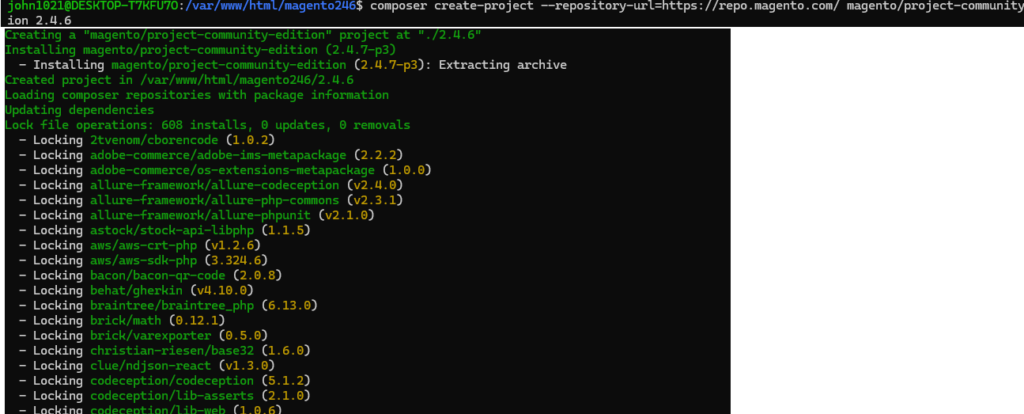


Step [11] – Run below command to install magento 2.4.6
php bin/magento setup:install --base-url="http://localhost/magento246/2.4.6/" --db-host="localhost" --db-name="magento246p1" --db-user="magento246p1" --db-password="TYfd1@#23asD" --admin-firstname="admin" --admin-lastname="admin" --admin-email="admin@admin.com" --admin-user="admin" --admin-password="admin123" --language="en_US" --currency="INR" --timezone="America/Chicago" --use-rewrites="1" --backend-frontname="admin"During installation If Elasticsearch issue / error
Elasticsearch issue / error Solution:
Open the Elasticsearch configuration file and make necessary adjustments:
sudo nano /etc/elasticsearch/elasticsearch.yml
Disable security features for simplicity:
xpack.security.enabled: false
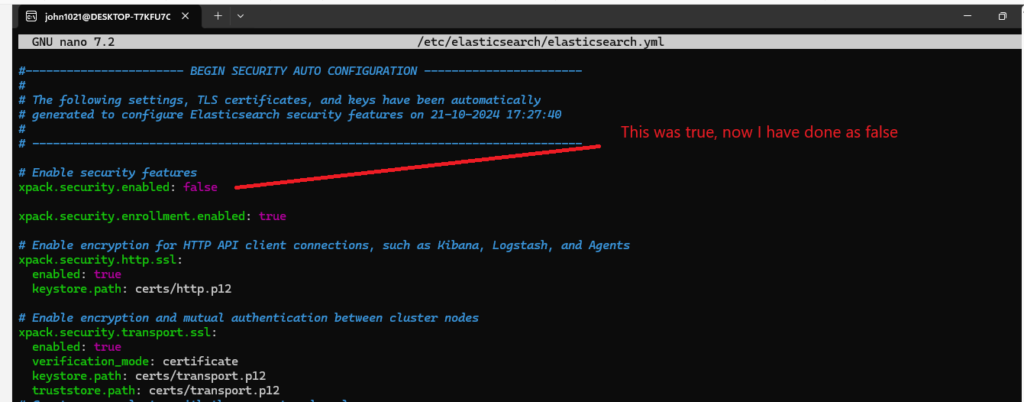
Restart Elasticsearch to apply changes:
sudo systemctl restart elasticsearch
To verify Elasticsearch working fine

http://localhost:9200/
Step [12] – Once Elasticsearch issue resolved, run again
php bin/magento setup:install –base-url=”http://localhost/magento246/2.4.6/” –db-host=”localhost” –db-name=”magento246p1″ –db-user=”magento246p1″ –db-password=”TYfd1@#23asD” –admin-firstname=”admin” –admin-lastname=”admin” –admin-email=”admin@admin.com” –admin-user=”admin” –admin-password=”admin123″ –language=”en_US” –currency=”INR” –timezone=”America/Chicago” –use-rewrites=”1″ –backend-frontname=”admin”

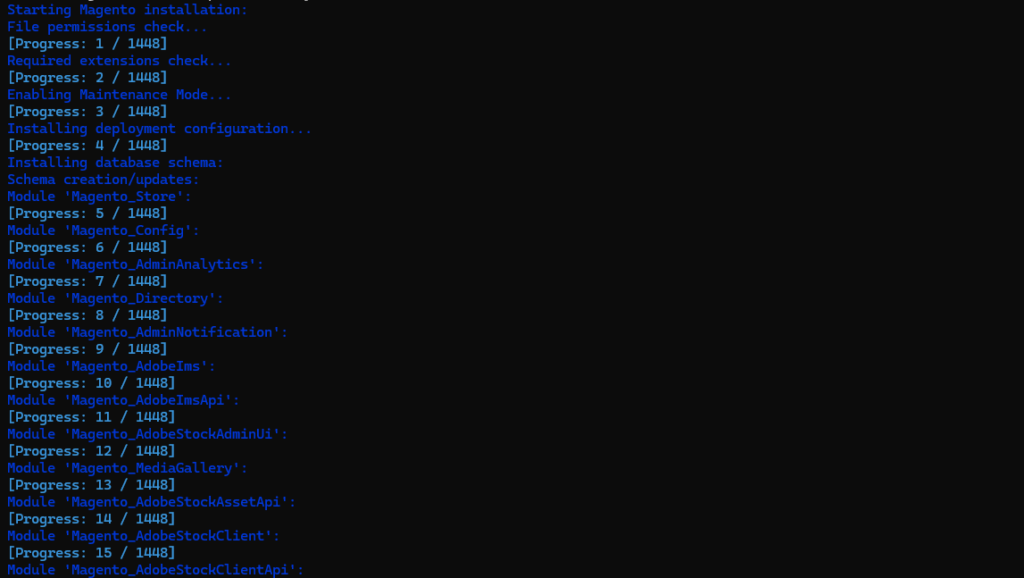
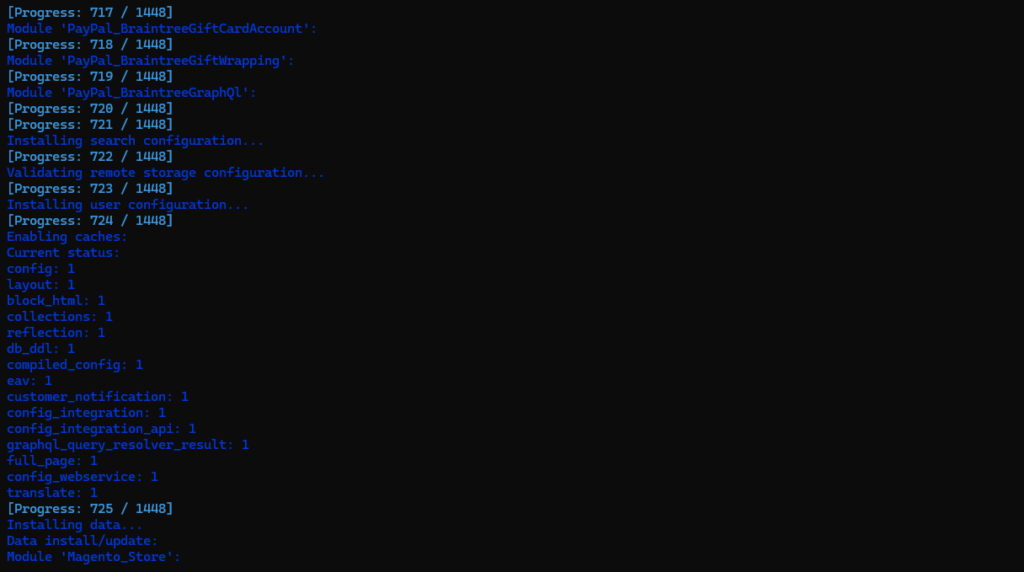
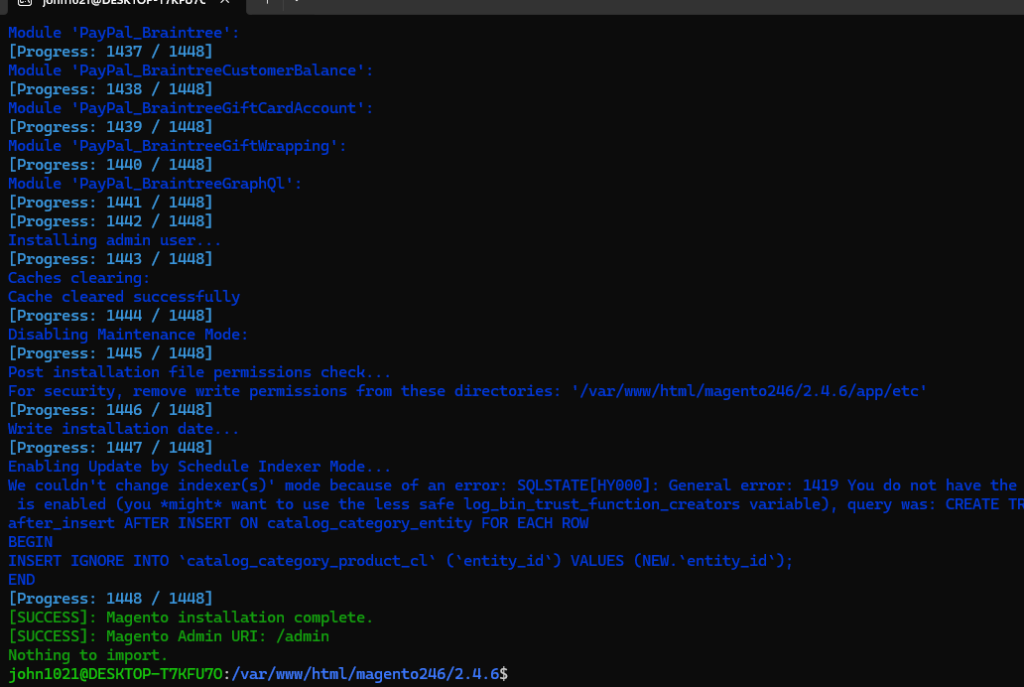
If Message displaying as below, indicates, Magento 2 Installation has been successfully installed.
[SUCCESS]: Magento installation complete.
[SUCCESS]: Magento Admin URI: /admin
Run below CLI Command
php bin/magento deploy:mode:set developer
php bin/magento setup:upgrade
php bin/magento setup:static-content:deploy -f
php bin/magento indexer:reindex
php bin/magento cache:clean
php bin/magento cache:flush
Finally Magento 2.4.6 Community Edition / Open Source has been installed
Step [13]- Once Installed , correct file permission
sudo chown -R www-data:www-data /var/www/html/magento246/2.4.6
sudo find /var/www/html/magento246/2.4.6 -type f -exec chmod 644 {} \;
sudo find /var/www/html/magento246/2.4.6 -type d -exec chmod 755 {} \;


sudo chown -R www-data:www-data /var/www/html/magento246/2.4.6/pub/static
sudo chown -R www-data:www-data /var/www/html/magento246/2.4.6/var
sudo chmod -R 755 /var/www/html/magento246/2.4.6/pub/static
sudo chmod -R 755 /var/www/html/magento246/2.4.6/var
Once your Machine (Windows WLS 2) opened run below command to start services
sudo systemctl start nginx
sudo systemctl start php8.1-fpm

sudo service mysql start
sudo systemctl status mysql
sudo systemctl restart mysql

 sudo systemctl daemon-reload
 sudo systemctl enable elasticsearch.service
 sudo systemctl start elasticsearch.service
https://magento.stackexchange.com/questions/219762/magento-2-css-and-js-not-working-after-install