

There are following steps to create multiple website, store & view
Magento 2 Admin
Step 1: Create websites –
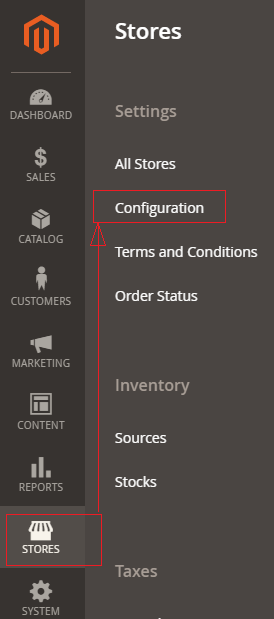
[1.1] Go To Stores > Settings > All Stores.
[1.2] Redirect on Stores page, click Create Website
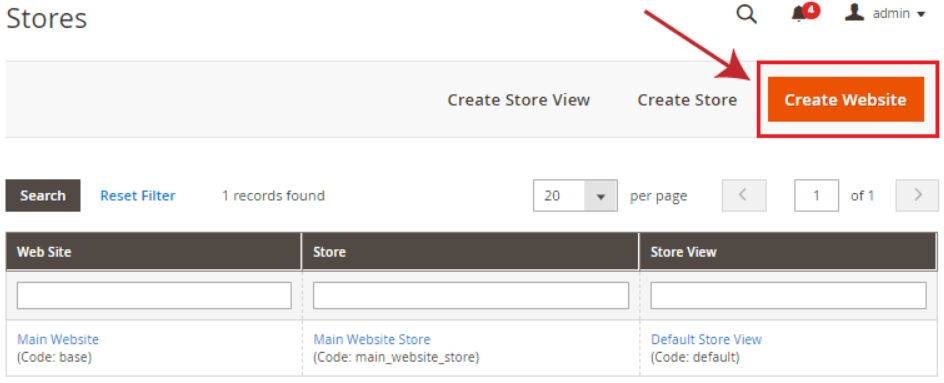
[1.3] Once Clicked on Create Website
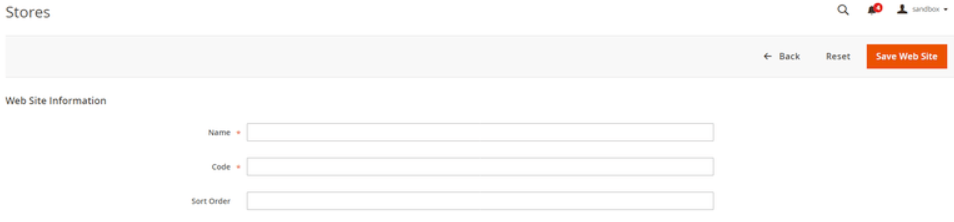
There are following below things need to put in Website Information Form.
- Name: Enter a name of website.
- Code: Enter a unique code, Example, for French store, enter french, for English store, enter english.
- Sort Order: Enter numerical sort order, it is an optional field
[1.4] Finally Clicked on Save Web Site Button
Step 2: Create stores –
[2.1] On Stores page, click Create Store
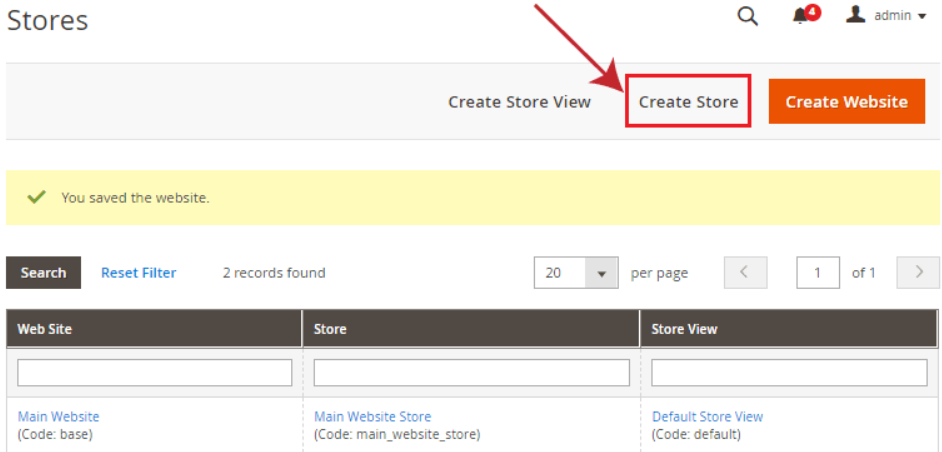
[2.2] Once clicked Create Store
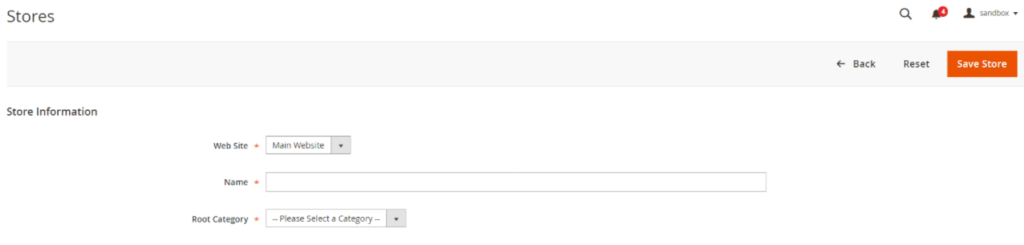
There are following below things need to put in Store Information
- Web Site: Select the website, which one you want to associate current store.
- Name: Enter a name to identify the store.
- Root Category: Select the root category for current store.
- Finally Clicked on Save Store Button
Step 3: Create store views –
[3.1] On Stores page, click Create Store View

[3.2] Once clicked Create Store View

There are following below things need to put in Store View Information, to create Store View
- Store: Select the store which you want to associate current store view.
- Name: Enter a name to identify current store view.
- Code: Enter a unique name to identify current store view.
- Status: Select Enabled.
- Sort Order: Enter numerical sort order, it is an optional field.
[3.3] Finally Clicked on Save Store View