The Following below steps need to follow
Step [1] – Go To Left Side Content, set of (Element + Design + Dashboard + Media)

Step [2] – Briefly Explain
Elements = (Pages + Hierarchy + Blocks + Dynamic Block + Widgets + Templates)
Step [2.1] – Elements > Pages
“Create pages with set of text, images, blocks, variables, and widgets, these pages can be incorporated into the navigation (Top Navigation, Footer Navigation etc.) of your store as well as linked with other pages / catalog pages”
“Pages can be created by using Page Builder”
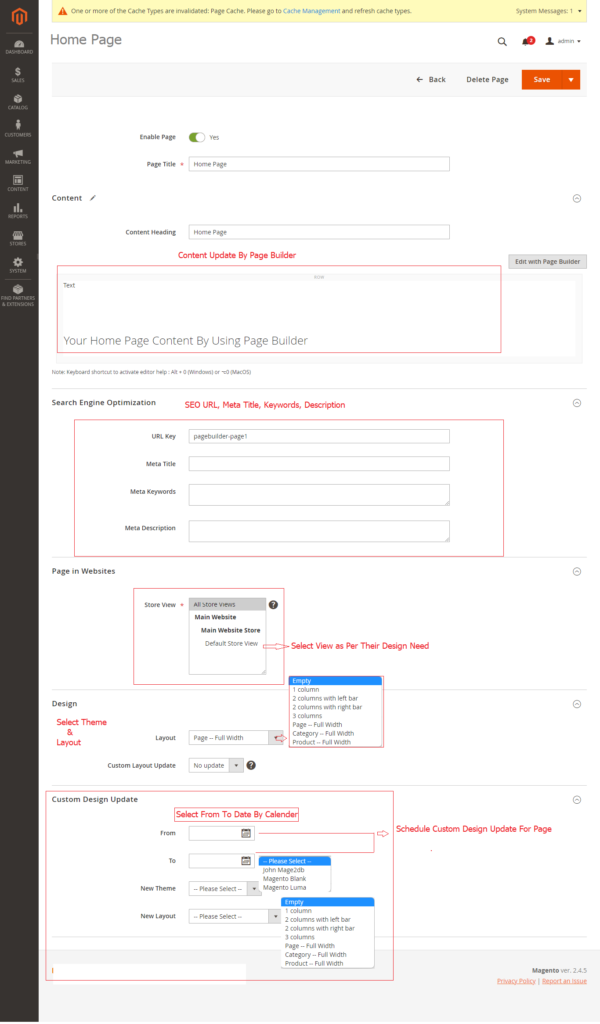
- Enable Page::

- Page Title:: Required Fields, need to enter Title of Page
- Content Heading:: Need to enter content heading of Page
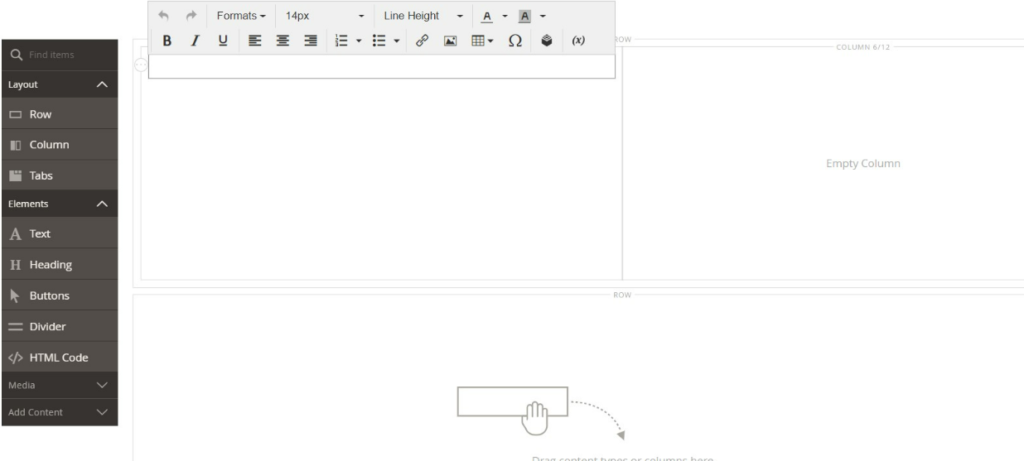
- Content of Page:: Need to enter content of page by using Page Builder

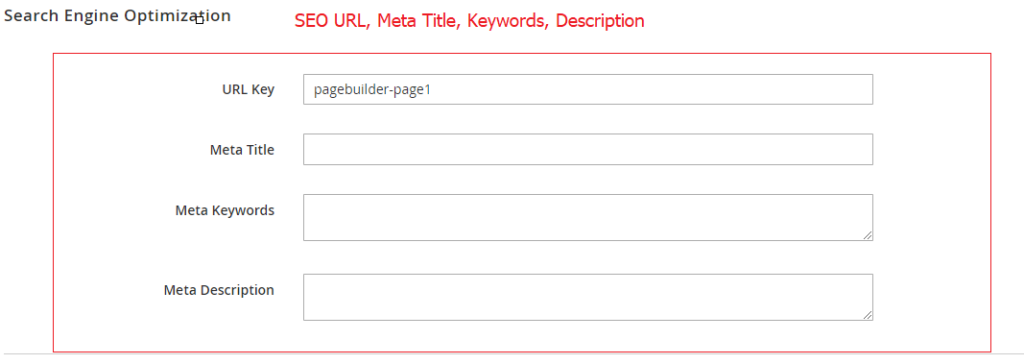
- Search Engine Optimization:: need to enter SEO URL, Meta Title, Meta Description, Meta Keywords
- Pages is Website:: Select store view as per your Business need.

- Design:: Select Layout & Custom Layout Update

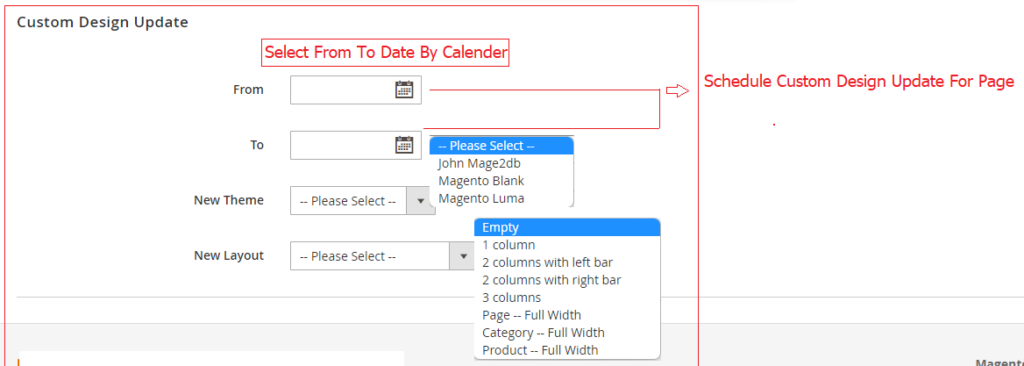
- Custom Design Update:: Schedule custom design update for future date, need to enter Start & End Date with selection of Theme & Layout
Once page created by using Page Builder, asking for which purpose want to save Page Template created for (Page, Block, Category, Product)

Step [2.2] – Elements > Hierarchy
“Hierarchy is set of content pages with pagination, navigation, and menus”
[2.2.1] Display Listing of Nodes

[2.2.2] – Once Click on Add New Node & enter Title & URL Key as below

[2.2.3] – Once click on Save Button, The node appears as a folder in the tree on the left of the page

[2.2.4] – How To Add Pages To The Node
- Select Pages, you want to add in specified created node.
- Click on My Node as edit mode
- Finally click on Button Add Selected Page(s) to the tree


Step [2.3] – Elements > Blocks
“Create block with set of text, images, and video and can be included to any part of the page layout / catalog page layout.“
“Blocks can be created by using Page Builder“

- Block Title:: Need to enter Title of Block
- Block Identifier:: Need to enter Identifier of Block, It must be always unique
- Store View:: Select the store view as per your Business Need
- Block Content:: Need To selected content of block by Page Builder
Step [2.4] – Elements > Dynamic Block –Only Support By Adobe Commerce
“Create block with set of dynamic & interaction content as by using logic with price rules (Cart Price Rules and Catalog Prices Rules) & customer segments.”
“Dynamic Blocks can be created by using Page Builder“
How To Create Dynamic Block:: The following below steps need to follow
Step [2.4.1] – Go to Content > Elements > Dynamic Blocks.
Display Listing of all Dynamic Blocks

Step [2.4.2] – Click on Button Add Dynamic Block

– Set Enable as Yes to activate the dynamic block
– Enter Dynamic Block Name
– Select Dynamic Block Type:: where you want to display dynamic block

– Select Customer Segmentation:: Which customer gender you are going to target Promotion

– If applicable, set Store View to a specific store view as per your Business need where the dynamic block is to appear
Step [2.4.3] – Enter Content by using Page Builder
Step [2.4.4] – Integrate Cart Price Rules or Catalog Price Rules as per your business need
You should select the checkbox of each rule you want to add, no matter what rule option is selected. Don’t forget to click Add Selected and save the block when finished.

Select checkbox below Cart Price Rules, that you planning to apply,
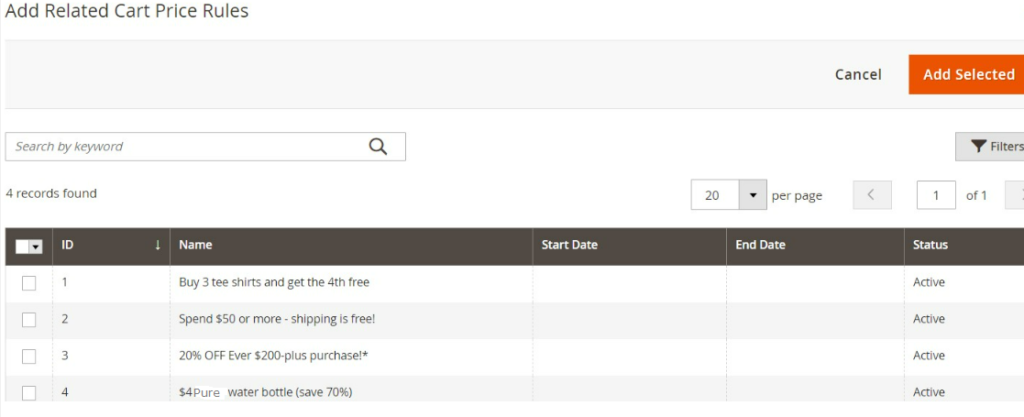
Same process need to apply for Catalog Price Rules
Step [2.4.5] – Finally click on Save Button
Step [2.4.6] – How To apply Dynamic Blocks on Pages.
Go to Content > Elements > Pages , select dynamic block that is recently created by using Add Dynamic Block content type
Step [2.5] – Elements > Widgets
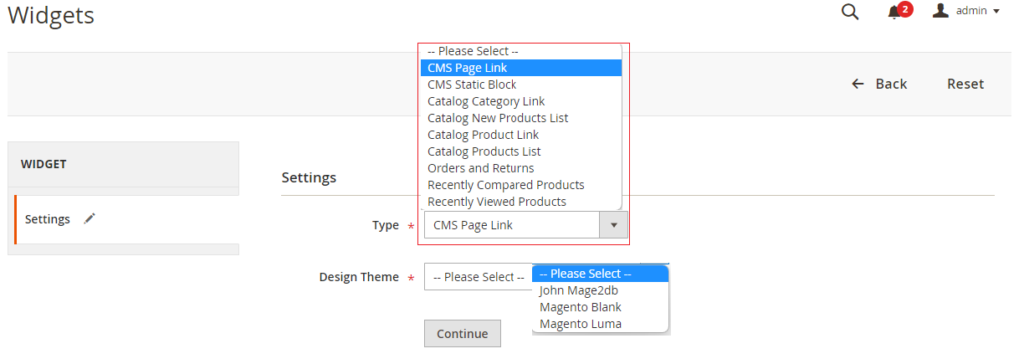
” Widget is a snippet of code or dynamic data that allows you to display dynamic content on your store frontend.“
“Widget is set of following below Dynamic data, users can be used as per their need. “
CMS Page Link
CMS Static Block
Catalog Category Link
Catalog New Products List
Catalog Product Link
Catalog Products List
Orders and Returns
Recently Compared Products
Recently Viewed Products
Step [2.6] – Elements > Templates:: Display listing of all templates those are created by Page Builder for Pages, Products, Categories, Blocks etc.

Step [3] – Content Staging — Only Support By Adobe Commerce
Content Staging provides facility for Admin User to easily Create, Preview & Schedule a wide range of content updates directly from the Admin of your store.
Schedule Update for following below thing
Products
Categories
Catalog Price Rules
Cart Price Rules
CMS Pages
CMS Blocks
Widgets

