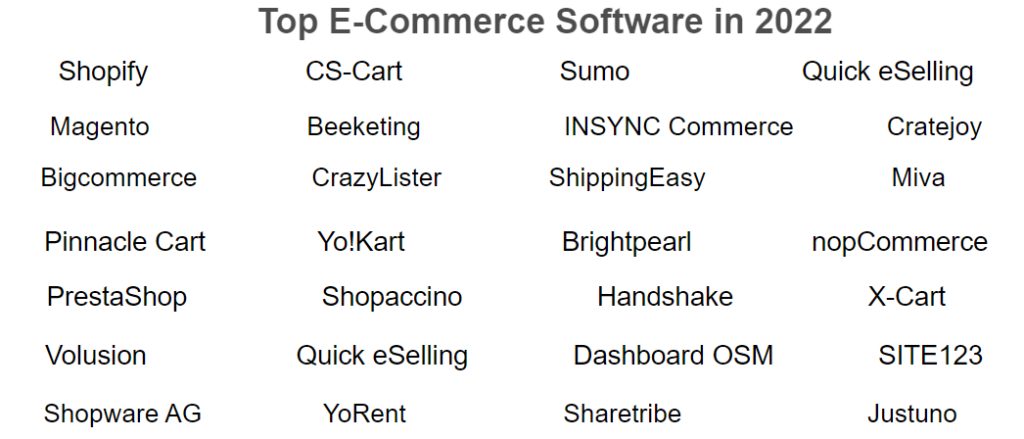
The following list of Ecommerce Software Platform in 2022
Continue reading “Top E-Commerce Software in 2022”
Magento 2.x Learning & Knowledge & Troubleshooting
The following list of Ecommerce Software Platform in 2022
Continue reading “Top E-Commerce Software in 2022”

Once Magento 2.x Store / Website running either single store or multiple store, sometimes required to know which Magento 2.x version With Edition [Community / Enterprise / Commerce Cloud ] without following below activity as below
Without Admin Login
Without Code Check, Composer.json
Without SSH/CLI Command
Solution:: The following below Free Magento 2.x Website Checker Tool worldwide leading tool must be use.
Continue reading “How To Check Your Store / Website Using Which Magento 2.x Version With Edition (Community / Enterprise / Commerce Cloud)”
There are following below two SQL Queries, we can find All Multi Websites and All Multi Stores.
[1] – To Get All Multi Websites
The follow below SQL Query to run
Continue reading “How To GET URL of All Multi Websites & Stores in Magento 2.x by Using SQL Query”SELECT * FROM core_config_data WHERE path in ("web/unsecure/base_url", "web/secure/base_url");
There are following below steps need to follow to Upgrade Magento version 2.3.x To Magento version 2.4.x for Enterprise-Edition / Commerce Cloud Edition
[1] – Take Project files & database backup
[2] – Install PHP 7.4, Mysql 5.7, Magento 2.4 also supports Mysql 8.0
Continue reading “How To Upgrade Magento 2.3.x To Magento 2.4.x Enterprise-Edition / Commerce Cloud Edition”
The Following below admin setting required to configure Newsletters in Magento 2.x Store.
Step [1] – Go STORES > Configuration, redirects Configuration section.
Continue reading “How To Configure Newsletters in Magento 2.x”The following below set of Magento 2 Database tables store Amazon data.
The Following below admin setting required to add Store Information in Magento 2 Store.
Step [1] – Go STORES > Configuration, redirects Configuration section.
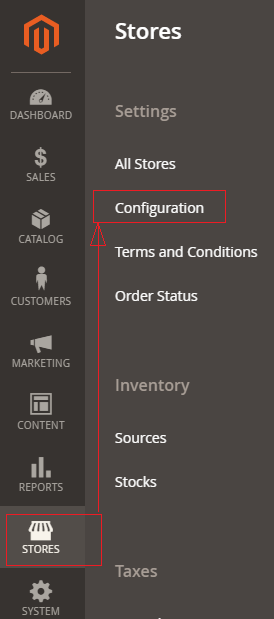
Step [2] – Left panel, choose GENERAL > General, redirects right Panel section
Country Options Section:
Once click on Country Options of Right Panel section, each field explained as below
State Options Section:
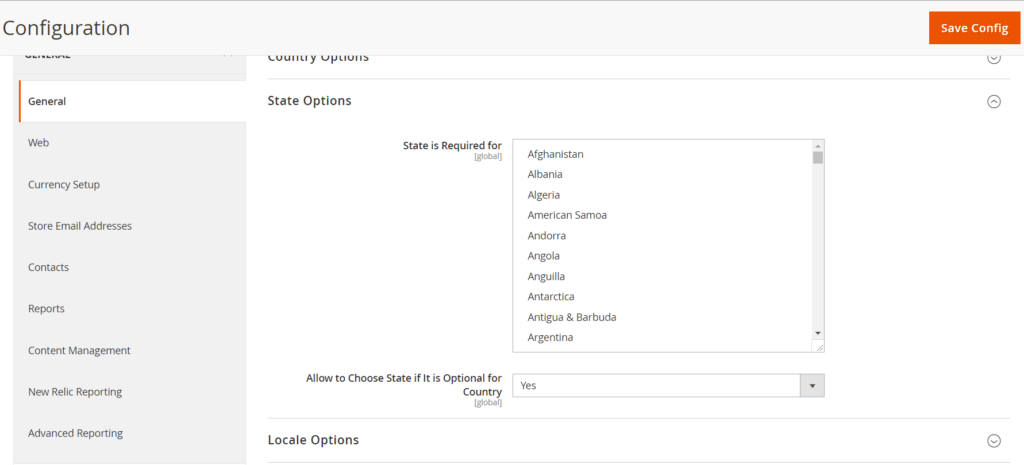
Once click on State Options of Right Panel section, each field explained as below
Locale Options:

Once click on Locale Options of Right Panel section, each field explained as below

The Following below admin setting required to add Store Information in Magento 2 Store.
Step [1] – Go STORES > Configuration, redirects Configuration section.
Step [2] – Left panel, choose GENERAL > General , redirects right Panel section
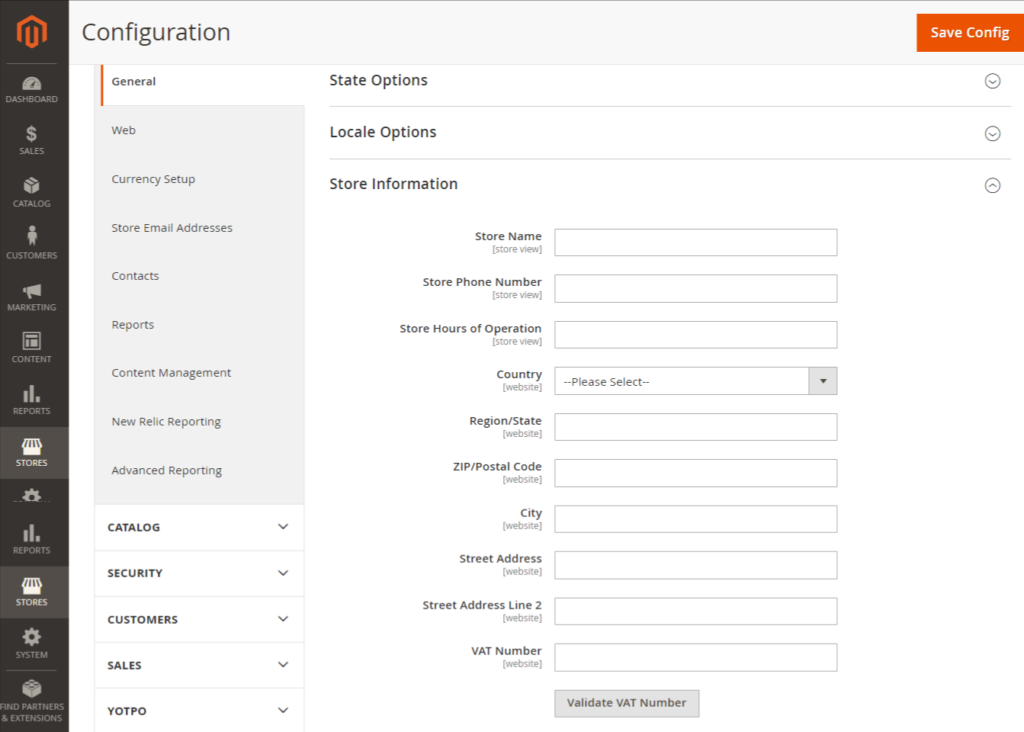
Once click on Store Information of Right Panel section, each field explained as below
Step [3] – Click on Save Config button & run CLI command Flush