


The Following below admin setting required to configure Payment Failed Email in Magento 2
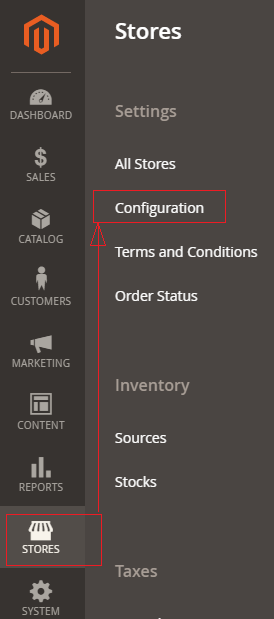
Step [1] – Go STORES > Configuration, redirects Configuration section.
Step [2] – Go Sales > Checkout, redirects to right panel Payment Failed Emails section.
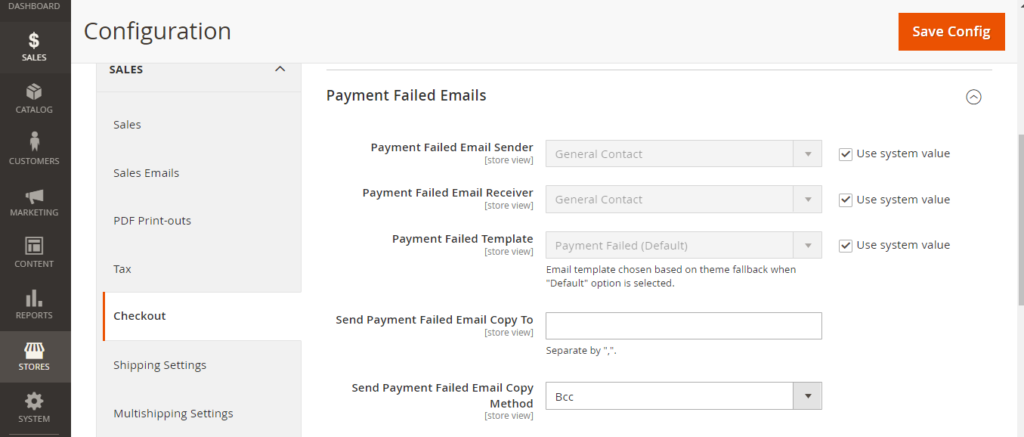
Each field of Payment Failed Emails section explained as below
- Payment Failed Email Sender: Represents Sender’s email, Once click drop down menu multiple contact displayed, choose any of them as per your Business need, by default General Contact selected
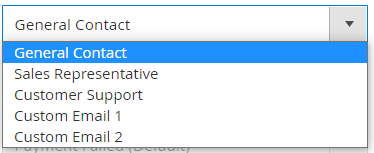
- Payment Failed Email Receiver: Represents Receiver’s email, Once click drop down menu multiple contact displayed, choose any of them as per your Business need, by default General Contact selected

- Payment Failed Template: Represents payment failed email template, choose any email template as per your Business need, by default Payment Failed Template selected
- Send Payment Failed Email Copy: Enter multiple payment email, each email separated with each other by comma (,)
- Send Payment Failed Email Copy Method: Method: Select either BCC or Separate Email
Step [3] – Click on Save Config button & run CLI command Flush