Magento 2 design pages having collection of layouts, containers, blocks. headers, footers etc. each page having its own design set as per store requirement. Magento 2 Admin provides facility to change pages design set.
There are following below steps need to follow, Magento 2 Admin
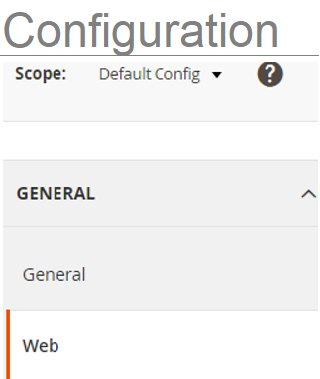
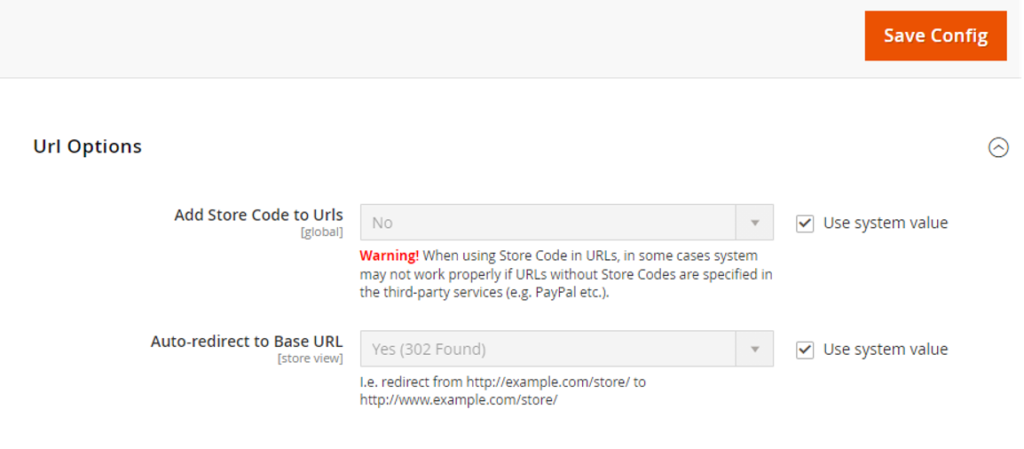
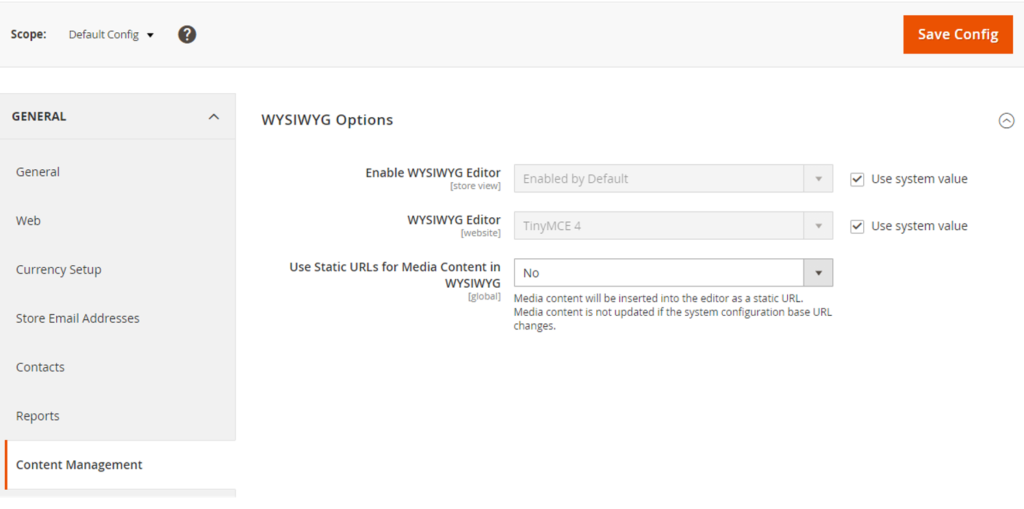
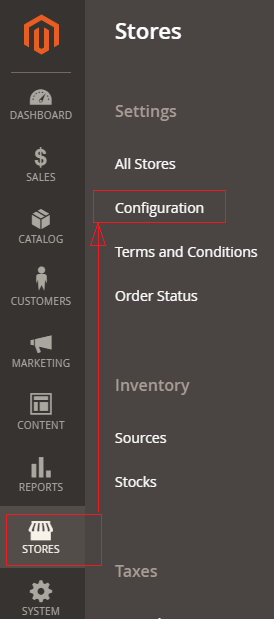
[1]- Go To STORES > Configuration, redirects on configuration.

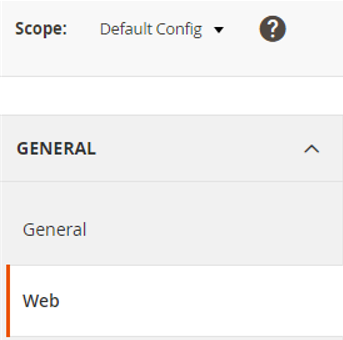
[2]- Left Panel Clicked on General > Web, redirects on [Right Panel]

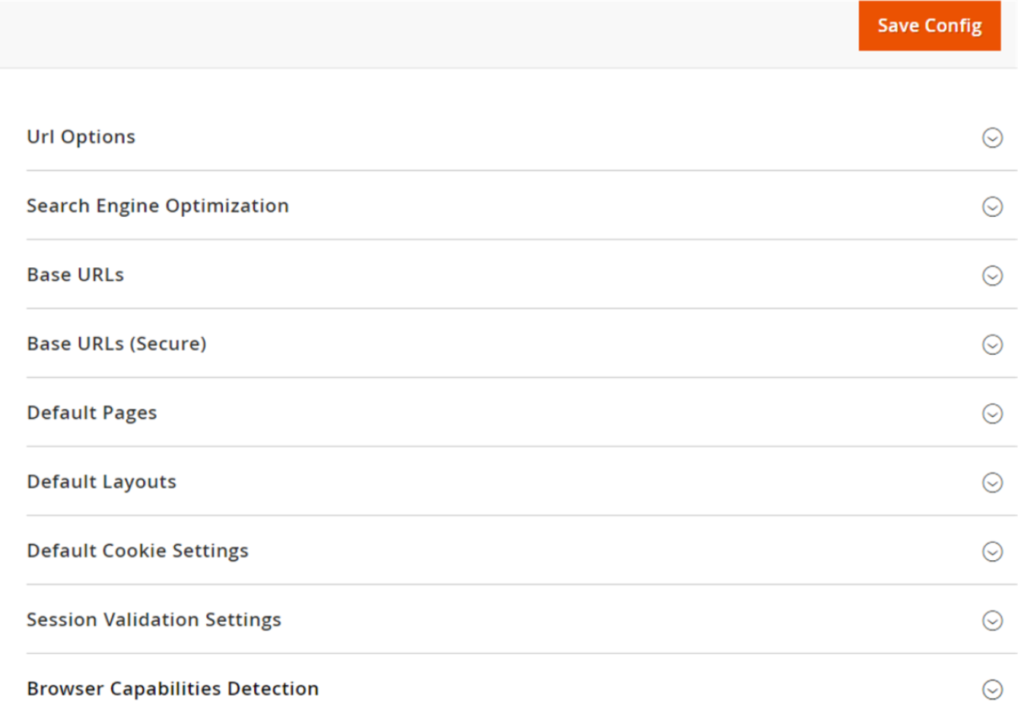
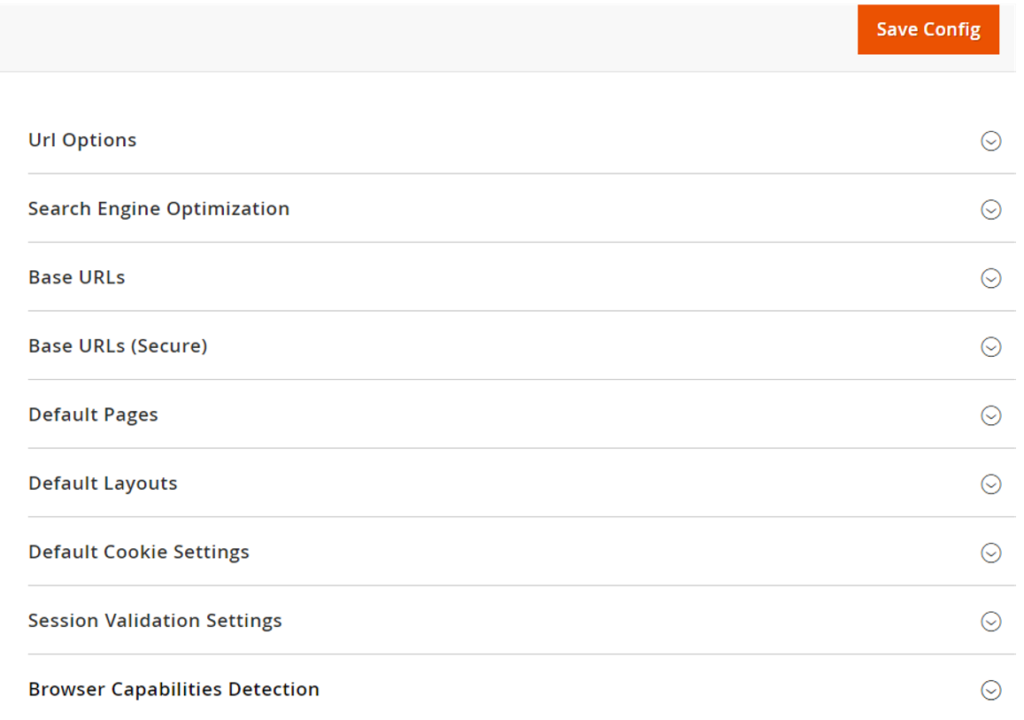
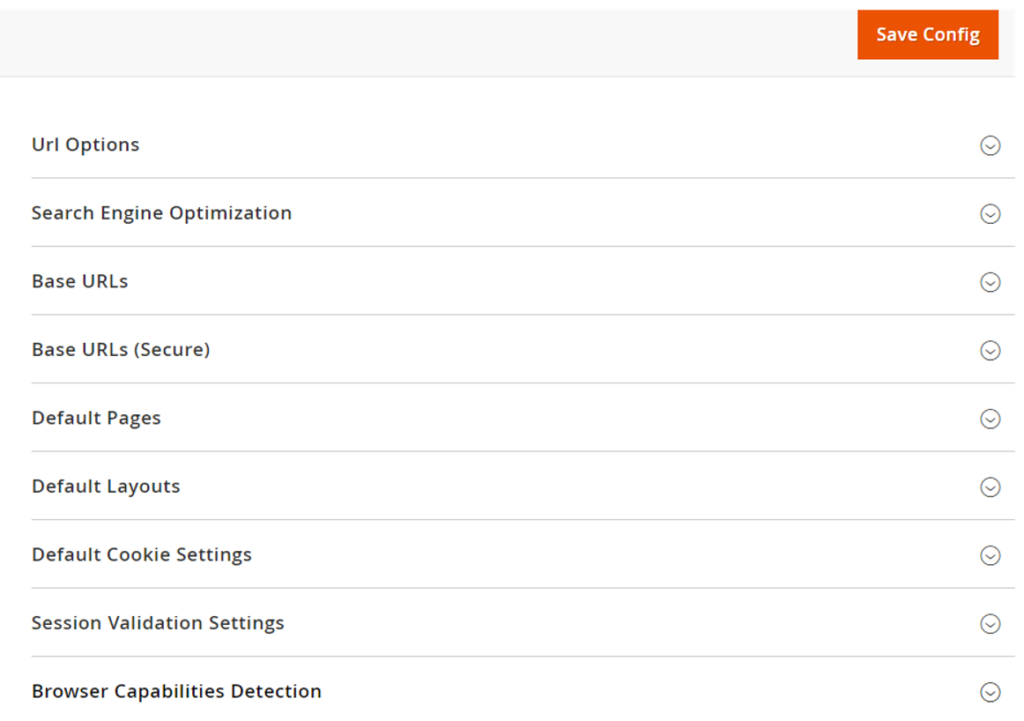
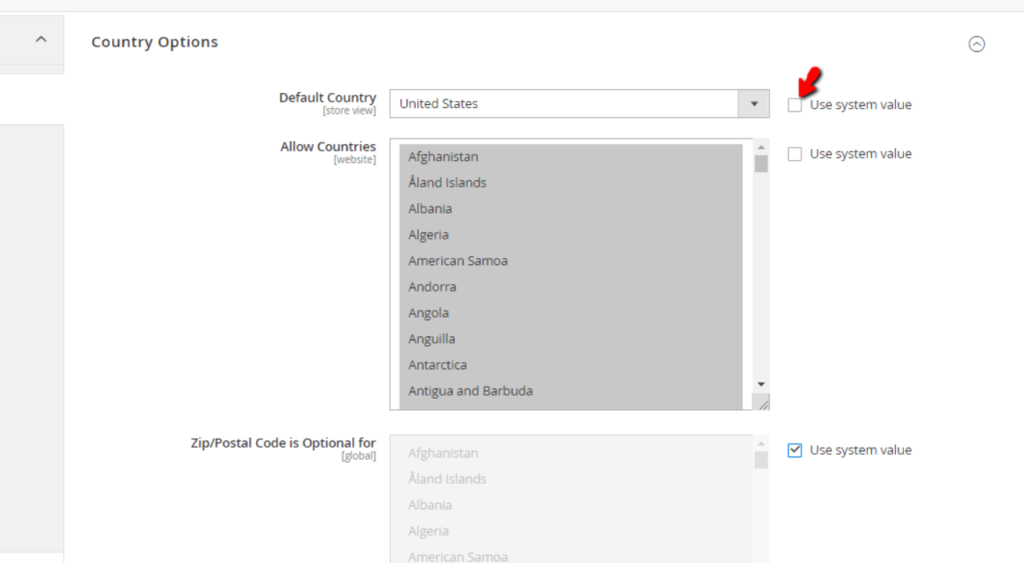
[3]- Once redirection on [Right Panel]

[4]- Once clicked / expanded, Default Layouts [Right Panel]
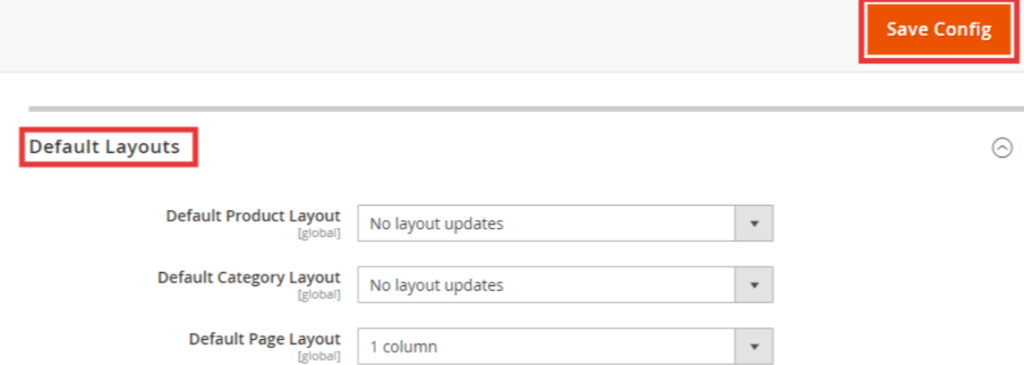
Each Layout defined as
[4.1] Default Product Layout : This layout allow to select the layout option for the product pages
[4.2] Default Category Layout : This layout allow to select the layout option for the category pages
[4.3] Default Page Layout : This layout allow to select the layout option for the default pages
Each Drop Down Value of Default Product Layout, Default Category Layout & Default Product Layout defined as below
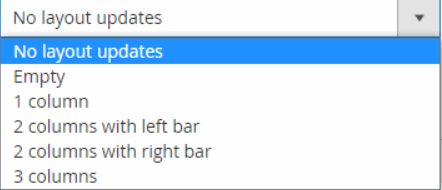
[a]- No layout updates : Layout updates are not available for product or category pages.
[b]- Empty : Uses a blank layout for product or category pages.
[c]- 1 column : Uses a single column layout for product or category pages .
[d]- 2 columns with left bar : Uses a two-column layout with the sidebar on the left for category pages.
[e]- 2 columns with right bar : Uses a two-column layout with the sidebar on the right product or category pages.
[f]- 3 columns : Uses a three-column layout with sidebars on the left and right for product or category pages.
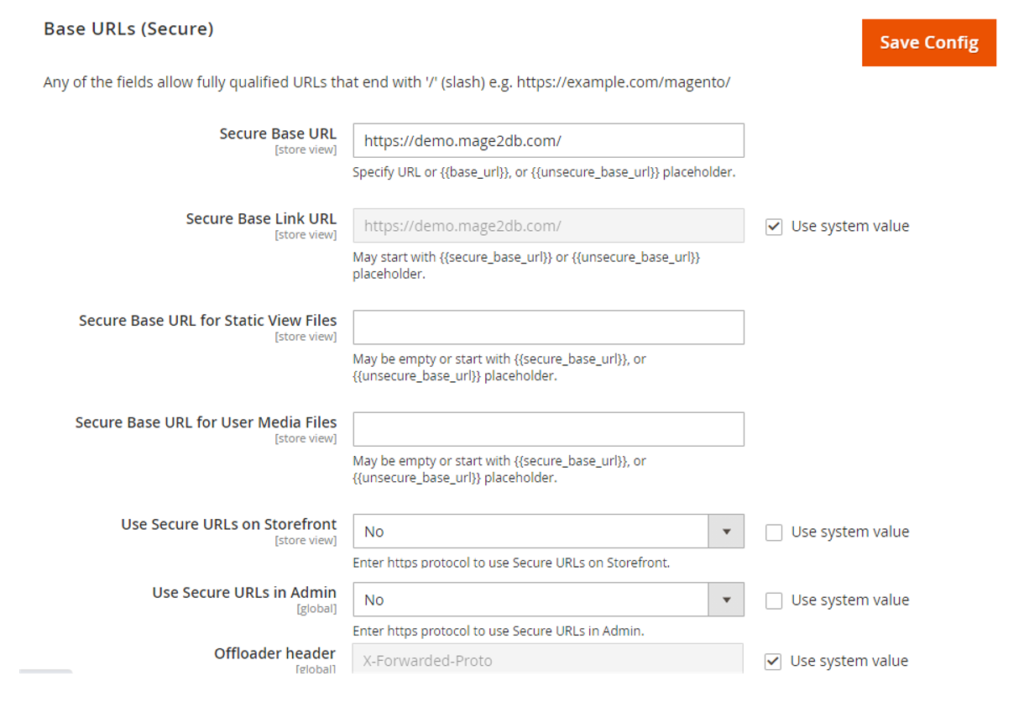
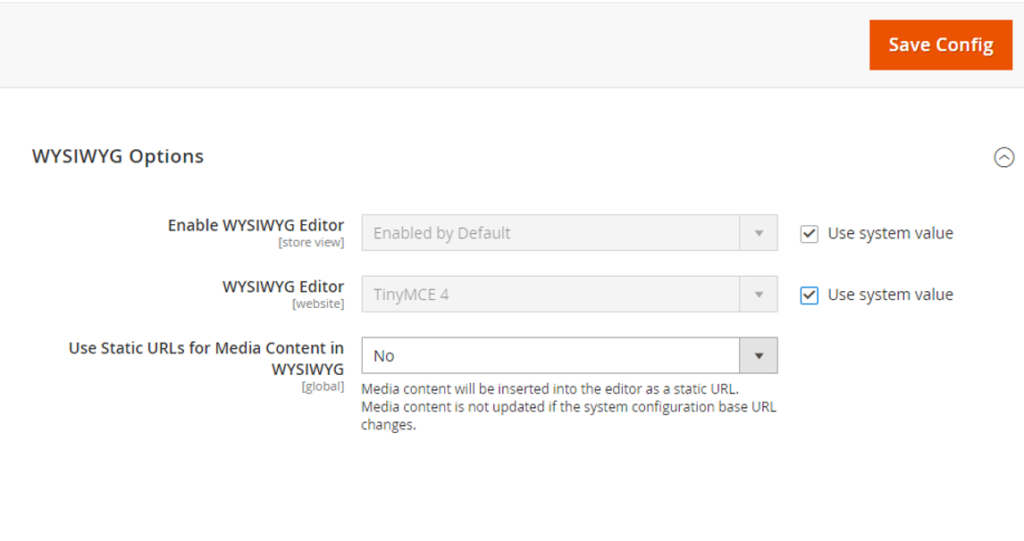
[5]- Finally click on Save Config Button