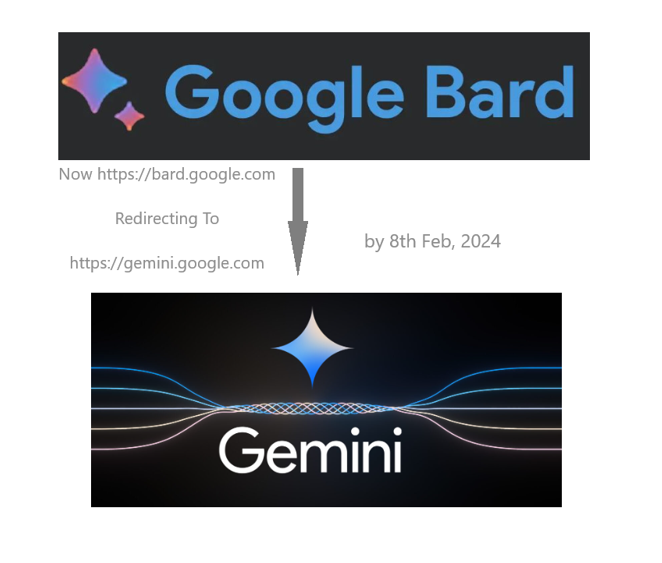
Google renamed Bard to Gemini in 8th February 2024 and introduced Gemini Advanced as a premium subscription for $19.99 per month.
Now https://bard.google.com/
redirecting on
https://gemini.google.com/
Gemini: This is the free version and is readily available to all users.
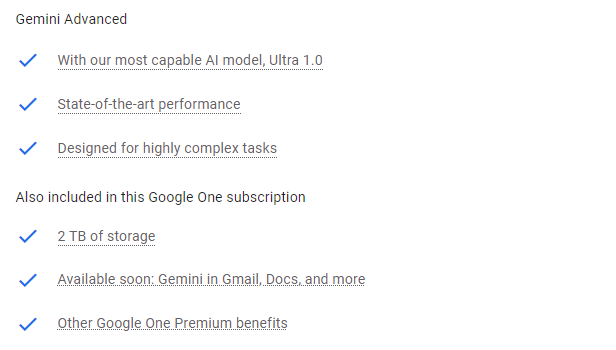
Gemini Advanced: It’s a premium subscription at $19.99 per month (prices may vary regionally) and is part of the Google One AI Premium Plan.
Purpose ofGemini: If you need a basic language assistant for tasks like information retrieval, translation, everyday conversation, and simple creative writing, Gemini is a good fit.
Purpose ofGemini Advanced: If you require sophisticated assistance with complex tasks, coding, in-depth research, data analysis, or highly creative projects, Gemini Advanced might be worth the investment.
Gemini Advanced can understand and process not just text, but also images and audio, video leading to richer and more comprehensive responses.
Gemini Advanced is currently only available in English, while Gemini supports multiple languages.
Gemini Advanced subscription also includes other benefits, such as:
Vtex — VTEX is a cloud-based platform that allows vendors or sellers to create and manage their online stores. It also allows them to track their customers’ entire purchasing journey at every point of contact, It supports both B2B & B2C
Hybris– Hybris is a cloud-based platform & based on omnichannel platform that allows vendors or sellers to create and manage their online stores. It also allows them to track their customers’ entire purchasing journey at every point of contact, It supports both B2B & B2C, B2B2C, D2C It is acquired by SAP in 2013 that’s called SAP Hybris or SAP Commerce It is designed to handle high volumes of traffic and transactions, making it suitable for large-scale e-commerce operations
Shopify– Shopify is a cloud-based platformthat helps small businesses build online stores, sell products, and manage their business. It also offers point-of-sale (POS). Shopify is a complete commerce platform that lets anyone start, grow, manage, and scale a business.
Salesforce Commerce– Salesforce Commerce Cloud is a cloud-based suite of products that enable e-commerce businesses to set up e-commerce sites, drive more automation and provide customers with seamless shopping experiences. Part of the integrated Salesforce Customer Success Platform, Commerce Cloud powers all Salesforce connected apps.
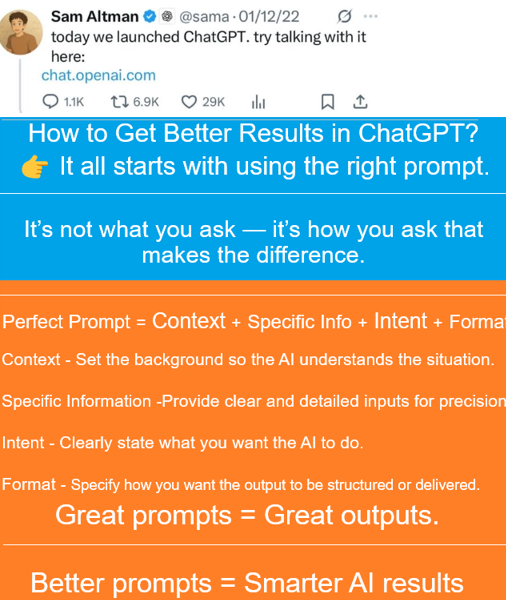
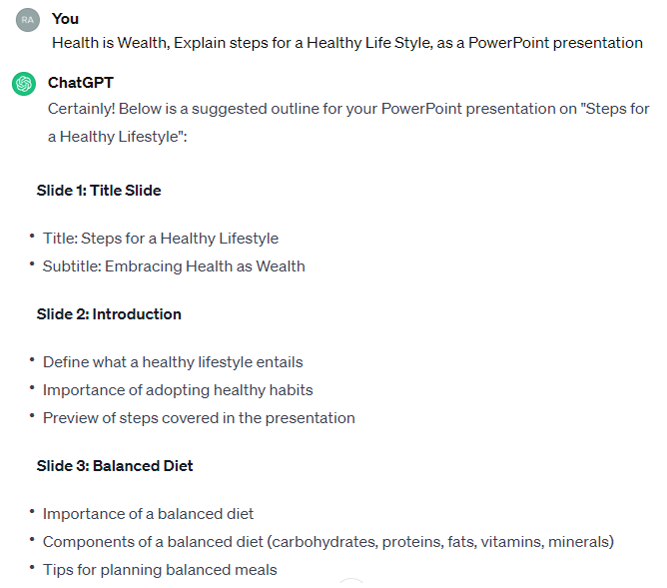
ChatGPT prompt involves providing clear context and guidance to help the AI generate a relevant and accurate response. Here’s how you can structure a prompt, along with an example:
Stop guessing. Start prompting SMART, Use the Perfect Prompt Formula
1-Context: Begin by providing context to help the AI understand the topic or situation. This can include background information, specific details, or the purpose of the conversation.
2-Specific Query or Question or Task : Clearly state what you want the AI to address or respond to. Ask a question or provide a prompt that guides the AI towards the desired information or discussion.
3-Examples or Scenariosor Intent: If applicable, include examples or scenarios to illustrate the context or to help the AI better understand the task at hand.
4- Format: Provide all necessary format details to get meaningful & proper format response.
Google’s Gemini is a large-level factual language model trained on a massive dataset of text and code. it has been developed by Google DeepMind, it represents a multimodal and flexible approach designed to enhance the integration of technology into everyday life and business development. Gemini can manage and analyze information efficiently across multiple formats, including text, code, audio, image, and video. It is already considered a rival to OpenAI GPT-4 language model.
Gemini, Google’s new Artificial Intelligence launched on December 6, 2023
Gemini is larger than GPT-4, boasting 1.6 trillion parameters compared to GPT-4’s 1.5 trillion as well as more capacity to learn and understand anu language.
[1] – Powerful Tool:: It is a powerful tool that can enhance a wide range of products and services. [2] – Virtual Assistants:: It could improve the accuracy and naturalness of Google’s virtual assistants, like Google Assistant and Chat, and enhance the quality of translations in Google Translate. [3] – Large-Scale Factual Language Model:: It is significant advancement in AI development. As a large-scale factual language model, it’s trained on a massive dataset of text and code, giving it unprecedented language learning and understanding capabilities.
[4] – Virtual assistants:: It is enhancing Google’s virtual assistants’ ability to understand and respond to user queries.
[5] – Automatic translators:: It is translating languages more accurately and fluidly, even for those with vastly different grammatical structures.
[6] – Search products:: It is improving Google search results by generating more comprehensive and accurate summaries or providing more relevant content recommendations.
[7] – Generate High-Quality Code:: It is ability to understand, explain, and generate high-quality code in popular programming languages makes it a fundamental tool in the coding world following below coding things.
[a] – Text generation [b] – Language translation [c] – Creative content writing [d] – Informative question answering [e] – Creating more natural chatbots [f] – Generating original creative content [g] – Efficient code writing [h] – Improving search results [i] – Developing new products and service
As per Alexa.com the Amazon’s subsidiary company has stopped services on May 1, 2022. The message from Alexa team as below
“Twenty-five years ago, we founded Alexa Internet. After two decades of helping you find, reach, and convert your digital audience, we’ve made the difficult decision to retire Alexa.com on May 1, 2022. Thank you for making us your go-to resource for content research, competitive analysis, keyword research, and so much more.”
The following below other best options to check website global rankings
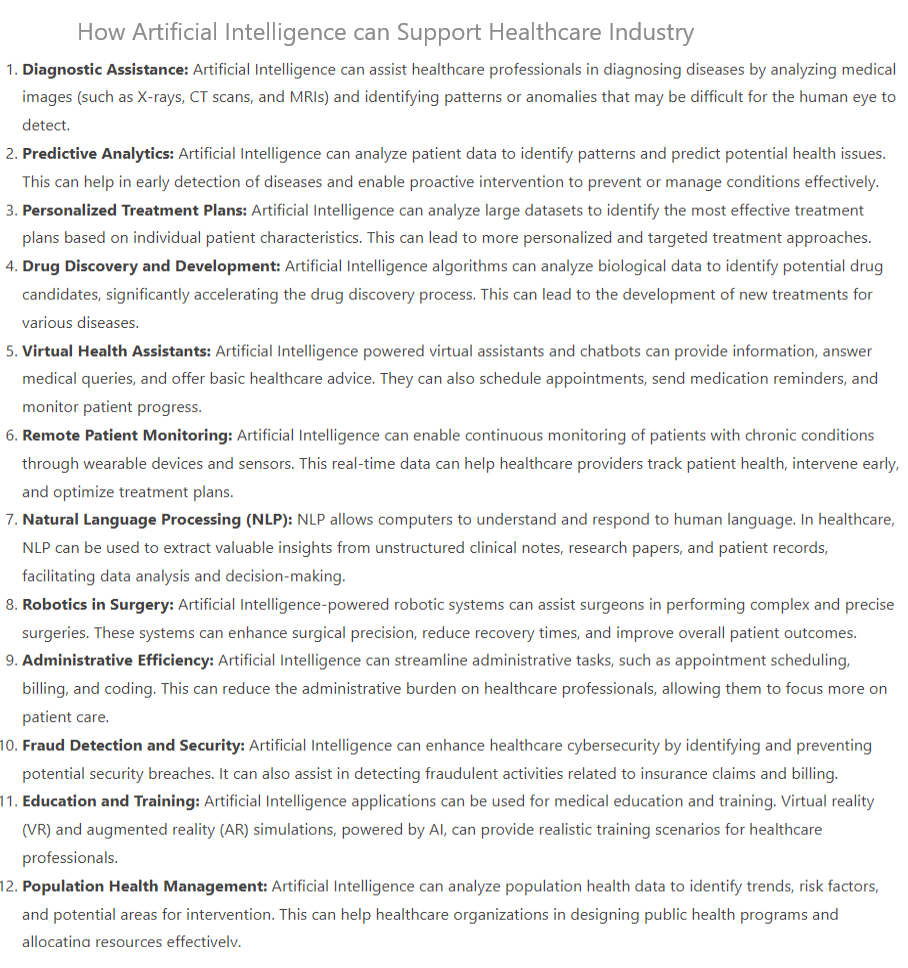
Artificial Intelligence (AI) has the potential to revolutionize healthcare in various ways, improving efficiency, accuracy, and patient outcomes.
The following below ways Artificial Intelligence can Support Healthcare Industry
Diagnostic Assistance: Artificial Intelligence can assist healthcare professionals in diagnosing diseases by analyzing medical images (such as X-rays, CT scans, and MRIs) and identifying patterns or anomalies that may be difficult for the human eye to detect.
Predictive Analytics: Artificial Intelligence can analyze patient data to identify patterns and predict potential health issues. This can help in early detection of diseases and enable proactive intervention to prevent or manage conditions effectively.
Personalized Treatment Plans: Artificial Intelligence can analyze large datasets to identify the most effective treatment plans based on individual patient characteristics. This can lead to more personalized and targeted treatment approaches.
Drug Discovery and Development: Artificial Intelligence algorithms can analyze biological data to identify potential drug candidates, significantly accelerating the drug discovery process. This can lead to the development of new treatments for various diseases.
Virtual Health Assistants: Artificial Intelligence powered virtual assistants and chatbots can provide information, answer medical queries, and offer basic healthcare advice. They can also schedule appointments, send medication reminders, and monitor patient progress.
Remote Patient Monitoring: Artificial Intelligence can enable continuous monitoring of patients with chronic conditions through wearable devices and sensors. This real-time data can help healthcare providers track patient health, intervene early, and optimize treatment plans.
Natural Language Processing (NLP): NLP allows computers to understand and respond to human language. In healthcare, NLP can be used to extract valuable insights from unstructured clinical notes, research papers, and patient records, facilitating data analysis and decision-making.
Robotics in Surgery: Artificial Intelligence-powered robotic systems can assist surgeons in performing complex and precise surgeries. These systems can enhance surgical precision, reduce recovery times, and improve overall patient outcomes.
Administrative Efficiency: Artificial Intelligence can streamline administrative tasks, such as appointment scheduling, billing, and coding. This can reduce the administrative burden on healthcare professionals, allowing them to focus more on patient care.
Fraud Detection and Security: Artificial Intelligence can enhance healthcare cybersecurity by identifying and preventing potential security breaches. It can also assist in detecting fraudulent activities related to insurance claims and billing.
Education and Training: Artificial Intelligence applications can be used for medical education and training. Virtual reality (VR) and augmented reality (AR) simulations, powered by AI, can provide realistic training scenarios for healthcare professionals.
Population Health Management: Artificial Intelligence can analyze population health data to identify trends, risk factors, and potential areas for intervention. This can help healthcare organizations in designing public health programs and allocating resources effectively.
The following below reason as Website is displaying HTML in its body instead of the correct content
Server-Side Processing Issue:
Check the server logs for any error messages that might indicate problems with processing server-side scripts or generating the HTML content.
Ensure that server-side scripting languages (such as PHP, Python, or Ruby) are correctly installed and configured on the server.
Verify that the server is not experiencing any issues, and the web server software (e.g., Apache, Nginx) is running properly.
File Extension Mismatch:
Ensure that the file extensions of your web pages match the expected extensions for the server to interpret and process correctly (e.g., .html, .php, .aspx).
Incorrect MIME Type:
Check that the server is sending the correct MIME type for HTML content. The Content-Type header should be set to “text/html” for HTML pages.
Missing or Misconfigured .htaccess file:
If you’re using Apache as your web server, make sure that your .htaccess file (if you have one) is correctly configured. It may be affecting the way files are processed.
Issues with Content Management System (CMS):
If the website is built on a content management system (e.g., WordPress, Joomla), ensure that the CMS is installed correctly, and there are no issues with the configuration or theme/template files.
Browser Cache Issue:
Clear your browser cache and try accessing the website again. Sometimes, browsers may cache a corrupted version of a page.
Check for Typos and Syntax Errors:
Review the HTML code of the affected page for any typos or syntax errors that might be causing the rendering issue.
Database Connection Issues:
If the website relies on a database, check for any issues with the database connection. Ensure that the database server is running and that the connection details in your website’s configuration are accurate.
Security Issues:
Consider the possibility of a security breach, especially if your website is displaying unexpected content. Ensure that your website’s software, plugins, and themes are up-to-date, and review your server’s security settings.
Contact Hosting Provider:
If you’re unable to identify and resolve the issue, consider reaching out to your hosting provider for assistance. They may be able to help diagnose and address server-related problems.