

Page Builder is powerful content management tool & used to create content by using dragging-and-dropping pre-built controls.
These pre-built controls referred as Content Types
The following below four Content Types
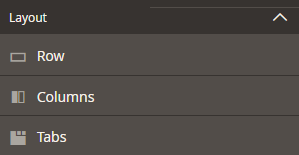
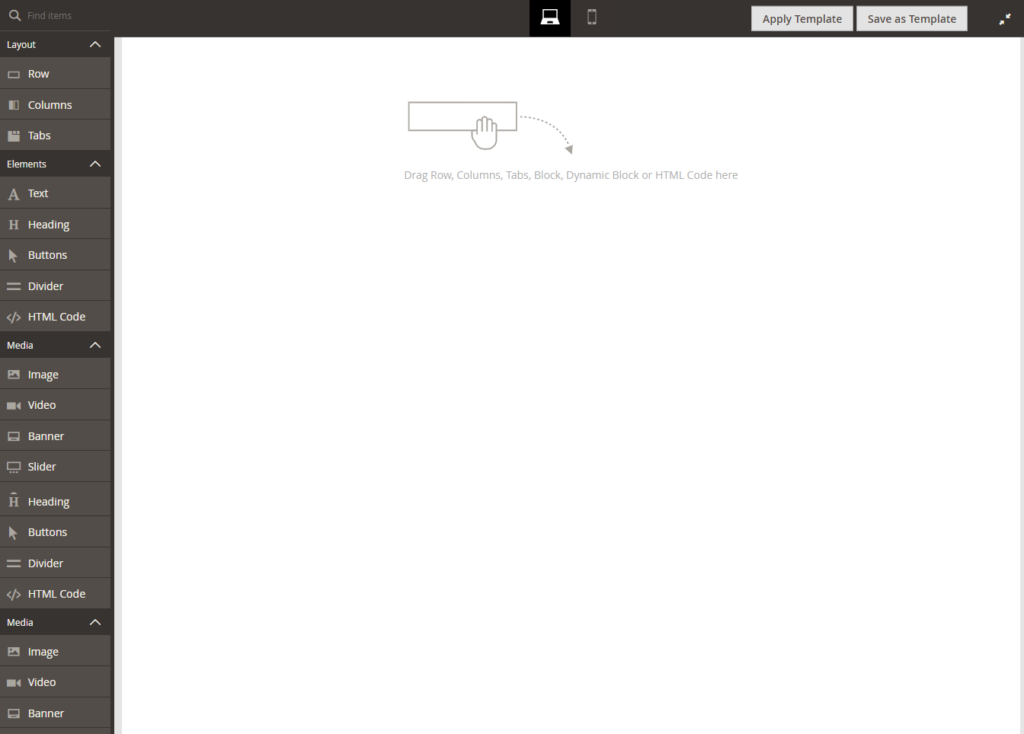
[1] Layout:: a set of rows, columns & tabs
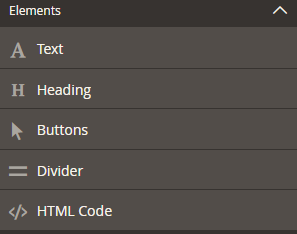
[2] Elements:: a set of text, headings, buttons, dividers & HTML Code
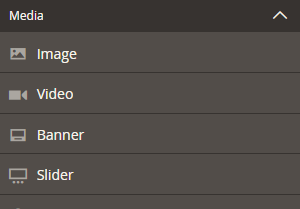
[3] Media:: a set of images, video, banners, sliders & Google Maps
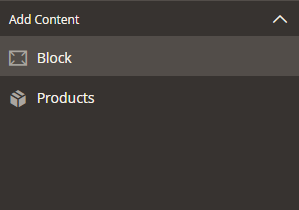
[4] Content:: a set of Block & Products
These Content Types used as below
Drag-and-drop:: To create content by using Drag-and-drop functionality
Live previews :: To show created content before publishing the storefront.
Editors:: Used for entering and customizing the content.
Schedule Content Update:: To update automatically content on specific date.
There are following below steps need to follow in Magento 2.x admin side
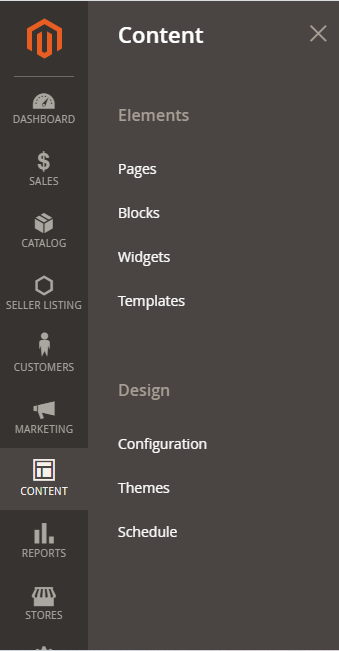
Step [1] – Left Side Panel Go To Content > Elements,
select either Pages or Blocks or Widgets or Templates as per business need.
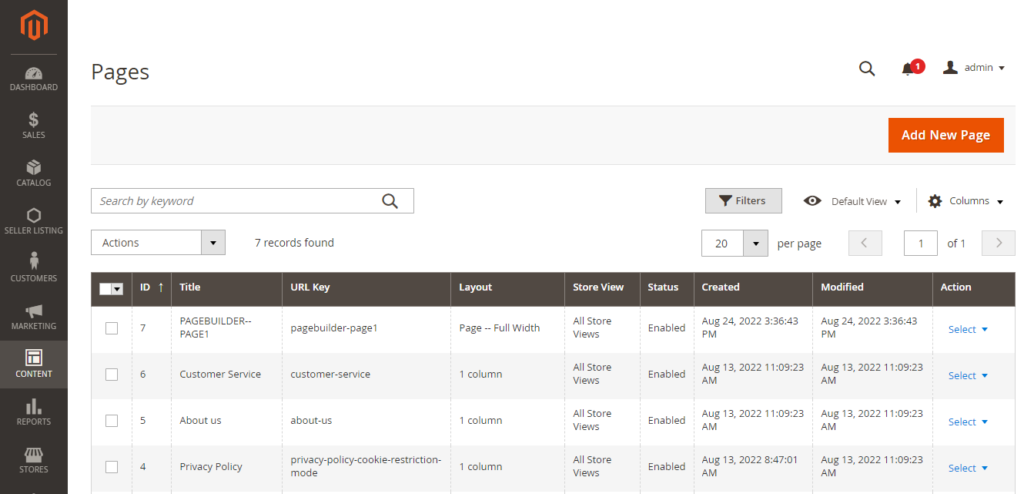
Step [2] – Here we have clicked on Pages, display page listing,
Click on Add New Page buttin
Step [3] –Once Clicked on Add New Page button, redirects on New Page form
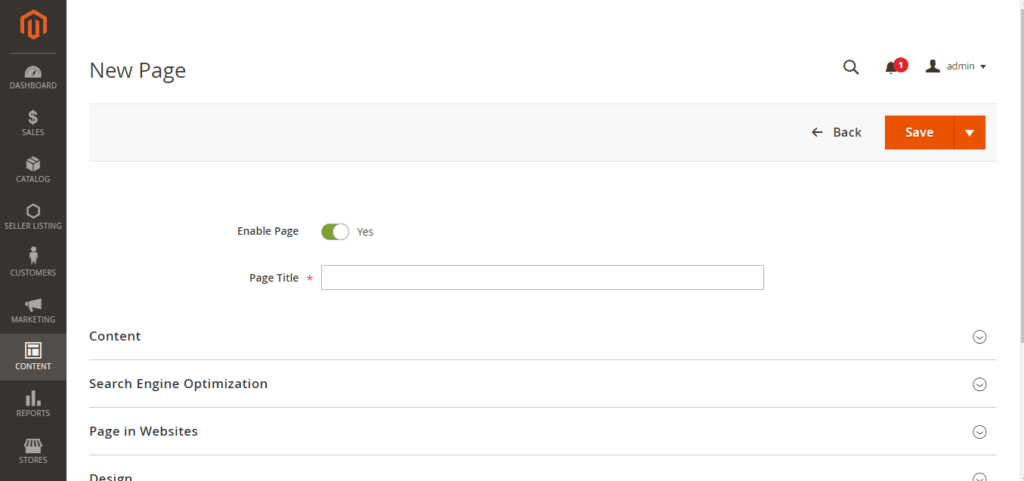
Step [4] – Right Side panel expand Content Tab
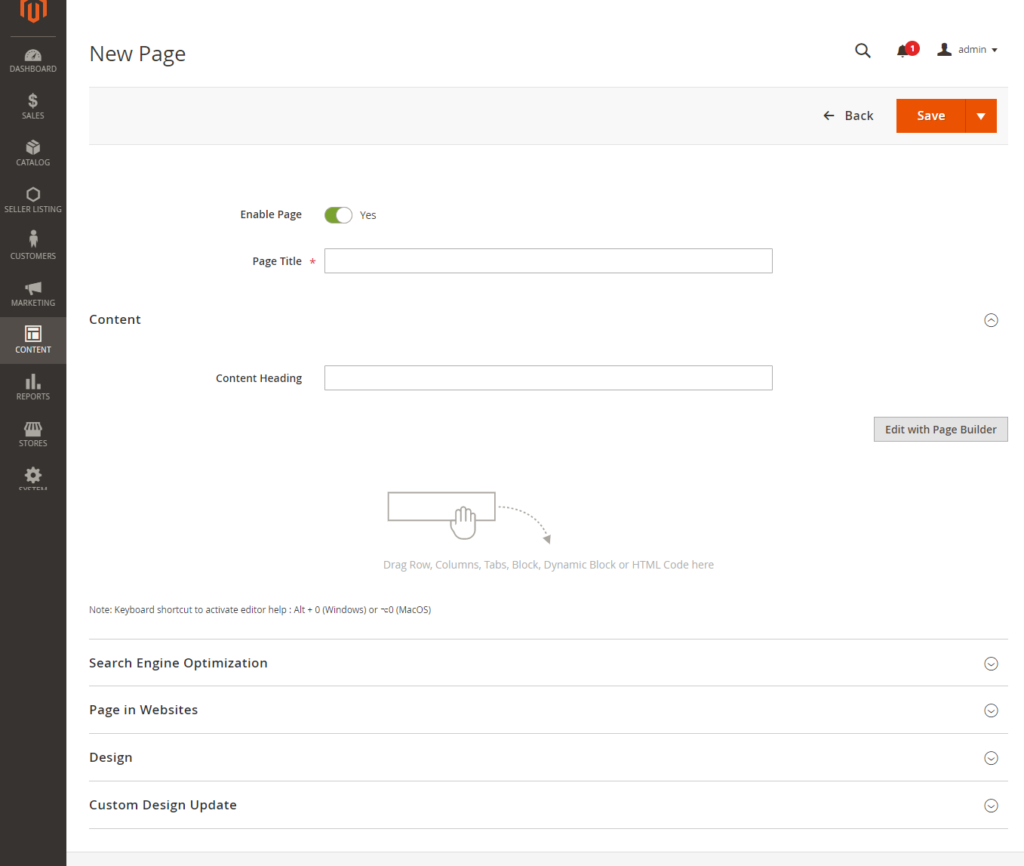
Step [5] –Once Clicked on Edit with Page Builder
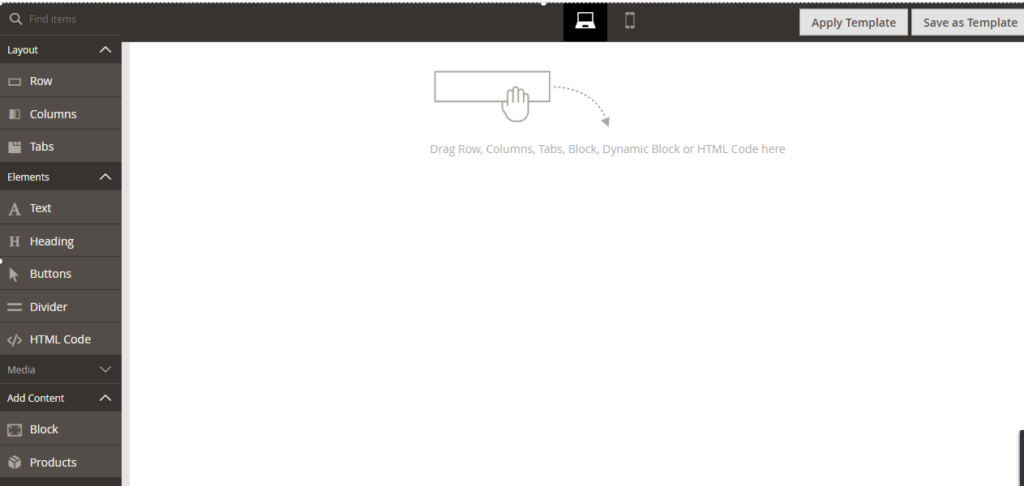
Step [5.1] –Drag & Drop Row from Left Side Layout Panel to right side Panel
Step [5.2] –Drag & Drop Heading from Elements Panel to right side Panel
Step [5.3] –Drag & Drop Products from Add Content Panel to right side Panel
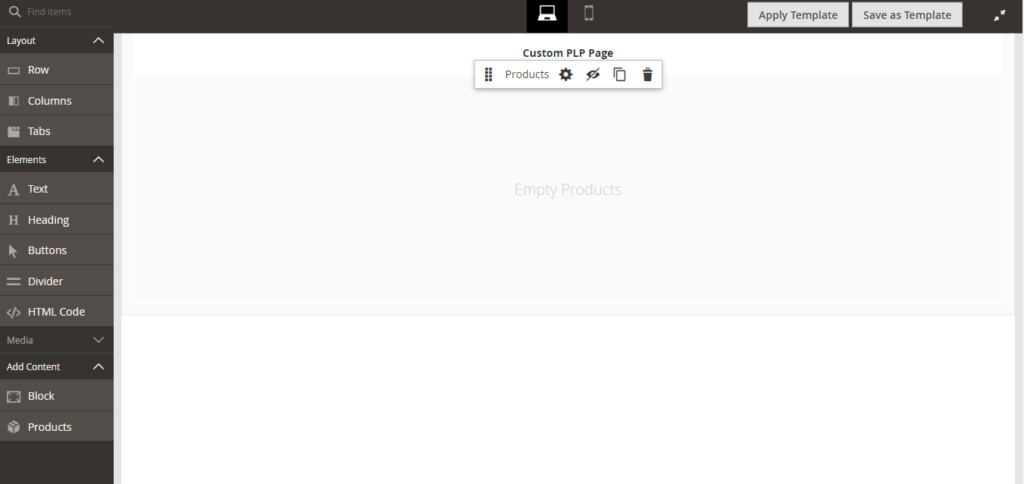
Step [5.4] –Once Clicked on Products Setting Button

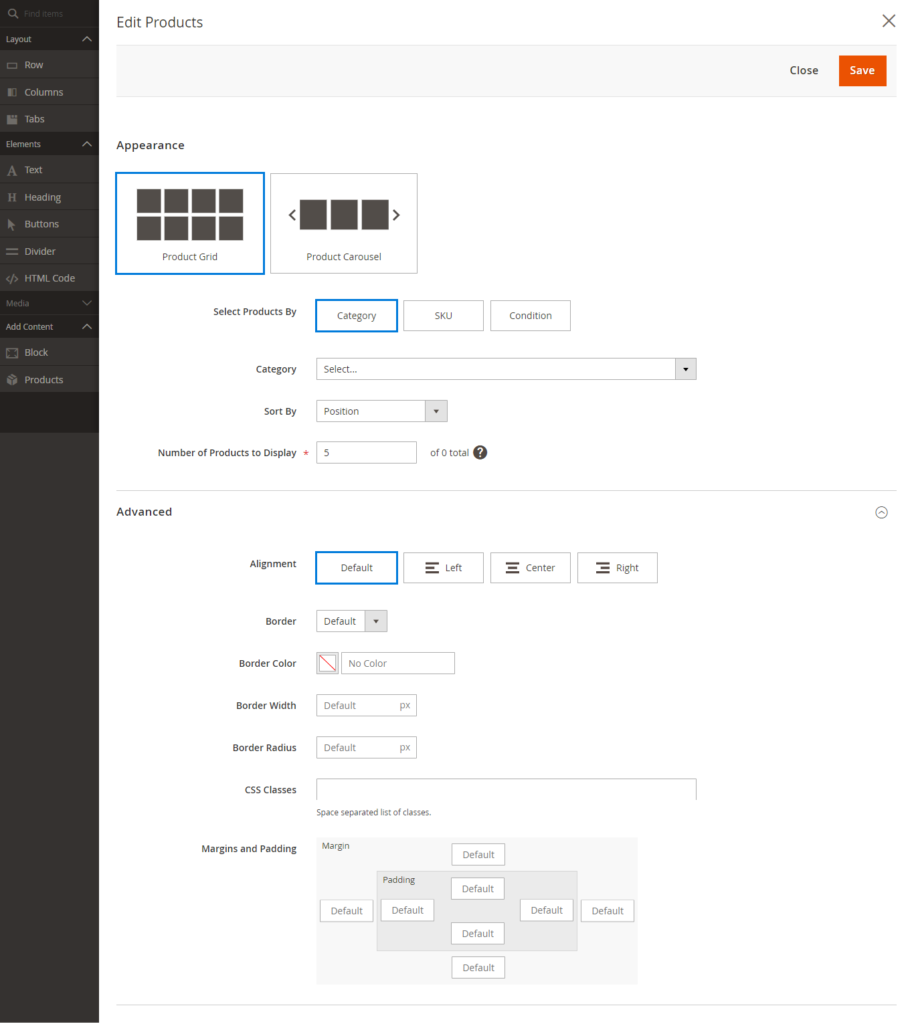
Step [5.5] – Redirects on Edit Products form & Select Product By either
using any Category or set of SKU or Conditions
Here we have selected by Category
Step [5.7] – Finally clicked on Save Button, It would be displayed as below
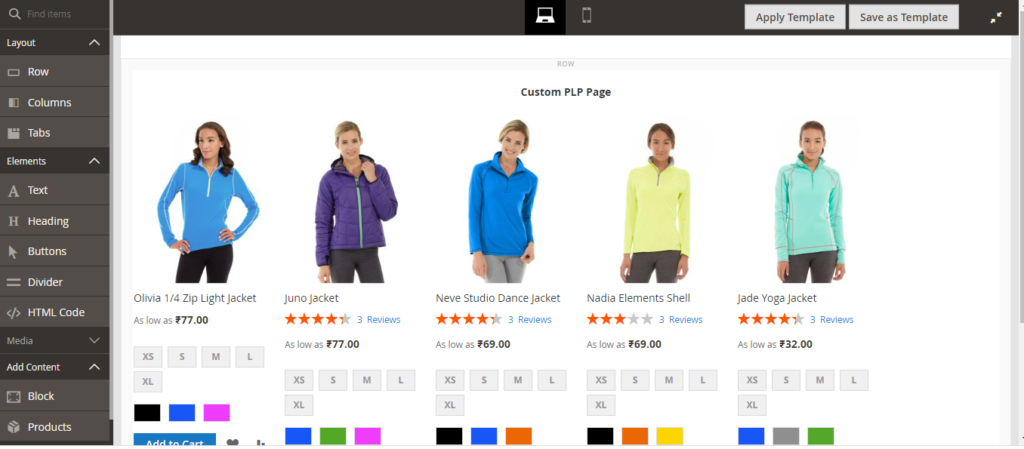
Step [5.6] – Clicked on Top Right Side Close Full Screen
Step [5.7] – Redirects on below screen.

Step [5.7] – Finally clicked on Save Button & your custom page with Page Builder has been created, where 5 Products are being displayed.