Step [1] – Installation NGINX
sudo apt install
sudo apt install nginx
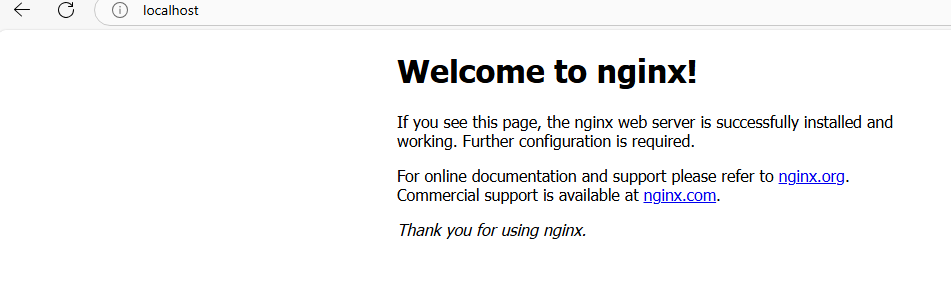
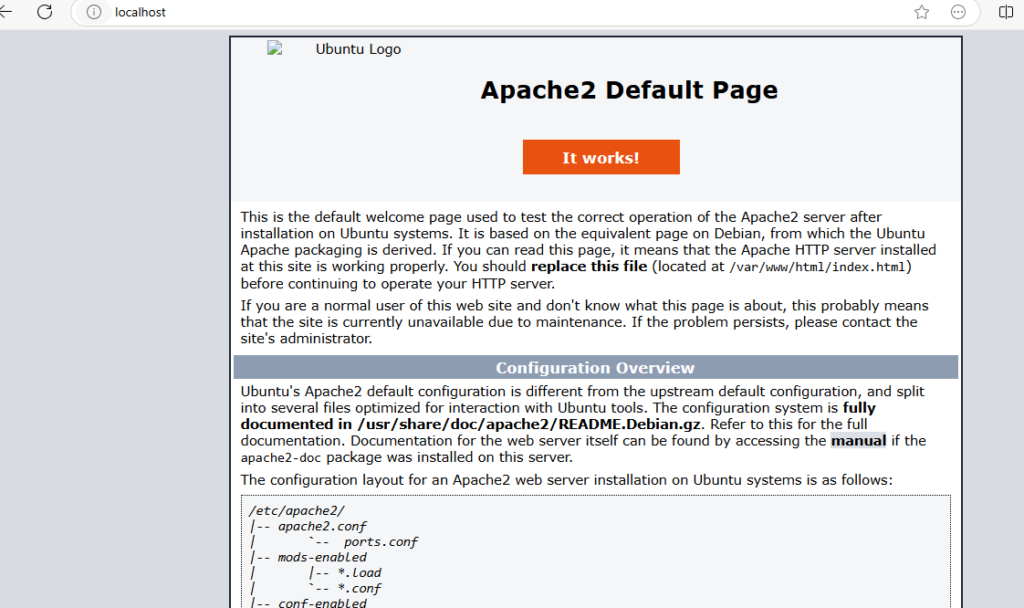
sudo service nginx start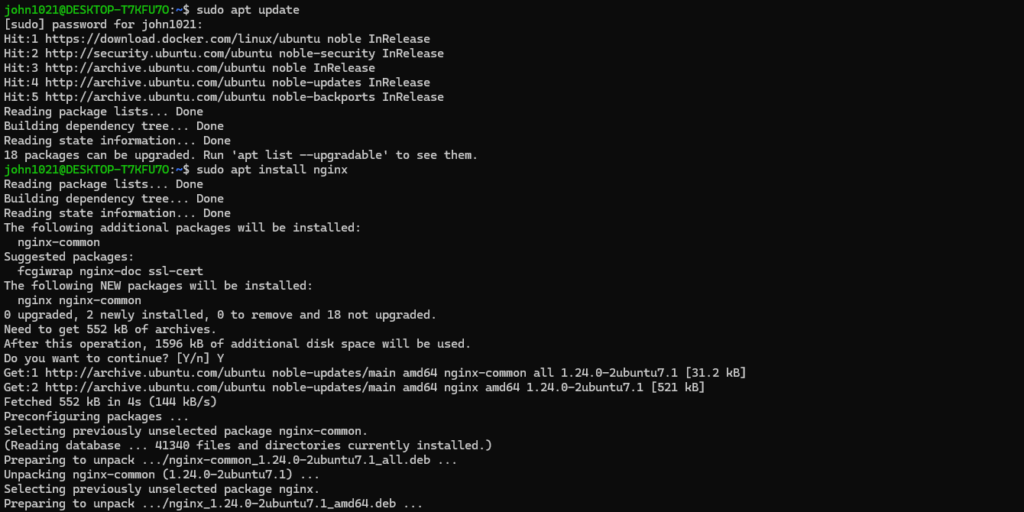

Step [2] – Create Virtual Host File magento.conf
sudo nano magento.conf && chmod 777 magento.confupstream fastcgi_backend {
server unix:/run/php/php8.2-fpm.sock;
}
server {
listen 80;
server_name www.magento-dev.com;
set $MAGE_ROOT /var/www/html/magento2;
include /var/www/html/magento2/nginx.conf.sample;
}
Step [3] – To Create nginx virtual host symbolic link
sudo ln -s /etc/nginx/sites-available/magento.conf /etc/nginx/sites-enabled/magento.conf

Step [4] – Inside /var/www/html/ below directory has been created
index.nginx-debian.html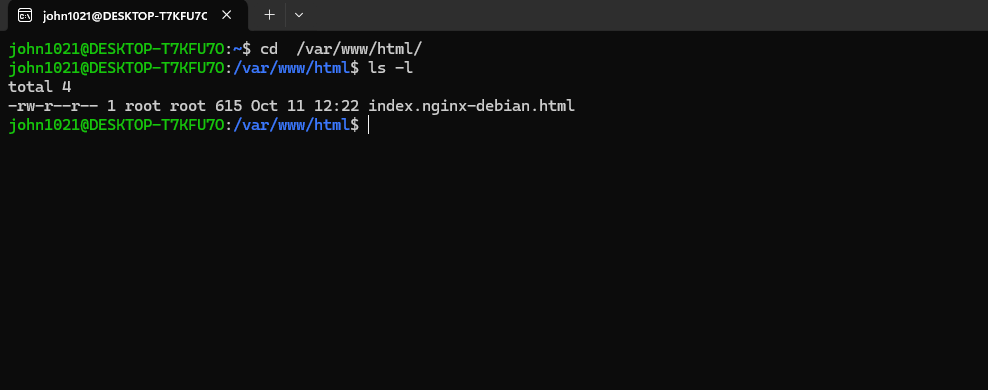
Create magento2 folder

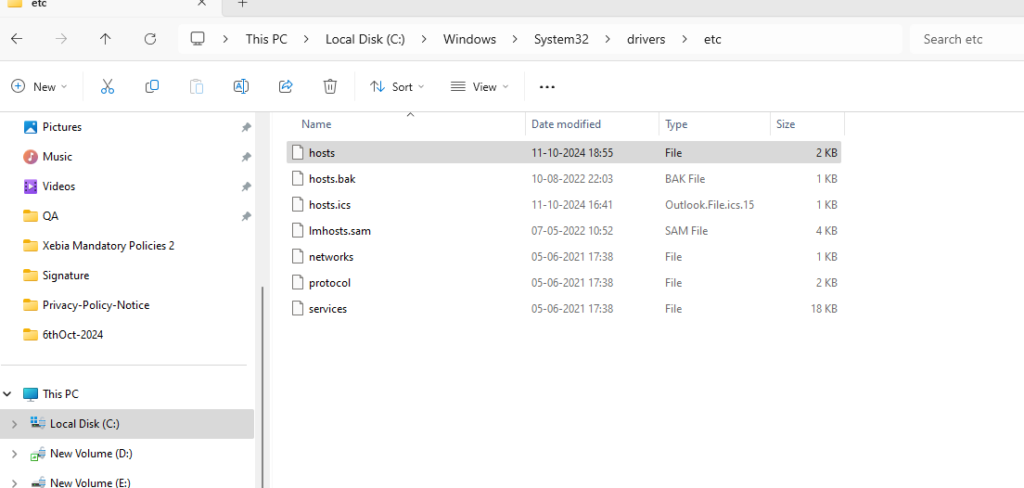
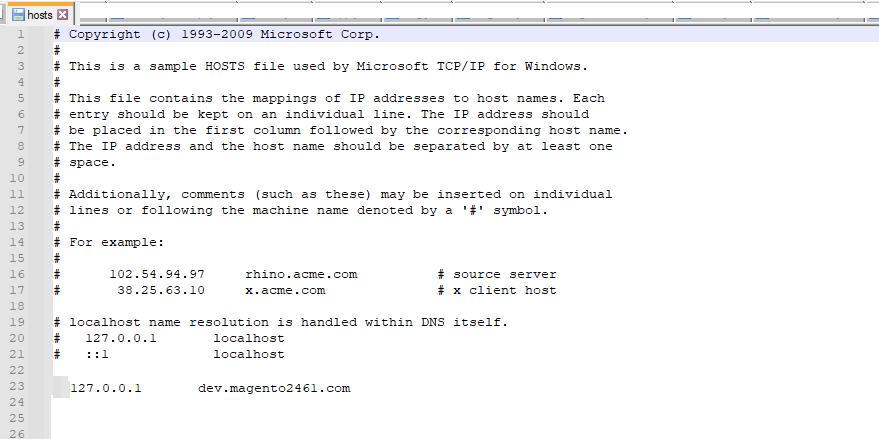
Step [5] – Go Windows > System 32 / Drivers / etc / host file
Set your virtual host here
Step [6]- Install PHP 8.3
sudo apt install php libapache2-mod-php php-bcmath php-curl php-fpm php-gd php-intl php-mbstring php-mysql php-soap php-xml php-xsl php-zip php-cli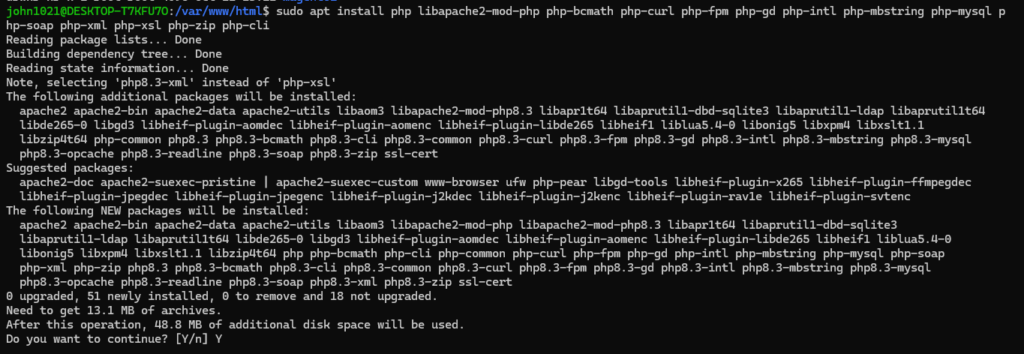
Step [7] – Modify in php.ini file
To Find path of php.ini
php -ini | grep "Loaded Configuration File"
max_execution_time = 5000

max_input_time = 5000

memory_limit = -1

post_max_size = 900M

upload_max_filesize = 900
Once all changes done in php.ini start php service below
sudo service php8.3-fpm start

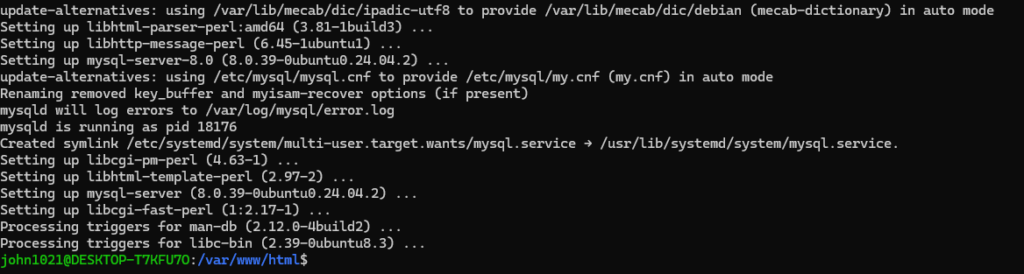
Step [8] – Installation MYSQL
sudo apt install mysql-server
Step [9] – Start mysql Service
sudo service mysql start
Step [10] – Change Mysql Credentials
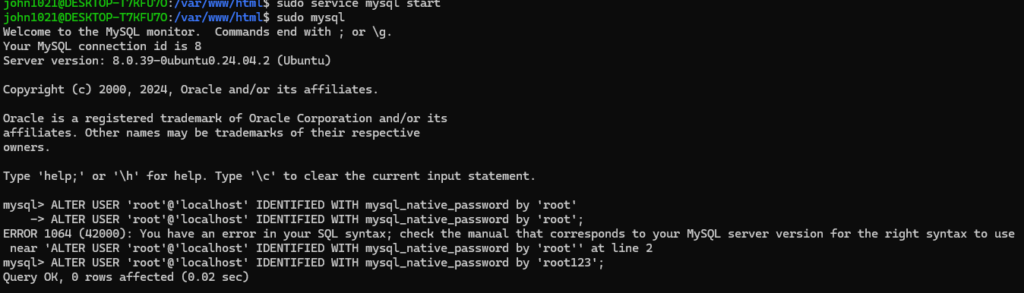
Mysql credentials as root / root123
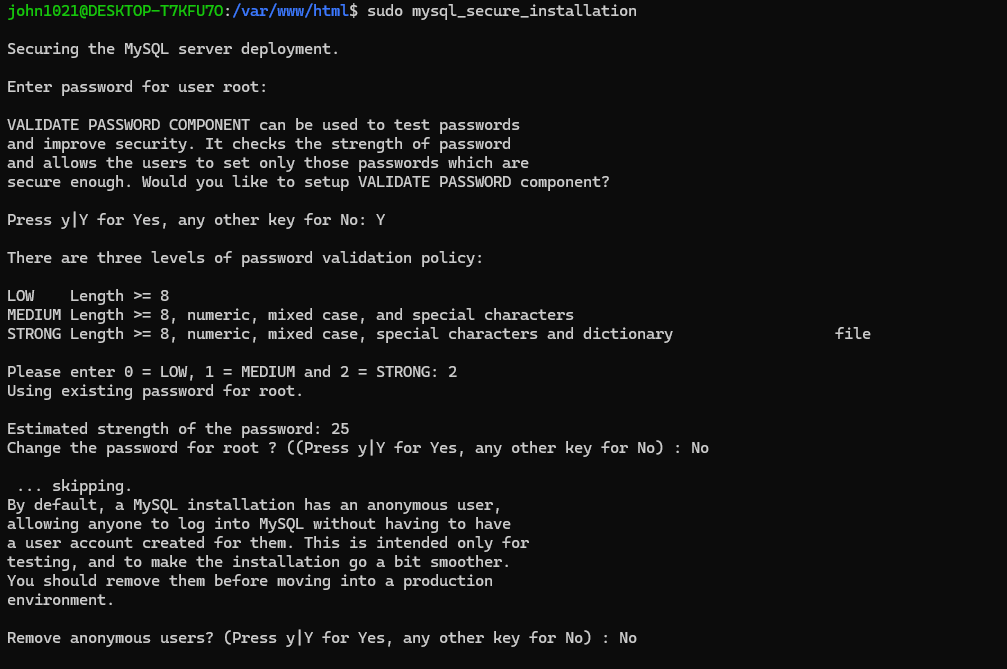
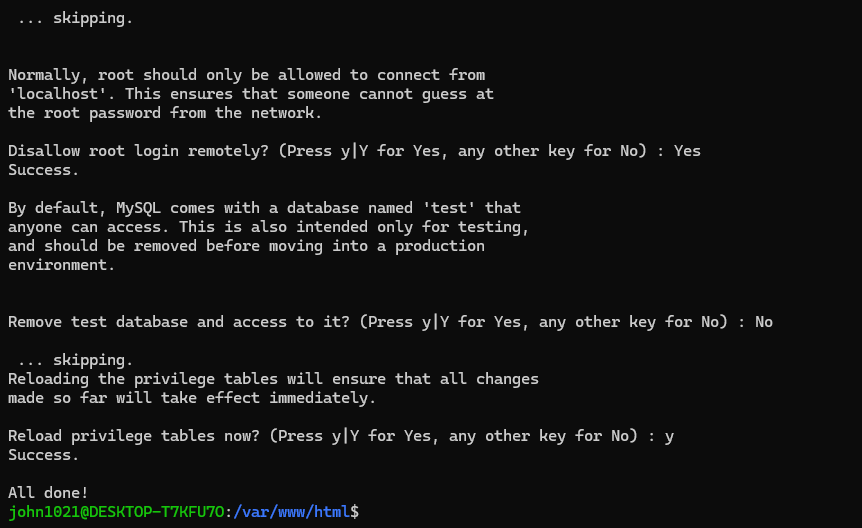
Step [11] – Mysql Secure Installation
Step [12] – Create custom database with username / password
create database magento2461;Create Mysql Username & Password to assign this database
create USER 'magento2461'@'localhost' IDENTIFIED by 'TYfd1@#23asD';
Step [13] – Grant Permission assign database to user magento2461

Step [14] – Run flush privileges command
flush privileges;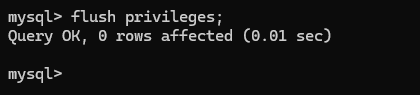
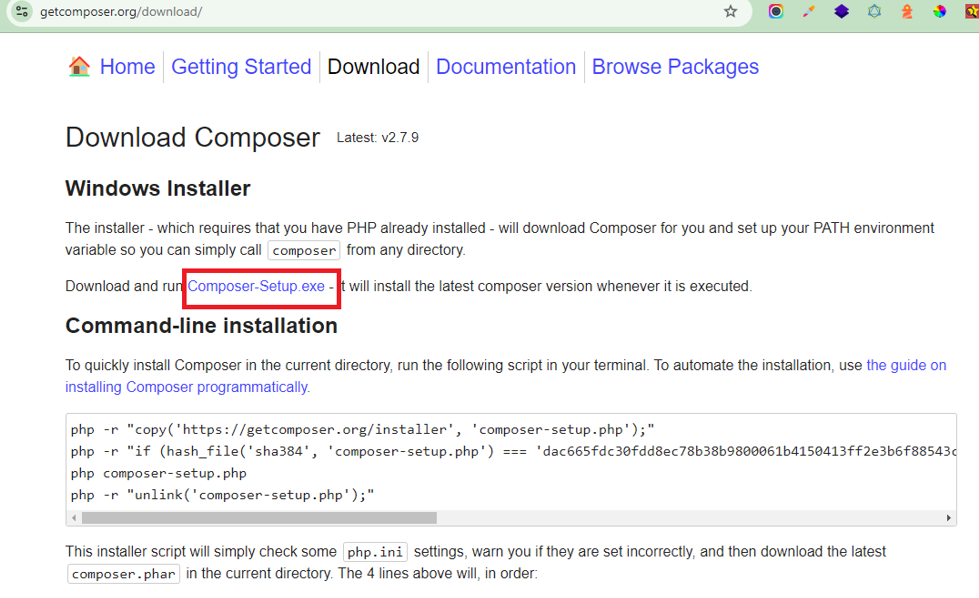
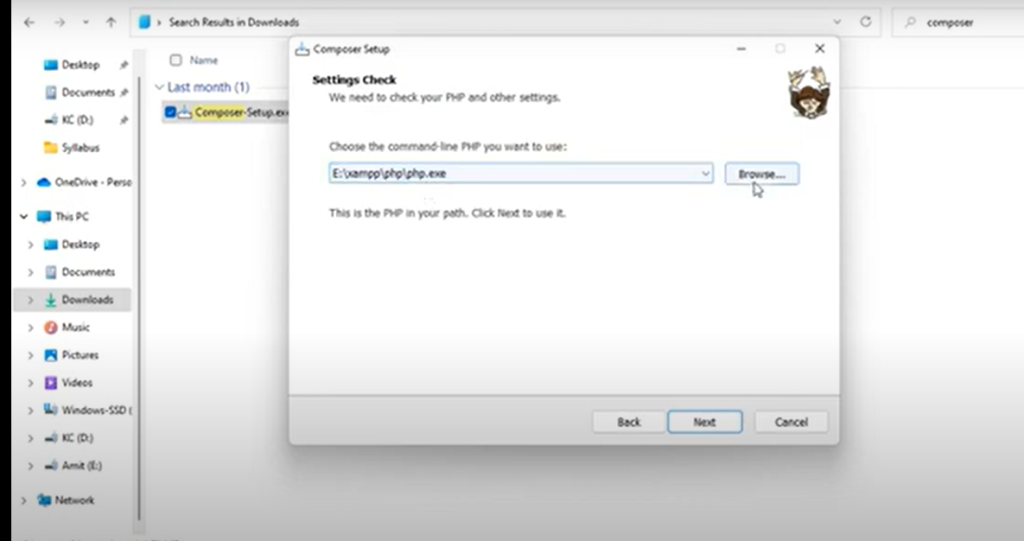
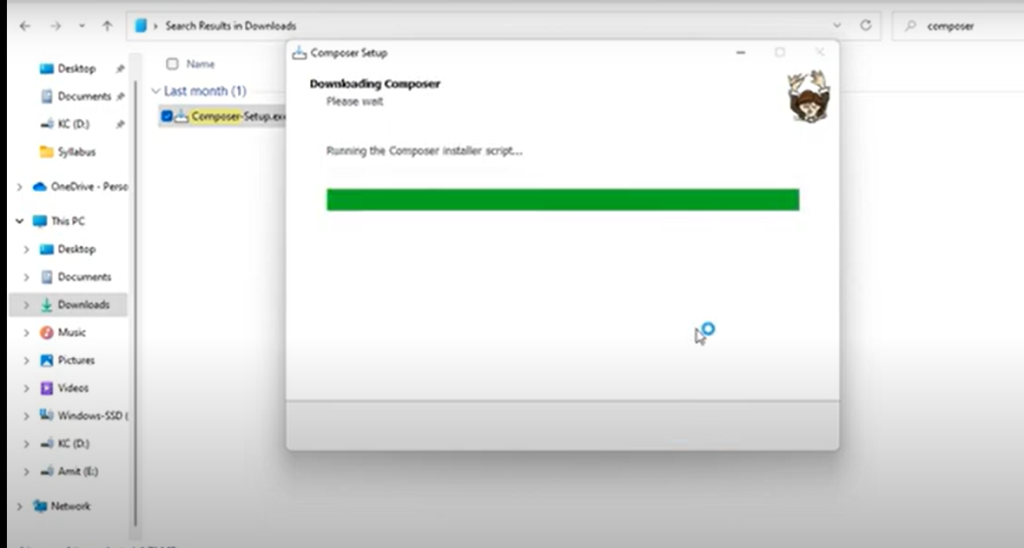
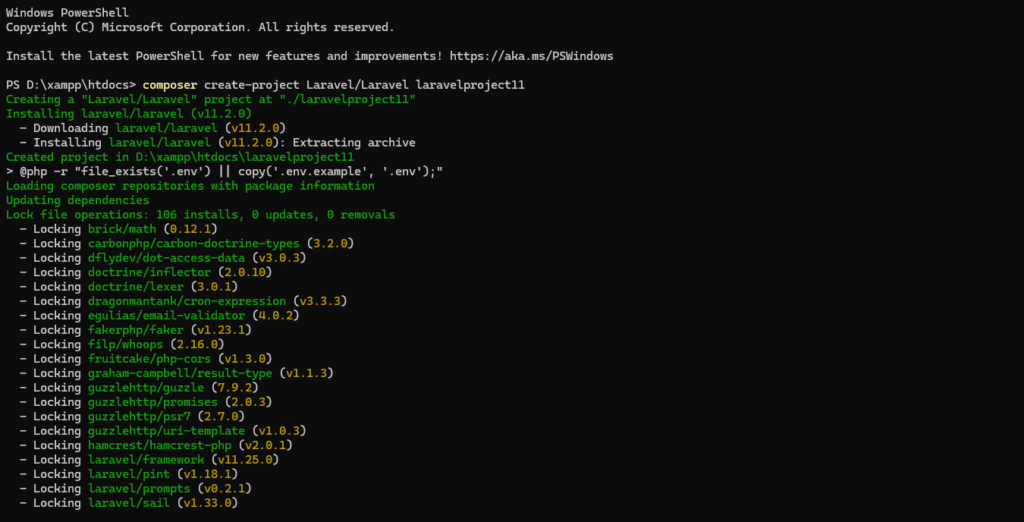
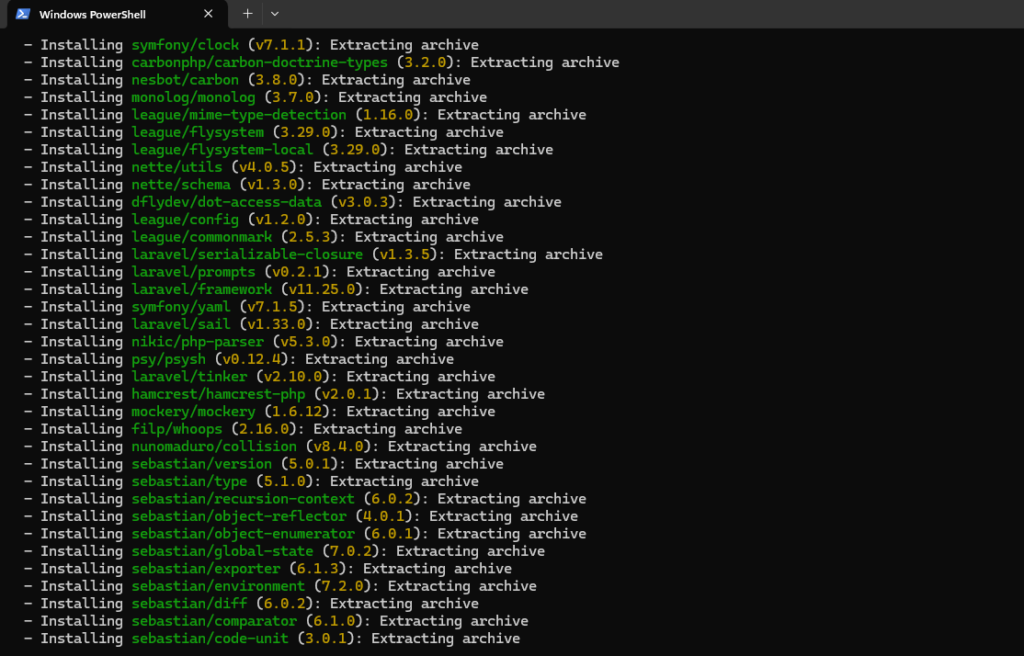
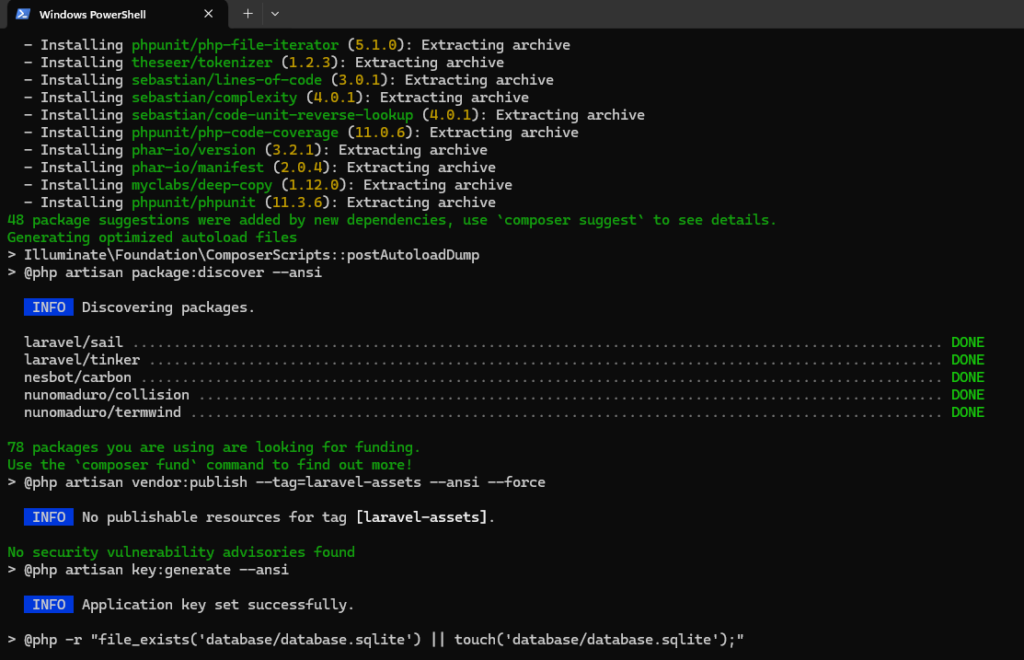
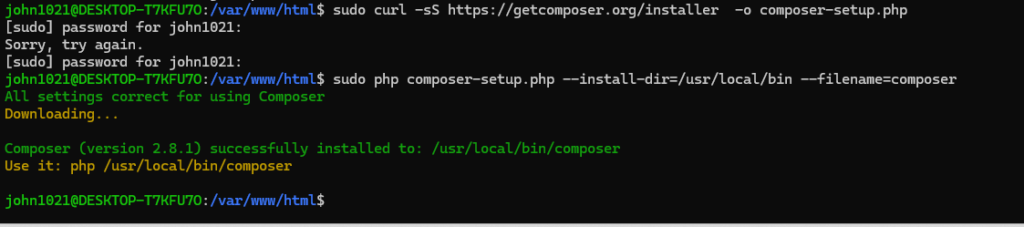
Step [15] – Composer Installation
sudo curl -sS https://getcomposer.org/installer -o composer-setup.php
sudo php composer-setup.php –install-dir=/usr/local/bin –filename=composer
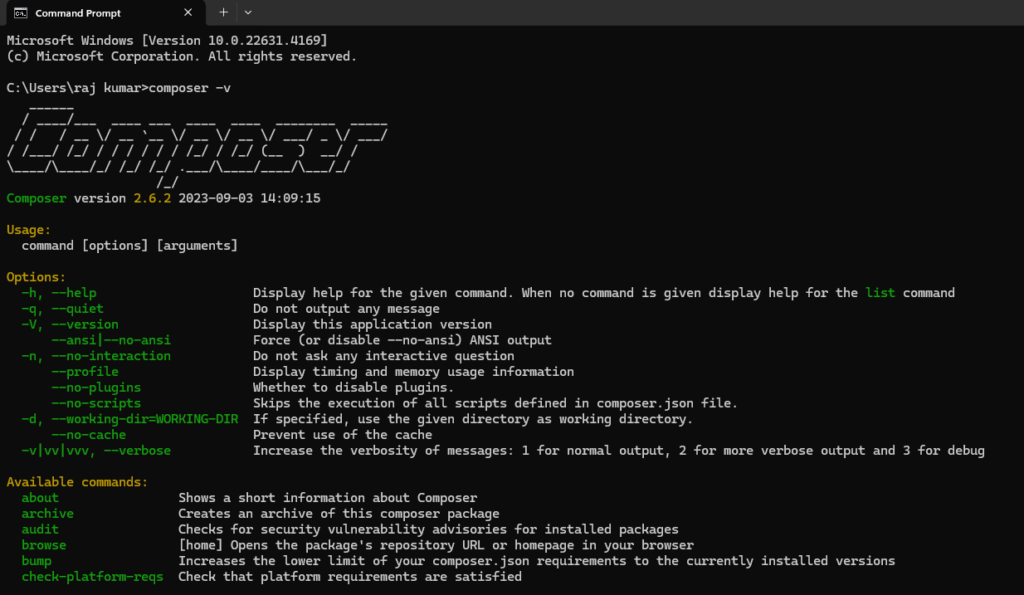
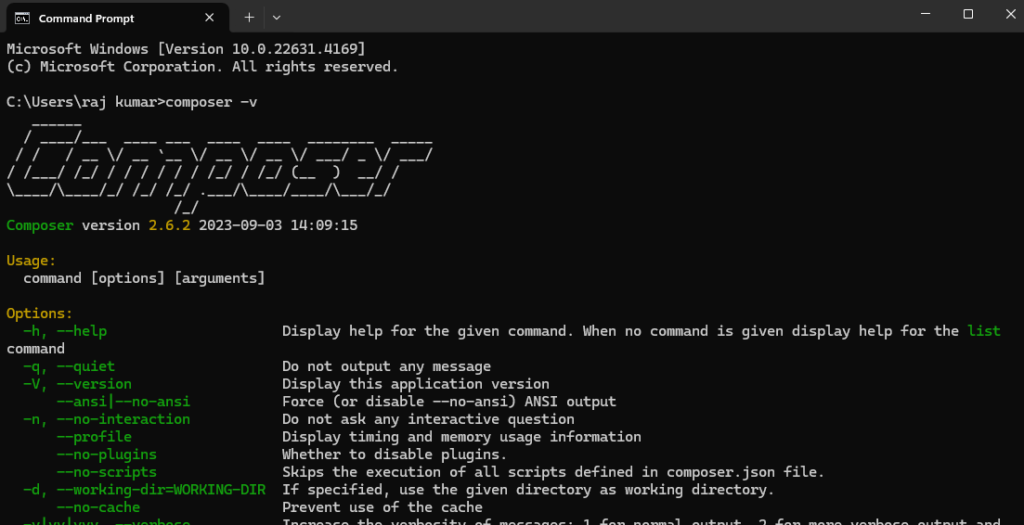
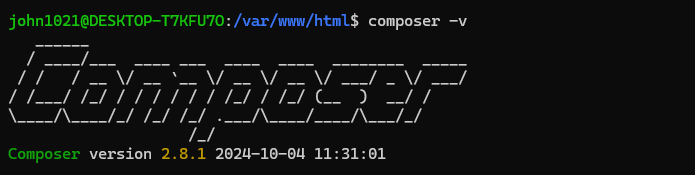
To Check either composer working fine
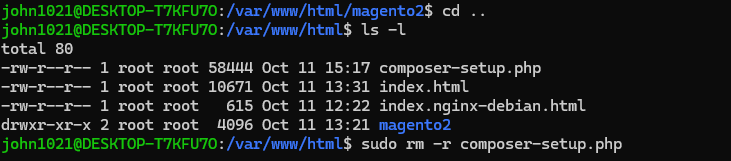
Step [16] – Remove composer-setup.php
Once installed composer, It is file composer-setup.php created, we do not need this file, need to remove
Step [17] – Elastic Search Installation
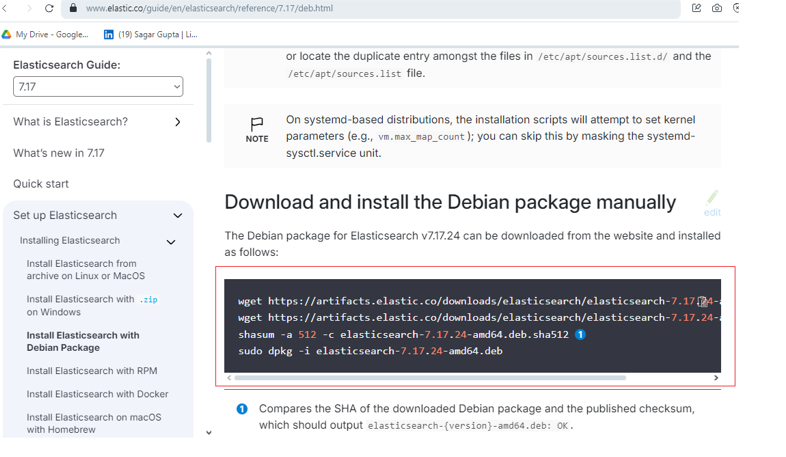
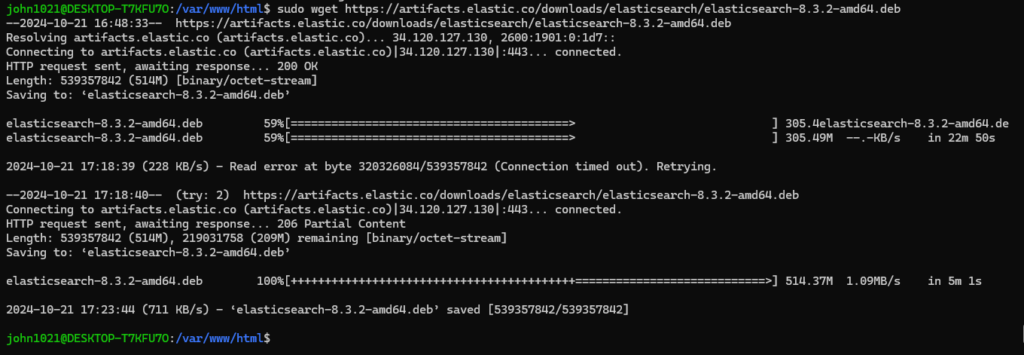
sudo wget https://artifacts.elastic.co/downloads/elasticsearch/elasticsearch-8.3.2-amd64.debNote:: this command will take smore time, please be patience !
sudo wget https://artifacts.elastic.co/downloads/elasticsearch/elasticsearch-8.3.2-amd64.deb.sha512
shasum -a 512 -c elasticsearch-8.3.2-amd64.deb.sha512sudo dpkg -i elasticsearch-8.3.2-amd64.deb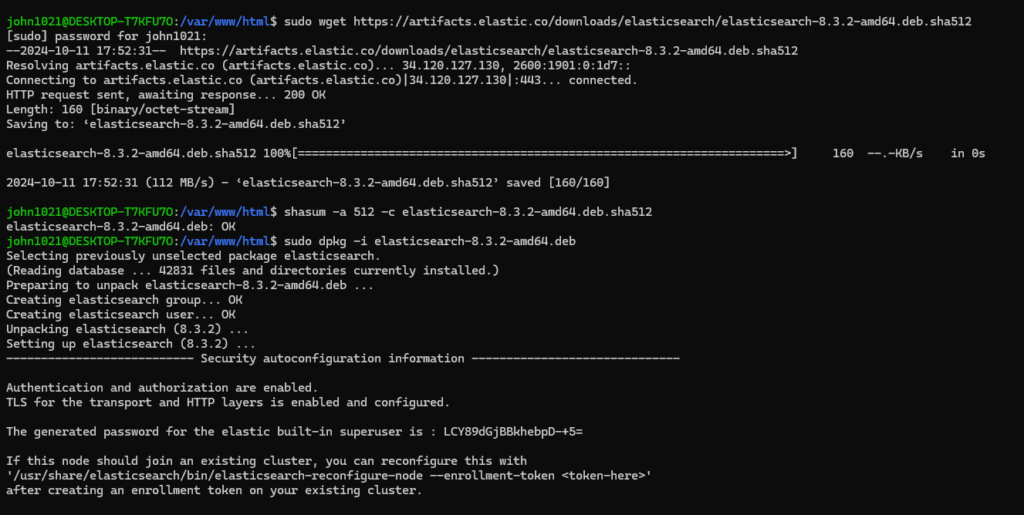

Once Below command run & display as ok — Elastic Search packaged installed.
shasum -a 512 -c elasticsearch-8.3.2-amd64.deb.sha512

Step [18] – Elasticsearch Start command
 sudo systemctl daemon-reload
 sudo systemctl enable elasticsearch.service
 sudo systemctl start elasticsearch.service
 sudo systemctl restart elasticsearch
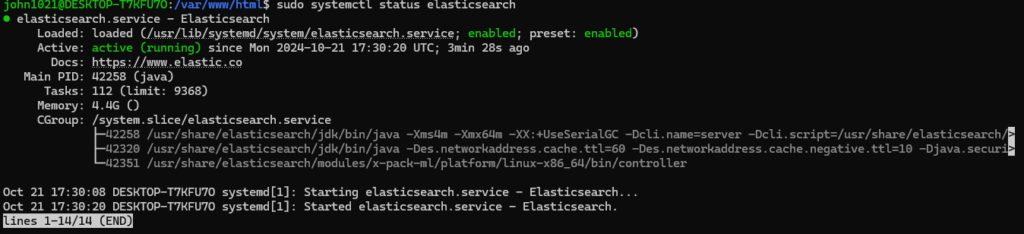
To check status of Installed Elasticsearch
sudo systemctl status elasticsearchIf the service is active (running), it should look like this:
Uninstall Nginx, PHP, MySQL, Elasticsearch, and Composer from WSL2 & Ubuntu,
Follow these steps:
Step [1] – Uninstall Nginx:
bash
Copy code
sudo systemctl stop nginx
sudo apt purge nginx nginx-common nginx-full -y
sudo apt autoremove -y
sudo rm -rf /etc/nginx
Step [2] – Uninstall PHP (and its extensions):
Check for installed PHP versions first:
bash
Copy code
php -v
Uninstall PHP and its related packages:
bash
Copy code
sudo apt purge php* -y
sudo apt autoremove -y
sudo rm -rf /etc/php
Step [3] – Uninstall MySQL:
bash
Copy code
sudo systemctl stop mysql
sudo apt purge mysql-server mysql-client mysql-common mysql-server-core-* mysql-client-core-* -y
sudo apt autoremove -y
sudo rm -rf /etc/mysql
Step [4] – Uninstall Elasticsearch:
bash
Copy code
sudo systemctl stop elasticsearch
sudo apt purge elasticsearch -y
sudo apt autoremove -y
sudo rm -rf /etc/elasticsearch /var/lib/elasticsearch
Step [5] – Uninstall Composer:
Simply remove the composer binary:
bash
Copy code
sudo rm /usr/local/bin/composer
Step [6] – Clean up any unused packages:
bash
Copy code
sudo apt autoremove -y
sudo apt autoclean
This will uninstall all the listed services and clean up residual files from your Ubuntu system.