The Following below admin setting required to add Quote Lifetime setting in Magento 2 Store.
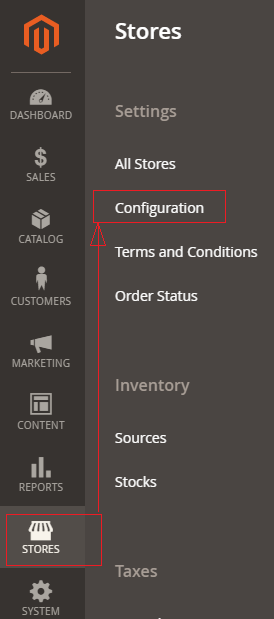
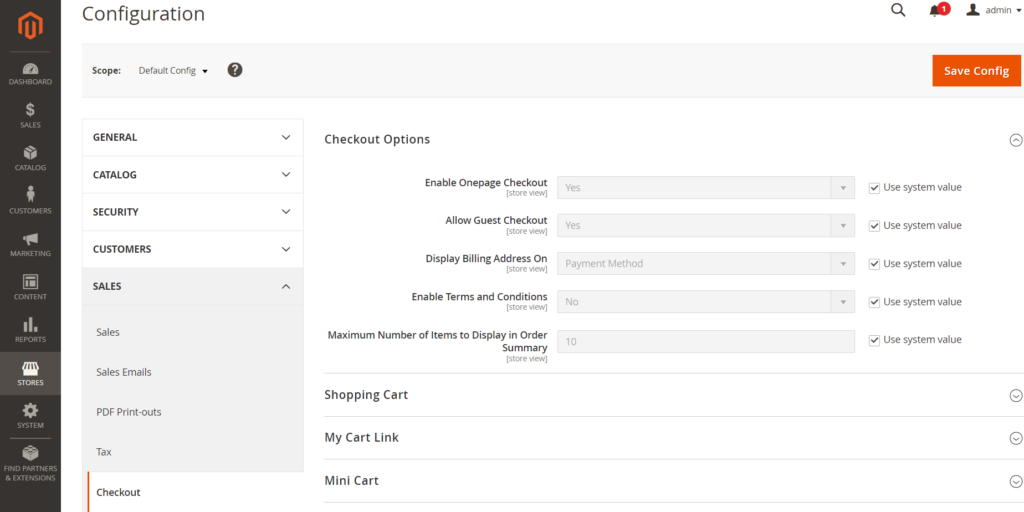
Step [1] – Go STORES > Configuration, redirects Configuration section.
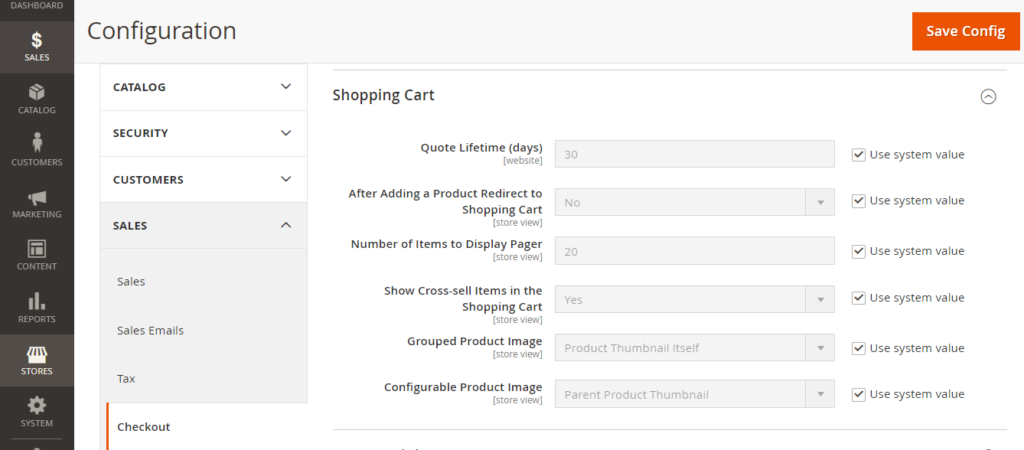
Step [2] – Go Sales > Checkout, redirects to right panel Shopping Cart section.
Each field of Shopping Cart section explained as below
Quote lifetime (days): By default Quote Lifetime is 30 Days, as your business need, to modify it.
After Adding a Product Redirect to Shopping Cart: Once customers add product to the cart & directly redirect to shopping cart page, need to enable After Adding a Product Redirect to Shopping Cart, by default No
Number of items to display Pager: By default 20-page paging, as per your business, need to modify it.
Show Cross sell items in the Shopping Cart: Cross-sell items displaying in the Shopping Cart page, by this option enable, as per your business need to modify it.
Group Product image: Thumbnail for Groups products images can be set to display the image from either the “parent” product or the product variation.
Configurable Product image: Thumbnail for Configurable products images can be set to display the image from either the “parent” product or the product variation.
Step [3] – Click on Save Config button & run CLI command Flush
For Example::
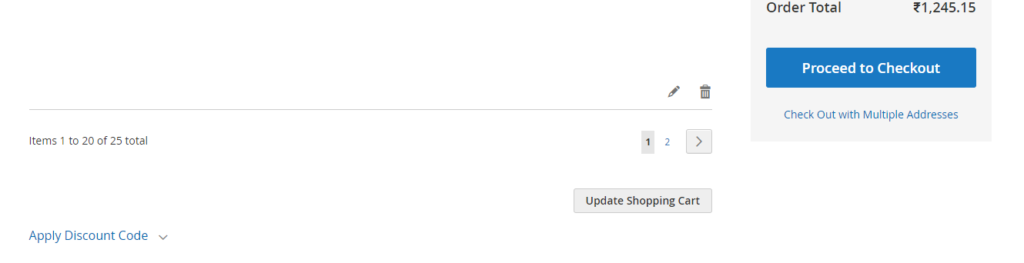
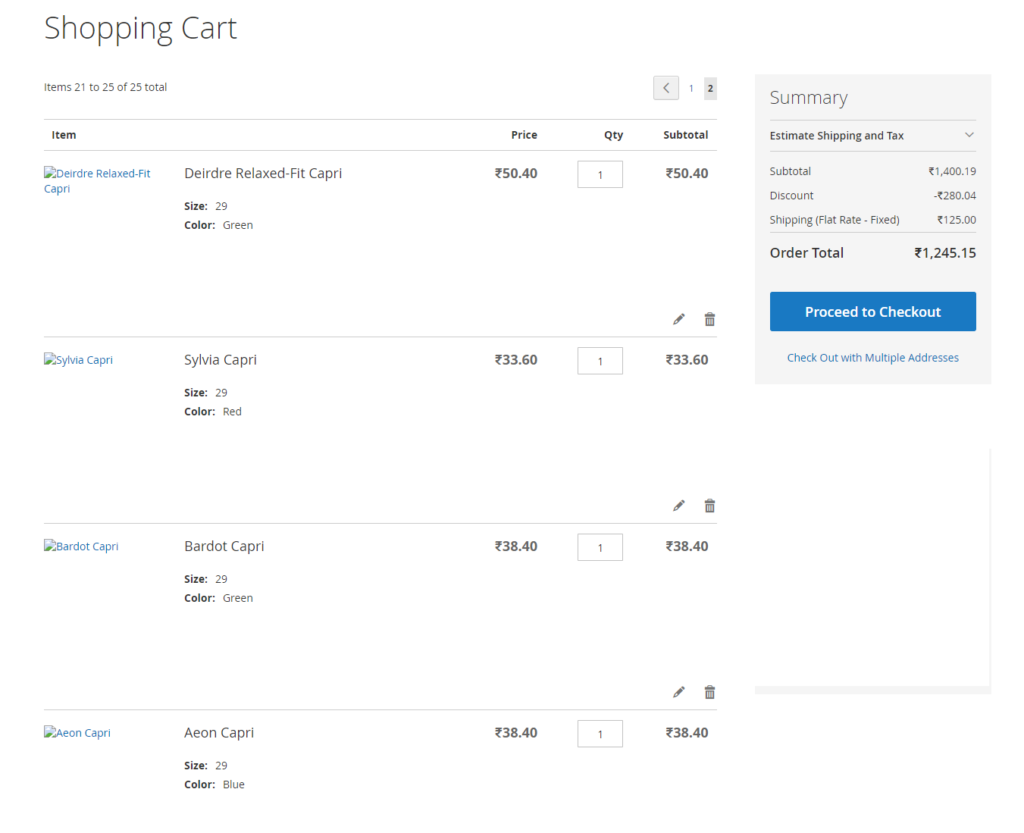
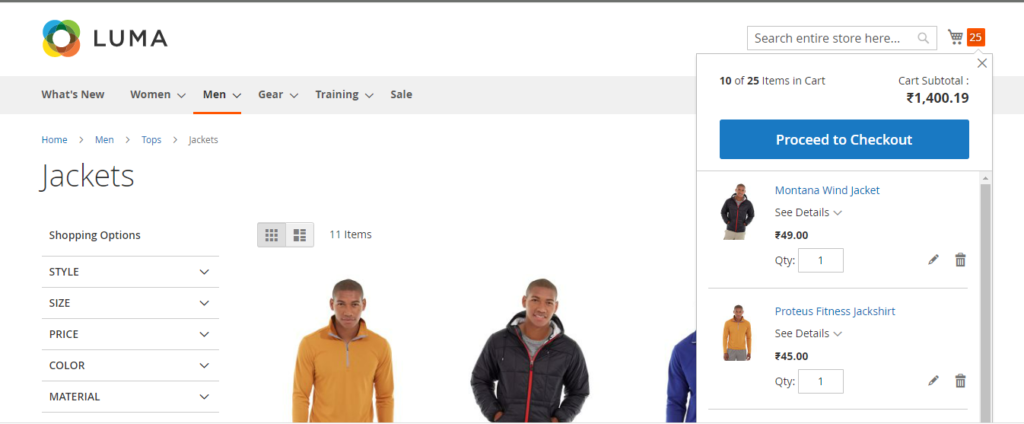
I have added 25 Products in Shopping Cart & Cart Detail page display 20 Items at time First Page Paging & remaining 5 products at time Second Page Paging , because Number of items to display Pager =20
Above display all 20 [Items 1 to 20 of 25 total] Products out of 25, remaining 5 products would be display once click on Paging -2 [Items 21 to 25 of 25 total]
The Following below admin setting required to configure Mini Cart section in Magento 2
Step [1] – Go STORES > Configuration, redirects Configuration section.
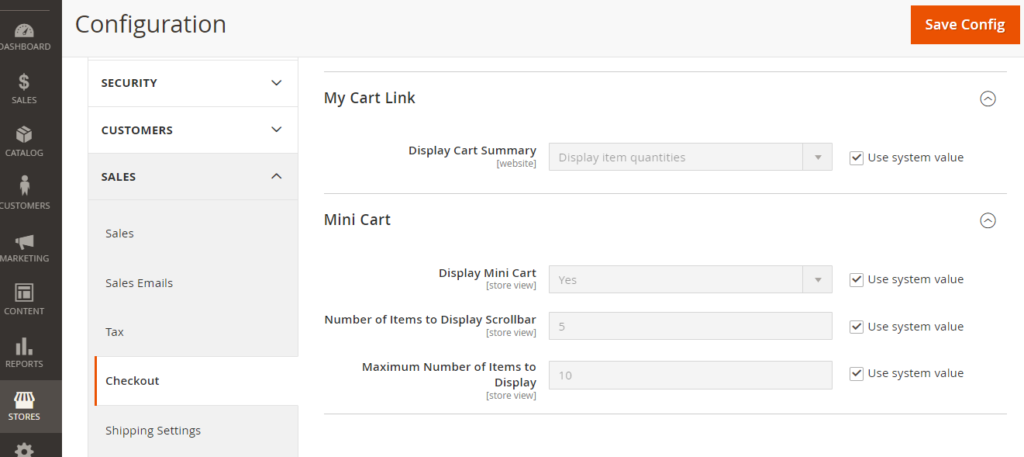
Step [2] – Go Sales > Checkout, redirects to right panel Mini Cart section.
Each field of Mini Cart section explained as below
Display Mini Cart: Represents Mini Cart at top right corner, by default enabled.
Number of items to Display Scrollbar: Represents, how many number of products displayed while customer scrolling Mini Cart at top right corner by default number of products 5
Maximum Number of Items to Display: Represents maximum number of products in Mini Cart, by default number of products 10
Step [3] – Click on Save Config button & run CLI command Flush
For Example::
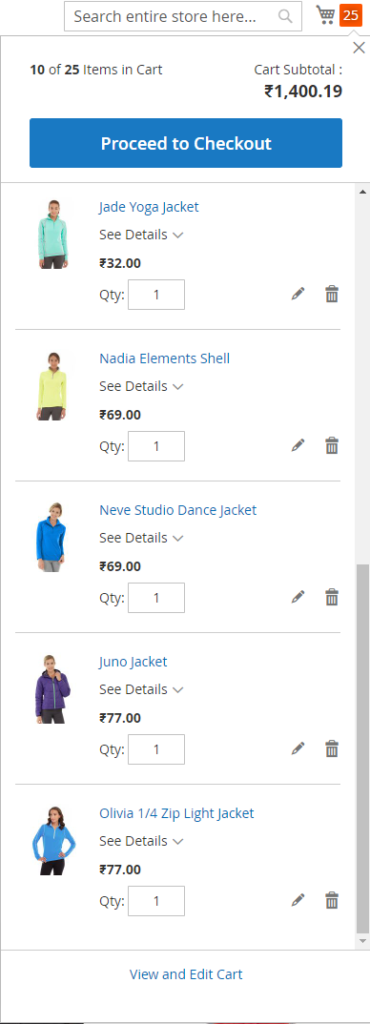
I have added 25 Products in Shopping Cart, it display 10 Items in Mini Cart once scroll, because Maximum Number of Items to Display =10
The Following below admin setting required to configure Payment Failed Email in Magento 2
Step [1] – Go STORES > Configuration, redirects Configuration section.
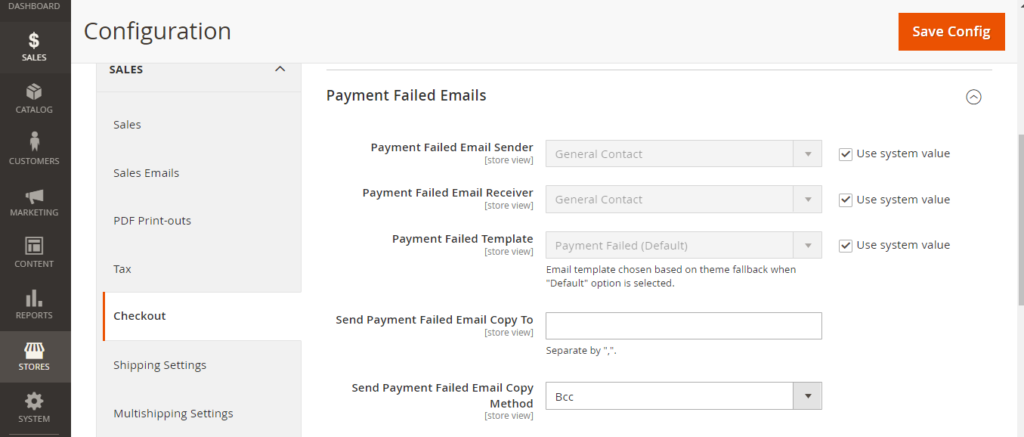
Step [2] – Go Sales > Checkout, redirects to right panel Payment Failed Emails section.
Each field of Payment Failed Emails section explained as below
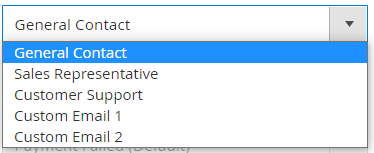
Payment Failed Email Sender: Represents Sender’s email, Once click drop down menu multiple contact displayed, choose any of them as per your Business need, by default General Contact selected
Payment Failed Email Receiver: Represents Receiver’s email, Once click drop down menu multiple contact displayed, choose any of them as per your Business need, by default General Contact selected
Payment Failed Template: Represents payment failed email template, choose any email template as per your Business need, by default Payment Failed Template selected
Send Payment Failed Email Copy: Enter multiple payment email, each email separated with each other by comma (,)
Send Payment Failed Email Copy Method: Method: Select either BCC or Separate Email
Step [3] – Click on Save Config button & run CLI command Flush
The Following below admin setting required to add FedEx shipping in Magento 2 Store.
Step [1] – Go STORES > Configuration, redirects Configuration section.
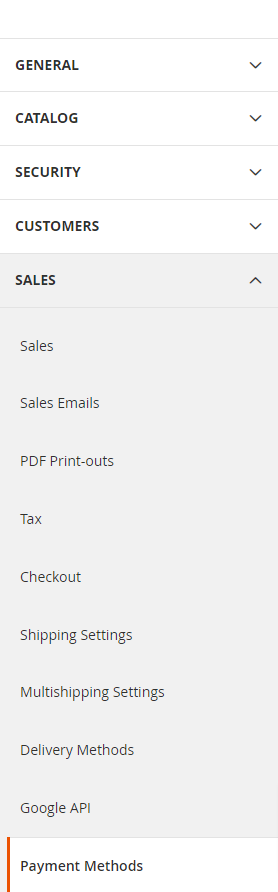
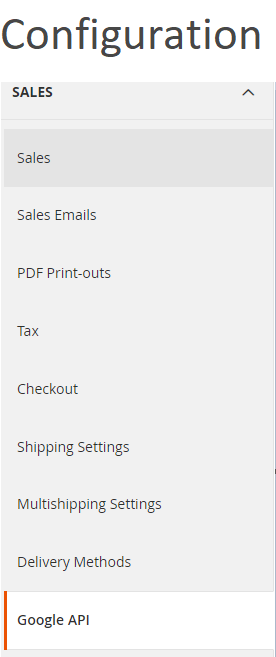
Step [2] – Left panel, choose SALES > Shipping Methods or Delivery Methods
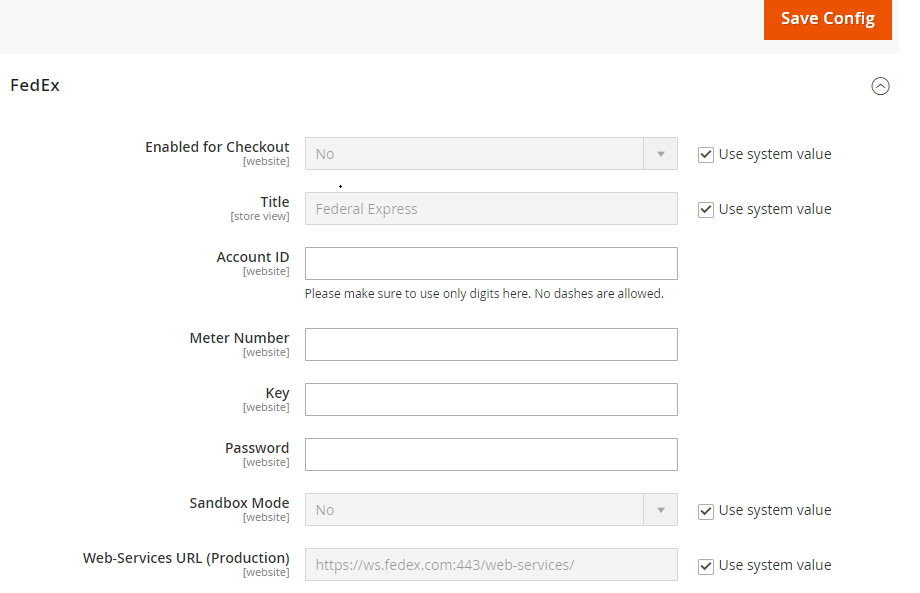
Step [3] – Right panel, Expand the FedEx section.
The following below subsection explained briefly
Step [3.1] – Apply FedEx Shipping
Enabled for Checkout::Select Yes from Select Drop down menu to enable, by default No selected
Title:: Enter Title Name. By default, Federal Express
Account ID:: Enter your FedEx Account ID.
Meter Number :: Enter your FedEx Meter Number.
Key:: Enter your FedEx Key.
Password:: Enter your FedEx Password
Sandbox Mode:: To calculate Select deployment mode either Testing Mode(Sandbox Mode) or Live (Production), for Testing Mode(SandboxMode) select Yes or for Live (Production)No, by default No selected
Web-Service URL:: Enter Web-Service URL based on Sandbox Mode selection(previous step), if Sandbox Mode Yes, Enter FedEx Testing Mode Web-Service URL, if Sandbox Mode No, Enter FedEx Production Mode Web-Service URL.
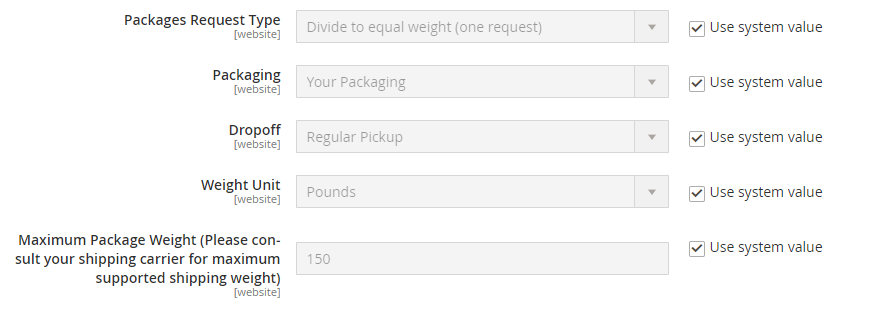
Step [3.2] – Apply FedEx Package Description
Package Request Type:: Select packages type as per your store need, two types “Use origin weight (few requests)” & Divide to equal weight (one requests)
Packaging::Select the Packaging to the typical packaging ,select any packaging from select drop down menu.
Dropoff::Select any pick up delivery method from select drop down menu, by default Regular Pickup selected.
Weight Unit::Define measurement unit, The following two types, “Pounds” or “Kilograms”
Maximum Package Weight::Enter Maximum Package Weight for your packaging.
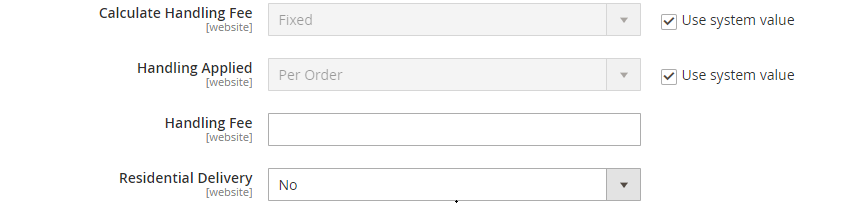
Step [3.3] – Calculating Shipping Handling Fee
Dropoff::Select any pick up delivery
Calculate Handling Fee:: If you want to add some additional shipping handling charges select it either Percentage or Fixed, define these two options as below.
Calculate Handling Fee–Percentage:: Define Percentage option to add some additional shipping handling charges
Calculate Handling Fee–Fixed:: Define Fixed option to add some additional shipping handling charges
Handling Applied:: Specifying how to calculate the handling fee, The following two types, “Per Order” or “Per Package”, select as per your store need
Handling Fee:: Enter additional shipping handling charges, either Percentage or Fixed values, depends on Calculate Handling Fee
Residential Delivery:: Select “Yes” for B2C residential deliveries and “No” for B2B residential deliveries.
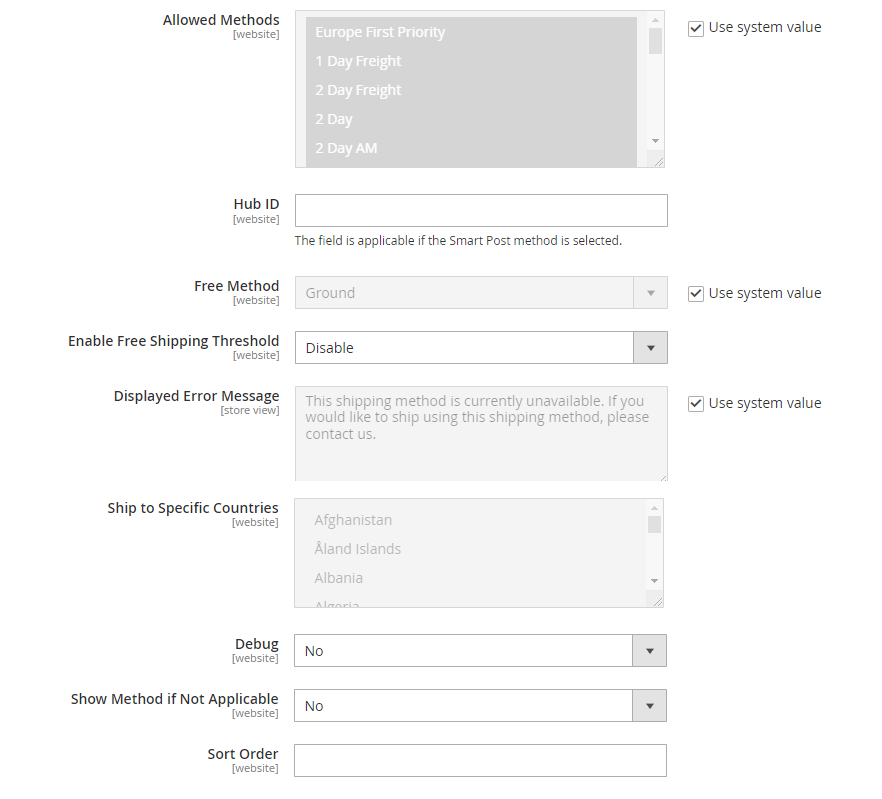
Step [3.4] – Specify Allowed Methods and Applicable Countries
Allowed Methods:: Select one or all FedEx method that you would like to offer to your customers.
Free Method:: If you want to select any Free Shipping Method, by default Ground selected.
Enable Free Shipping Threshold:: Select Enable from the drop-down menu and set the minimum number of orders allowed for free shipping, by default Disable selected.
Displayed Error Message:: This display if Free shipping having any error, if you want to modify content, do it as per your store need.
Ship to Applicable Countries:: If you want to allow FedEx Shipping for all countries, select All Allowed Countries option, or else, select Specific Countries next option.
Ship to Specific Countries:: If you want to allow FedEx Shipping for specific countries, selectSpecific Countries from select drop down menu
Debug:: Select Yes if you want to create log files with all the details of FedEx Shipping method, by default No selected.
Show Method if Not Applicable:: Select Yes if you want to show FedEx Shipping method with the error message, by default Noselected.
Sort Order:: Set the Sort Order on the Shipping Method on the checkout page
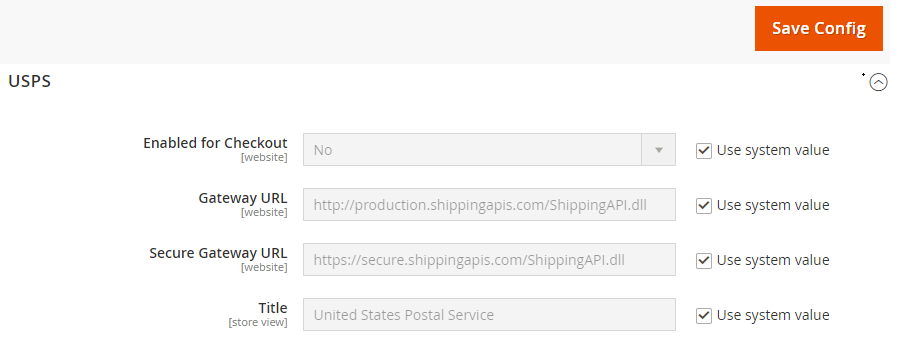
Step [4] – Click on Save Config button & run CLI command Flush
Other Important Magento 2 Shipping / Delivery Methods
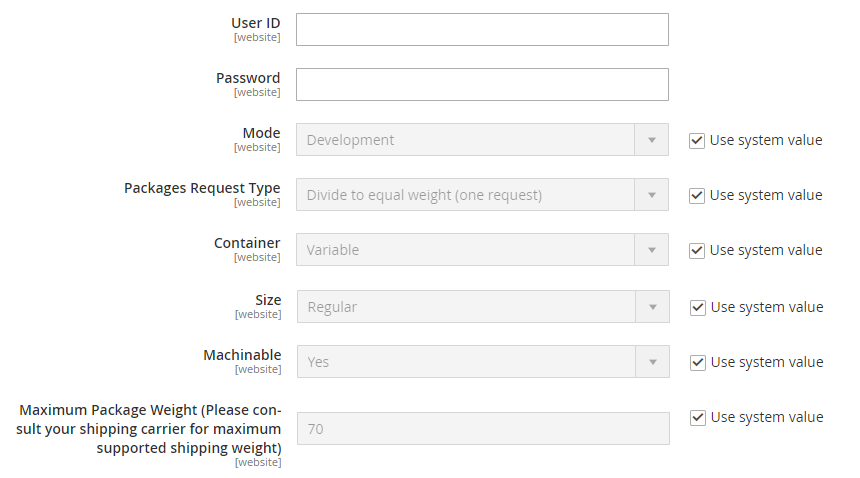
Mode:: Select either Live or Development as your store’s need
Packages Request Type:: Select packages type as per your store need, two types “Use origin weight (few requests)” & Divide to equal weight (one requests)
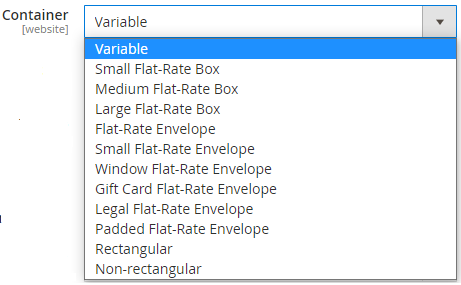
Container:: Select packaging type for the shipment from drop down menu, by default Variable selected
Size:: Set the size that is permitted for a package shipment, either Regular or Large.
Machinable::Select either Yes if your package can be processed by a machine, or Select NO if your package must be processed manually.
Maximum Package Weight:: Enter Maximum Package Weight for your packaging.
Step [3.3] – Calculating Shipping Handling Fee
Calculate Handling Fee:: If you want to add some additional shipping handling charges select it either Percentage or Fixed, define these two options as below.
Calculate Handling Fee–Percentage:: Define Percentage option to add some additional shipping handling charges
Calculate Handling Fee–Fixed:: Define Fixed option to add some additional shipping handling charges
Handling Applied:: Specifying how to calculate the handling fee, The following two types, “Per Order” or “Per Package”, select as per your store need
Handling Fee:: Enter additional shipping handling charges, either Percentage or Fixed values, depends on Calculate Handling Fee
Step [3.4] – Specify Allowed Methods and Applicable Countries
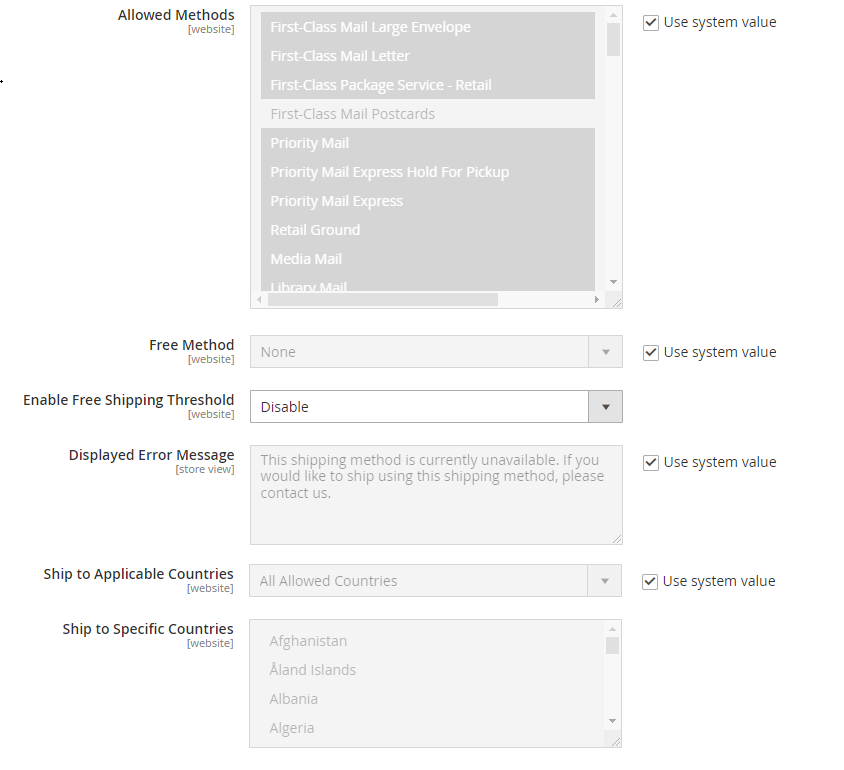
Allowed Methods:: Select one or all UPS method that you would like to offer to your customers.
Free Method:: If you want to select any Free Shipping Method, by default None selected.
Enable Free Shipping Threshold:: Select Enable from the drop-down menu and set the minimum number of orders allowed for free shipping, by default Disable selected.
Displayed Error Message:: This display if Free shipping having any error, if you want to modify content, do it as per your store need.
Ship to Applicable Countries:: If you want to allow UPS Shipping for all countries, select All Allowed Countries option, or else, select Specific Countries next option.
Ship to Specific Countries:: If you want to allow UPS Shipping for specific countries, selectSpecific Countries from drop down.
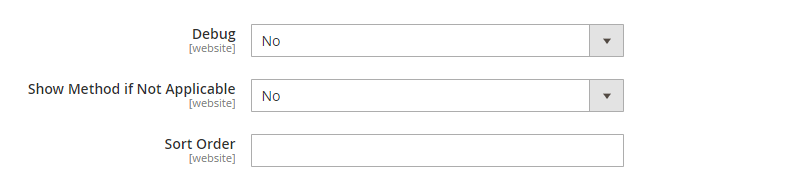
Debug:: Select Yes if you want to create log files with all the details of UPS Shipping method, by default No selected.
Show Method if Not Applicable:: Select Yes if you want to show UPS Shipping method with the error message, by default No selected.
Sort Order:: Set the Sort Order on the Shipping Method on the checkout page
Step [4] – Click on Save Config button & run CLI command Flush
Other Important Magento 2 Shipping / Delivery Methods